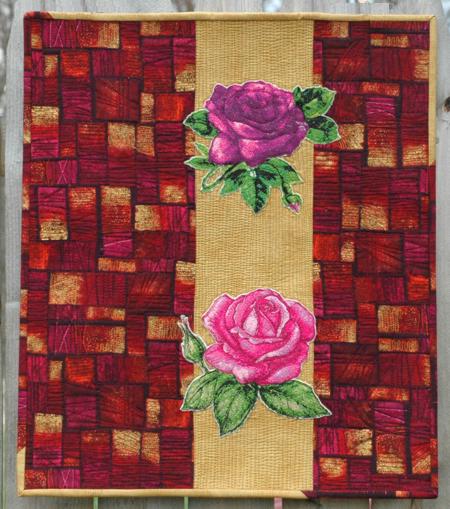
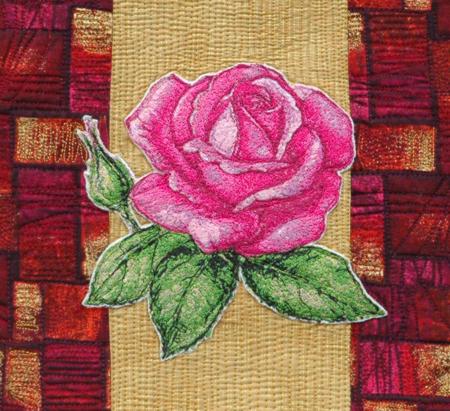
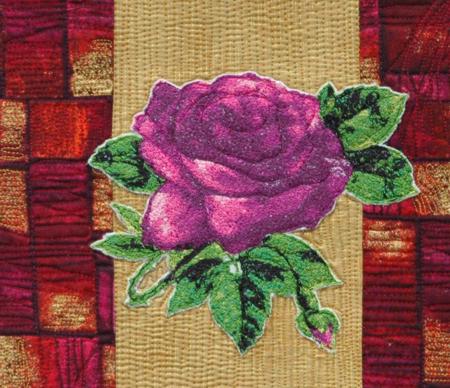
This charming art quilt is very easy to piece and makes a great decoration for any room in your home. It features the Black Magic Rose and Lady Clement Rose. Both designs are for the mega hoop.
The finished size of the quilt is 17" x 20".
You will need a fat quarter (18" x 21"-22" piece) of a patterned fabric and a strip measuring 7" x 21"-22" of a matching solid fabric. You will also need batting and fabric for backing.
For embroidery we used white muslin, light-weight cut-away stabilizer and embroidery threads.
You will also need either fabric adhesive or Light Steam-a-Seam heat-activated film for applique and monofilament/invisible thread.
From the fat quarter cut 2 strips measuring 2" x 21"-22". From the solid strip, cut 1 strip measuring 2" x 21"-22", subcut them into 2 mearueing 2" x 10"-11". These strips are for the binding.
Cut the remaining fat quarter into 2 strips 8" wide and 6" wide. (Both should be 21"-22" long).
All seam allowances are 1/4". Press seams towards the patterned fabric.
Sew the solid fabric strip to the right edge of the 8" wide patterned fabric strip.

Sew the second patterned fabric strip to the right edge of the solid strip.
Sew the binding strips together, alternating the patterned fabric with the solid fabric.
Now place the backing/lining on a flat surface (table) face down. Cover with batting. Spread your working piece over it.
Pin all three layers together with 1" pins. We quilted around the embroidery and all over the mat in a free-motion style. Remove the pins while quilting.
Press the work with heavy steam and square the work -- all corners should be 90 degrees and opposite sides should be of the same length.
Finish the raw edges with the binding.
For the embroidery, we picked out slightly different colors from the color card in order to better match the fabric. This is not too hard to do as long as you make sure that you replace light colors with light colors and dark colors with dark colors to maintain the same shading as in the original. If you don't feel comfortable doing this, the original colors work very well too!
Working with one design at a time, stabilize the white fabric and embroider the design.
Cut away the excess stabilizer.
Cut out the design as close to the stitches as possible.
Position the rose stitch-outs on the solid strip on your quilt. When you are satisfied with the layout, adhere the roses to the quilt.
Using monofilament thread, sew the roses to the quilt in a free-motion style through all layers of the quilt to ensure that they are attached snugly.


