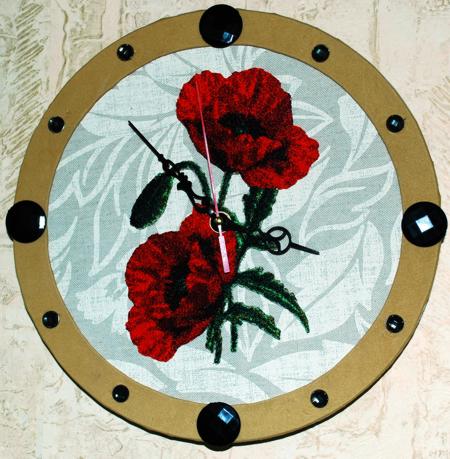
For this project, we used a clock mechanism together with the features the Scarlet Poppy design for a large, 5" x 7", hoop, to make this unique timepiece.
The finished size of the clock is about 12" in diameter.
You will need:
You will also need all purpose white glue and a glue brush, a craft knife, a compass and a pencil.
For embroidery you will need organza, water-soluble mesh stabilizer and embroidery threads.
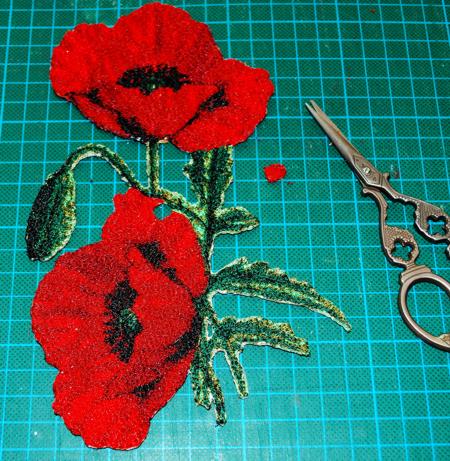
Hoop a layer of organza with a layer of water-soluble mesh. Embroider the design.
Wash away the stabilizer and cut out the design.
Place it aside for the time being.
On a piece of cardboard, with the help of a compass, draw a circle with a radius of 6". With the help of a craft knife, cut out this circle and make a small hole in the center. This will be the face of the clock.
On another piece of cardboard draw 2 cirles with one center, one circle with a radius of 5" and the second circle with a radius of 6". The two circles will form a ring. Cut it out.
On the third piece of cardboard, draw a circle with a radius of 5 3/4". Cut out the circle. Make a hole in the center. This will be the back of the clock.

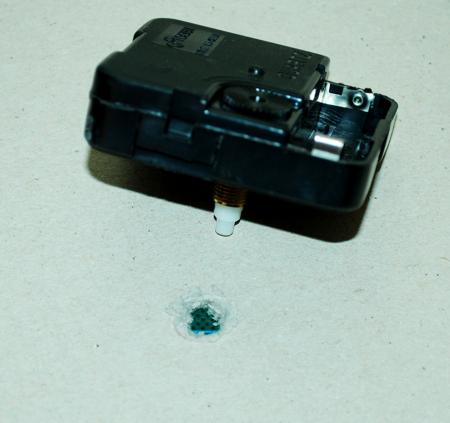
Check that the spindle of the mechanism fits the holes in the center of your circles.
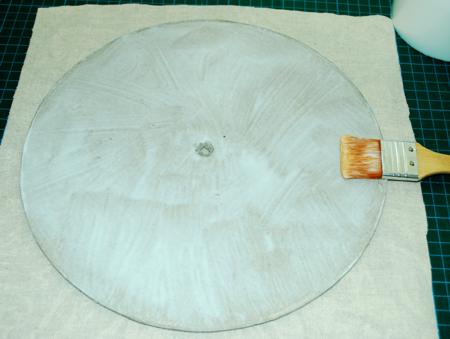
Cover your working table with a protective cloth. Place the fabric pieces for the clock's face and back right side down. Cover one side of each circle with a layer of glue.
Place the glue side on the fabric. Put something heavy on top of the circle and leave to dry.
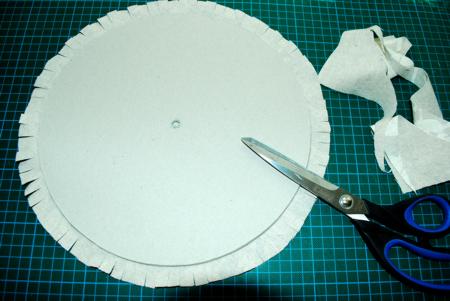
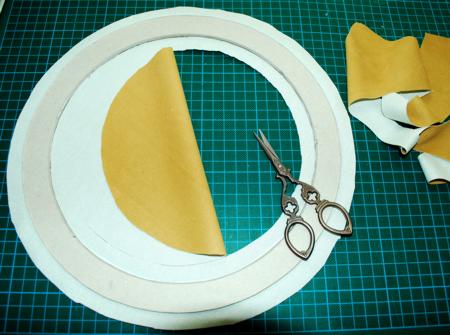
When the glue dries, cut away the excess fabric around the circle leaving margins about 1" wide.
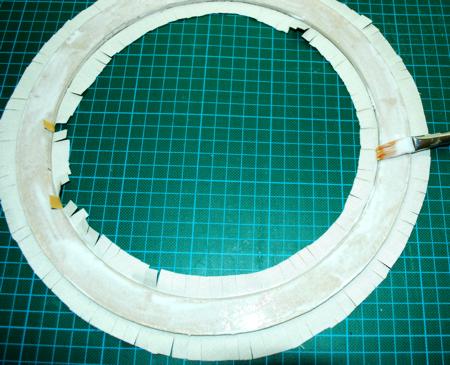
Cut notches in the margins.
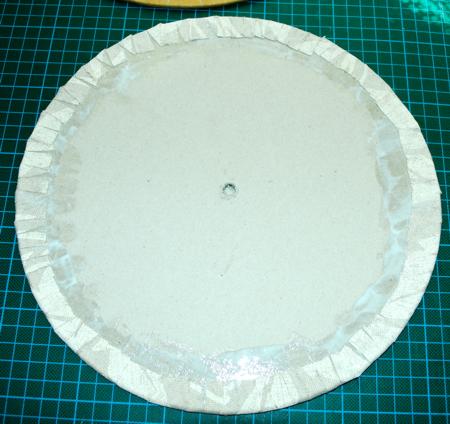
Apply glue to the edges of the circles. Fold the fabric onto the glue. Leave to dry.
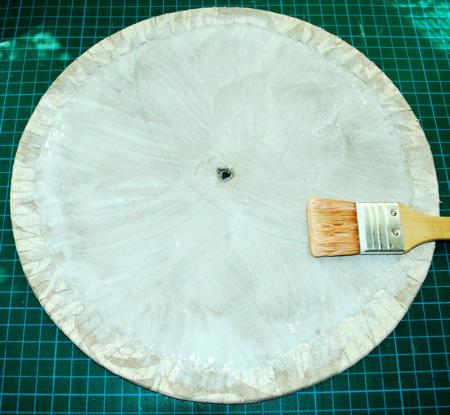
Cover the backs of the circles with glue and press the circles together back-to-back. Align the central holes.
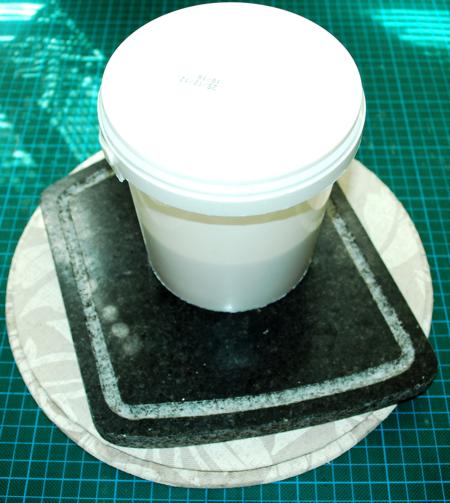
Place under a press and leave to dry.
Glue the cardboad ring to the back of the bright fabric. When the glue is dry, cut away the excess fabric both around the outside and on the inside, leaving margins 1/2" - 3/4" wide.
Cut notches in the margins. Cover the back of the ring with the glue. Fold the fabric over the glue. Leave to dry.
When it's dry, spread glue on the back of the ring and adhere it to the face of the clock.
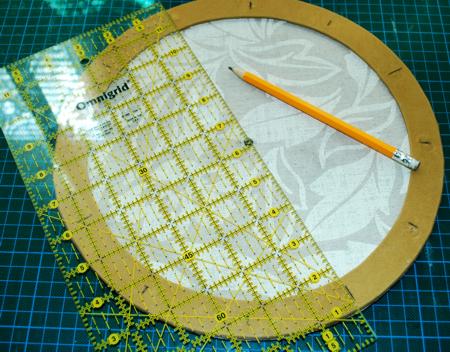
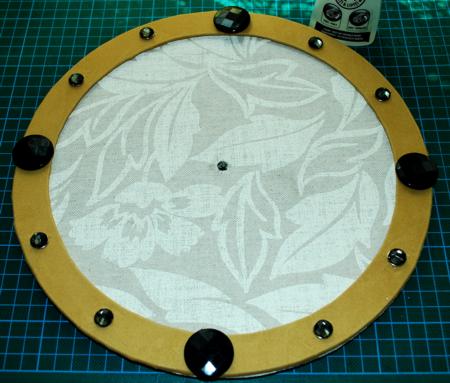
With a ruler and graph pencil, mark the position of the numbers on the clock face.
Attach the small buttons or pins for the numbers 1, 2, 4, 5, 7, 8, 10, 11.
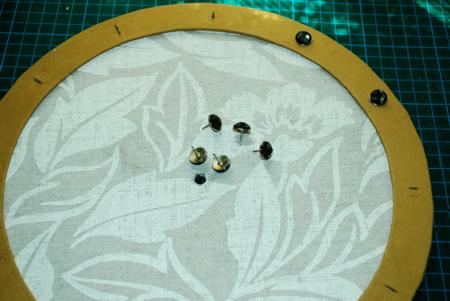
For 12, 3, 6, and 9, attach the large buttons.
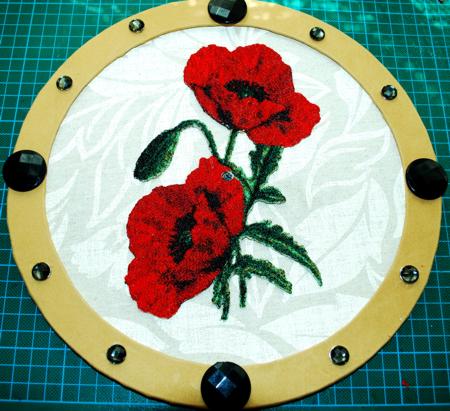
Position the stitch-out on the clock face. Make a whole in the center, if necessary. If you do not want to cut the embroidery, position the stitch-out slightly off-center, so that the central hole is visible through the area between the two stems.
Cover the back of the stitch-out with glue and adhere it in place.
Insert the clock mechanism through the central hole. Attach the hands.
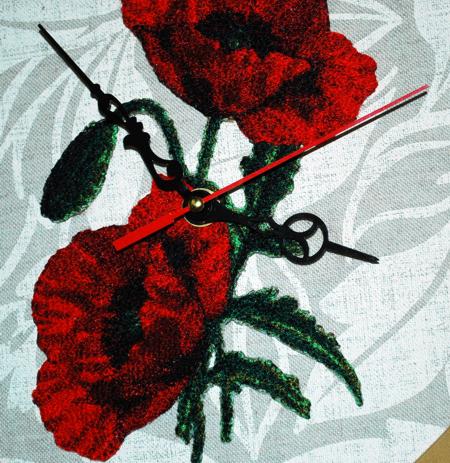
The clock is ready!


