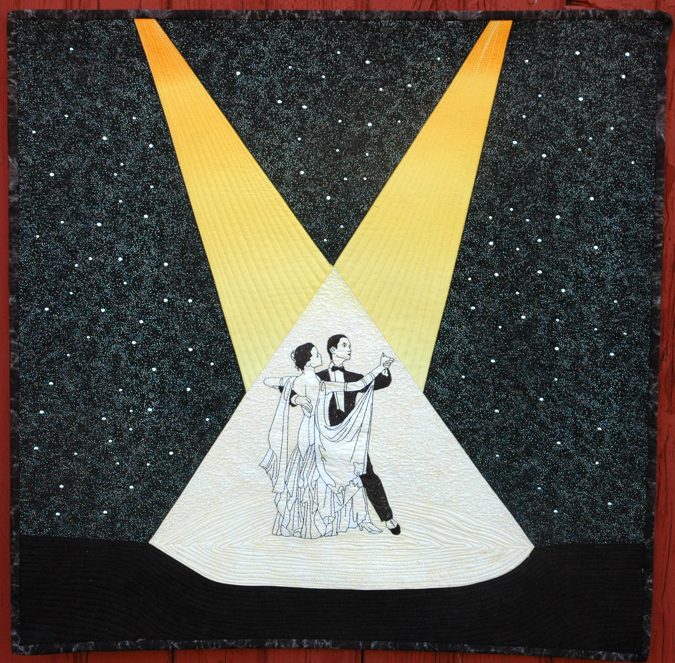
This small art quilt features the design Dance: Waltz for a mega hoop (6" x 10").
The finished size of the quilt is about 24" x 24".
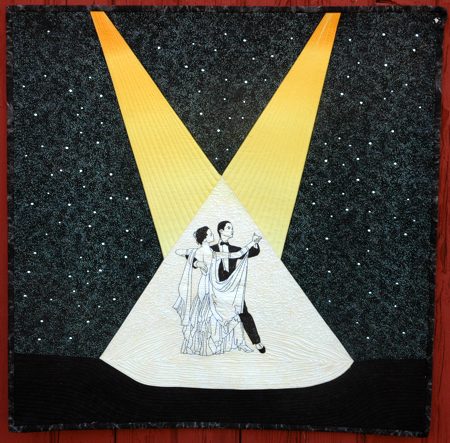
We used:
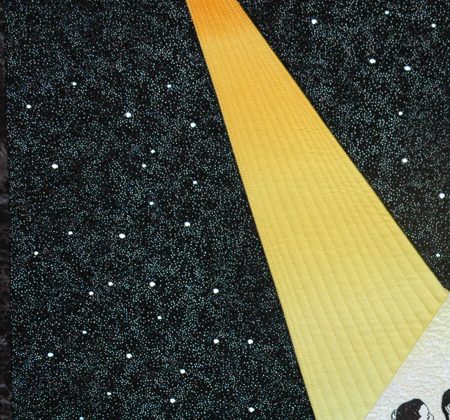
NOTE: For lights we used the fabric from the 'Gradations' collection by Caryl Bryer Fallert: Gradations- Ombre Impressions - Lemon Yellow.
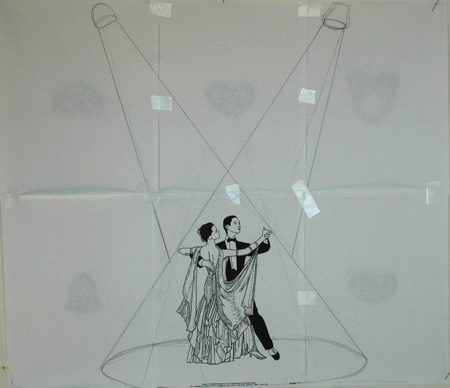
Diagram
The first thing you need to do is sketch a diagram of your quilt on paper.
From your embroidery software, print out the image of the design. If you do not have a printer that will let you do this, then you can make a test stitch-out of the design on light-colored fabric.
Glue or tape the print-out in the bottom center of a large sheet of paper. Alternately, you place the sheet with the print-out on your table and attach sheets of paper around the picture using glue or scotch tape. We chose the second option because we didn't have a large sheet available.
With a pencil, draw an oval around the feet of the couple and a couple of overhead spotlights. When you are satisfired with the drawing, take a ruler and draw straight lines from the spotlights to the oval on the ground, thus forming beams.
Number each part of the diagram, as shown below. Cut out each numbered part.
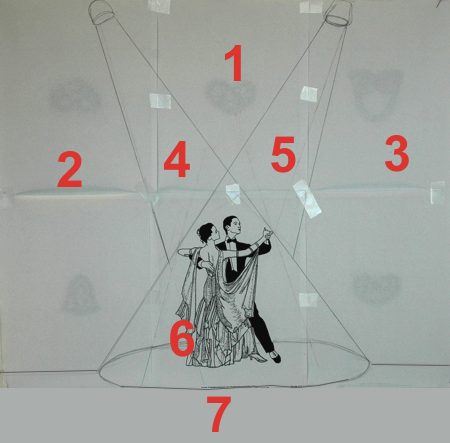
Position the paper templates on fabric: parts 1, 2 and 3 should go on the black fabric with silver dots, parts 4 and 5 should go on the yellow gradient fabric, part 7 should go on the solid black fabric. Cut them out with seam allowance 1/4". Do not cut out part 6. You will have to make the embroidery first.
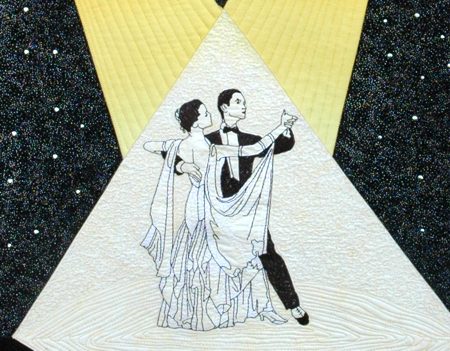
Stabilize the pale yellow fabric and make the embroidery of Waltz.
Cut away the excess stabilizer.
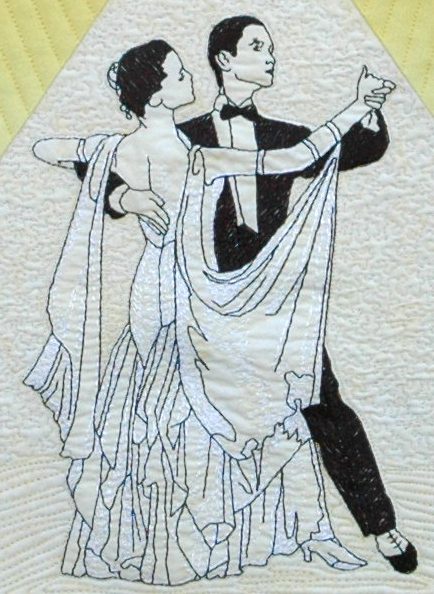
Position template #6 over the embroidery and cut the piece with seam allowance 1/4".
Sew together parts 1, 4 and 2.
Then sew together parts 5 and 3. Sew them to part 6.
Sew both pieces together.
Lastly, sew part 7 to the bottom of the working piece.
Quilting:
Now place the backing/lining on a flat surface (table) face down. Cover with batting. Spread your working piece over it.
Pin all three layers together with 1" pins. We quilted around the embroidery and all over the top in a free-motion style. Remove the pins while quilting.
Press the work with heavy steam and square the work -- all corners should be 90 degrees and opposite sides should be of the same length.Finish the raw edges with binding.
We also added some hot-fix crystals to the quilt.


