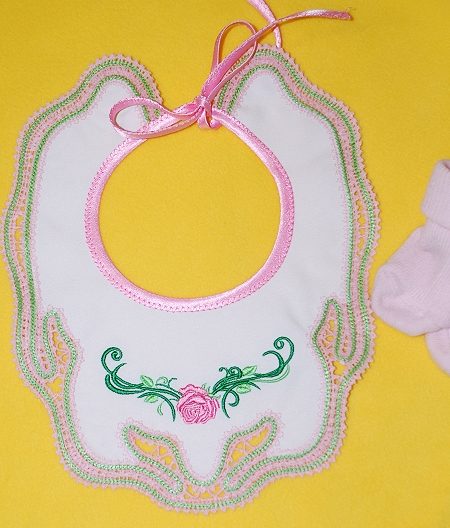
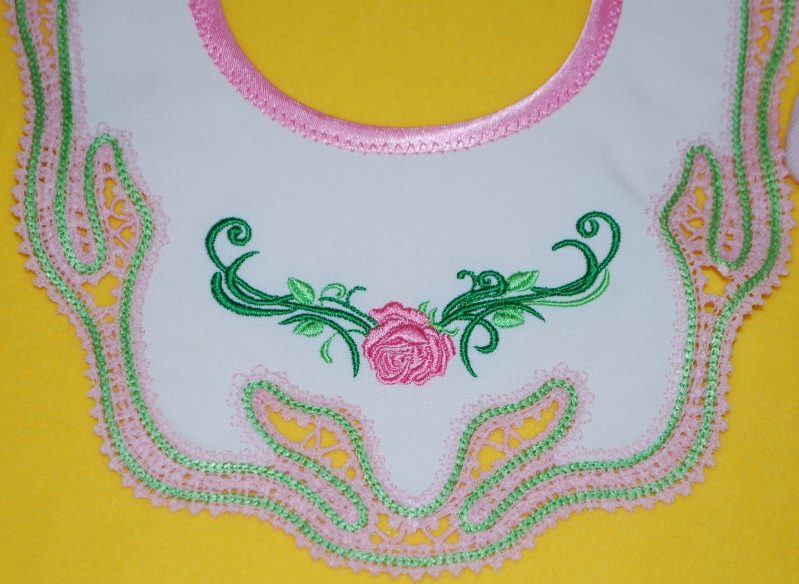
These are instructions on how to embroider the Lace-Edged Baby Bib in-the-Hoop the design. The finished size of the bib is 9 1/2" x 7 1/2" (240 x 190 mm).
You will need water soluble mesh stabilizer, such as Fabri-Solvy by Sulky, Avalon Plus by Madeira, Wash-Away, Aqua Magic; a piece of fabric, preferably cotton; light-weight fusible cut-away stabilizer, such as Soft'n'Sheer Extra by Sulky or No Show by Marathon or similar of any other brand; polyester or rayon embroidery thread for the small rose on the bib and machine quilting cotton thread for the lace. You will also need 1 yard of narrow bias tape of a matching color.
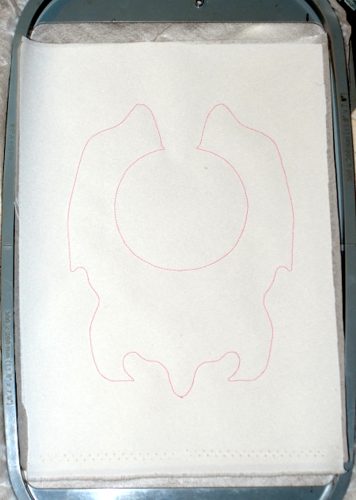
Step One: Hoop 2 layers of water-soluble mesh. Prepare the fabric by stabilizing it with light-weight cut-away fusible stabilizer.
Place the stabilized fabric over the hooped mesh. You can pin it to the mesh outside the embroidery field.
Start the machine. The first color will embroider the outline of the bib.
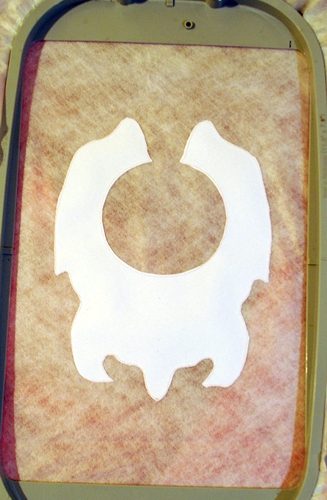
Step Two: Take the hoop from the machine and cut away the fabric close to the stitches. Take care not to cut through the stitches.
Step Three: The second color will embroider lace. Use cotton thread for machine quilting. Use the same thread both in the needle and bobbin. We used Signature cotton thread of a pale pink color.
Return the hoop to the machine and start it. It will embroider the lace.
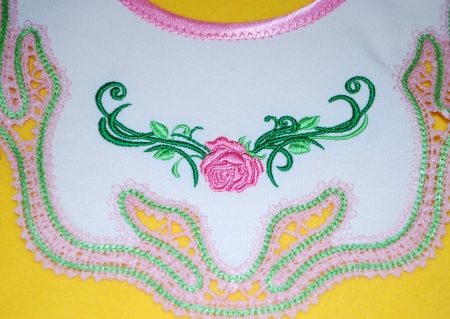
Step Four: The third color will finish the lace. You can use embroidery polyester or rayon thread. We used pale green polyester to finish the lace.
Step Five: Colors 4-6 embroider the rose. Use polyester or rayon embroidery threads. Select colors to your taste.
Step Six: Cut away the excess water-soluble stabilizer. Wash away the remainder. Leave to air dry.
Step Seven: Finish the neckline with bias tape. The long ends of the bias tape are used to fasten the bib.


