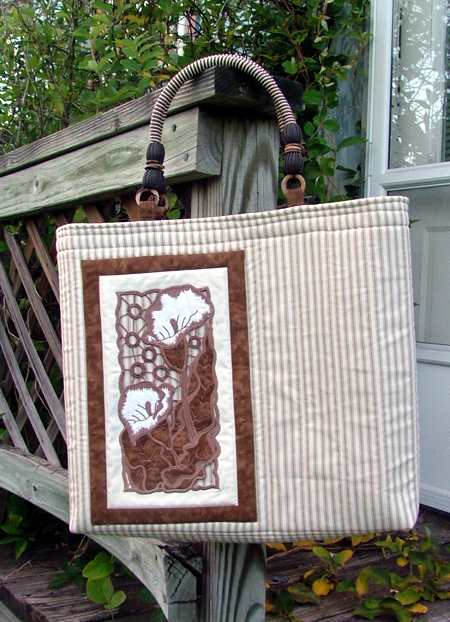
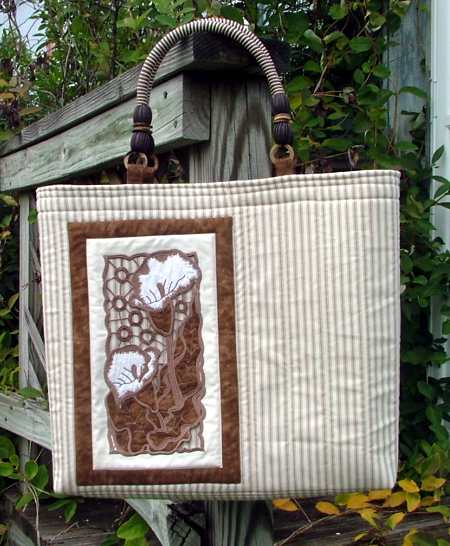
This roomy tote is great for shopping, carrying around your craft projects or even going to the beach.
The tote features the designs from the Cutwork Lace Applique Calla Lily Panel for a mega hoop.
The finished size of the tote is about 17" wide", 15" high and 3 1/2" deep.
|
|
For embroidery, you will need watersoluble stabilizer, embroidery threads, base fabric and applique fabric, as described in the instructions for the Calla Lily design.
We used the following materials:
- a fat quarter of quilting cotton off-white/cream fabric for the base,
- small amount of white fabric for the flower applique,
- a fat quarter of brown fabric for the leaves applique and for the block around the embroidery.
For the bag, you will need 1/2 yard of fabric for the outer bag, 1 yard of fabric for the lining, a pair of ready-made handles, light-weight iron-on interfacing and batting.
We used the following materials:
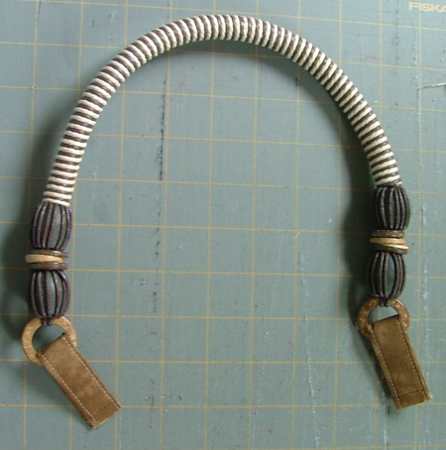
- A pair of striped handles, purchased at Jo-Ann Fabrics store.
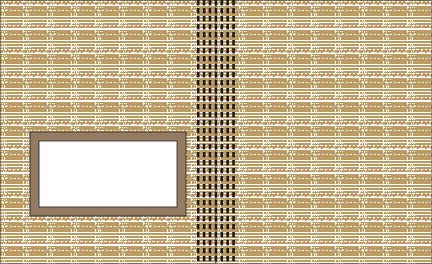
- To match these handles we selected light-weight cotton canvas with stripes of the same colors as the handles.
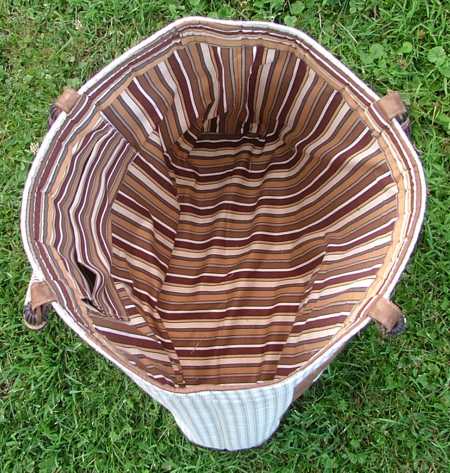
- For the lining we selected quilting cotton fabric with brown and cream stripes.
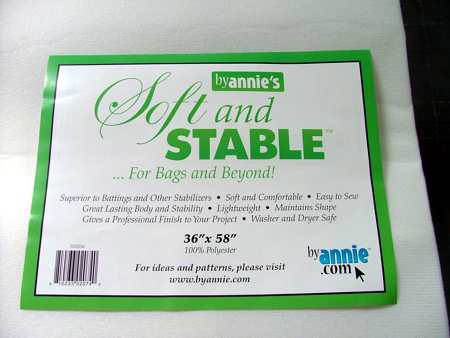
- For the batting we used "Soft and Stable" batting specially designed for bags by annie.com, purchased in our local quilting store. What we like about this batting most is that it does not need lining/backing.
|
|
| Making the Embroidered Block: |
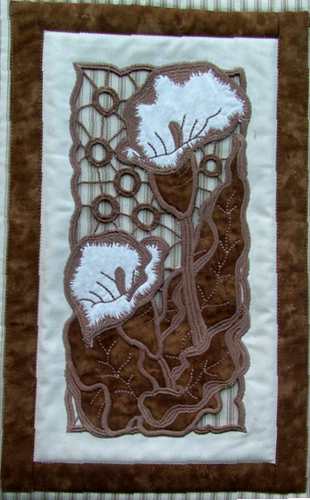
Stabilize the base fabric with watersoluble stabilizer and make the embroidery as described in the instructions for the Calla Lily.
|
| After the stabilizer is washed out and the stitch-out is dry, cut away the excess fabric around the embroidery leaving 1" margins. You will get a piece measuring 7" x 12". |
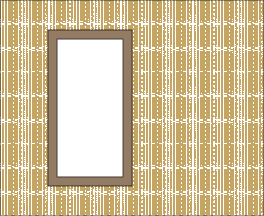
Out of the applique fabric for the leaves, cut 2 strips measuring 1 1/2" x 7" and 2 strips measuring 1 1/2" x 13 1/2".
Sew the first 2 strips to the upper and lower edges of the stitch-out and the second pair to the left and right edges. Press the seams.
Fold the raw edges 1/4" back and press. |
|
| Sewing the Outer Bag: |
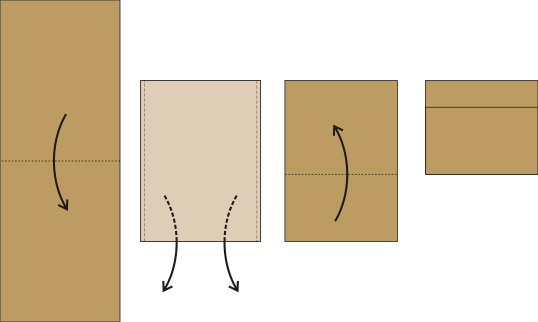
Cut the 1/2 yard of the fabric for the outer bag in half to get 2 pieces measuring 18" x 21"-22" (depending on the width of the fabric).
|
Position the embroidered block on one of the pieces - approximately 4" from the left edge, 2 1/2" from the upper edge and 3" from the bottom.
Baste the block in place. Then topstitch it in place along the outer edges of the color borders. |
|
Place both pieces over the batting. Pin. Quilt in a free-motion style.
When you are done, press both pieces with steam and trim the edges. Check that both panels are of the same size. |
Place the pieces face to face, align all edges, sew together along the bottom line with seam allowance 1/2".
Open the seam and topstitch 1/4" on both sides from the first seam.
Top-stitch another 1/4" from the second stitches. Repeat 6 times on both sides of the bottom seam. You'll get a quilted bottom 3 1/2" wide.
|
 |
| Attaching the Handles: |
Out of the fabric for the leaf applique, cut 2 strips measuring 3" x 10". Out of light-weight iron-on interfacing cut 2 strips measuring 3" x 10". Adhere the stabilizer strips to the fabric strips.
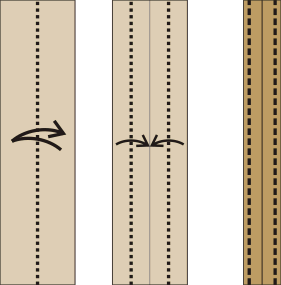
Fold the strips in half lengthwise, with the interfacing on the inside. Press. Unfold.
Turn the raw edges inside to the folded line. Press again.
Topstitch along both long edges 1/8" from the edge.
|
 |
Cut each strip in half. You'll get 4 strips measuring 3/4" x 5".
Insert the strips into the handle rings. Align the raw edges of the strip and topstitch 1/4" from the edge. |
|
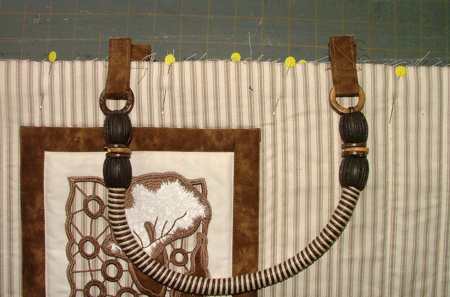
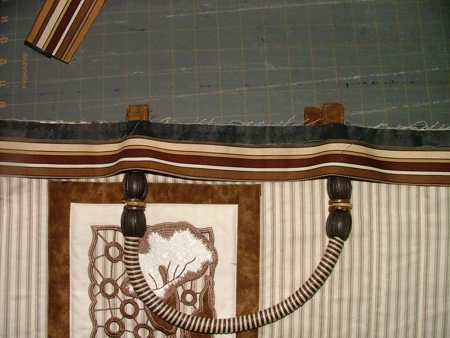
Position the first handle as shown on the photo below: about 6" from the side seams and with the ends of the strips protruding 1" beyond the upper edge of the bag. Pin.
Topstitch in place 1/4" from the upper edge of the bag.
Repeat with the second handle. |
|
| Fold the working piece face inwards. Align the edges. Sew the sides of the bag with seam allowance 1/2". Move 1/8" towards the raw edge and stitch again. |
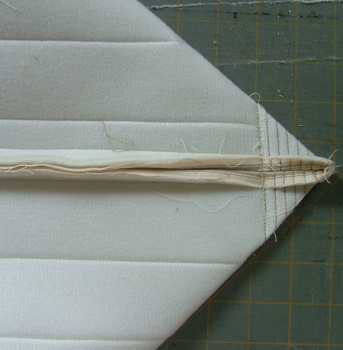
To shape the bottom, make box corners: separate the front and back sides at the corners. Center the seams on each side of the corner on top of each other.
|
 |
Measure 2" along the seam from the corner and machine-stitch perpendicular to the seam across the corner. Do not trim the seam. Move 1/4" towards the corner and topstitch again. Repeat 3 more times to "quilt" the corner (see the picture below).
Fold it onto the side of the bag and attach with several stitches by hand.
Repeat for the second corner. |
|
| Cutting and Sewing the Lining and the Inside Pocket: |
Out of the fabric for the lining, cut
- 2 pieces measuring 17 1/2" x 21" (the lining);
- a strip measuring 3" by about 42" long - the length of the width of the fabric (the trim for the upper edge of the bag) and
- a piece measuring 8 1/2" x 22" (the pocket).
|
Fold the lining piece in half widthwise, right side inwards. Align the edges. Stitch the sides together.
Make the box corners in the same way as described for the outer bag. |
Insert the lining into the outer bag. Align the bottoms and the upper edges. Pin or baste the upper edges.
|
Fold the 8 1/2" x 22" piece in half widthwise, right side inwards. Stitch the 2 sides together, leave the third side open. Turn the working piece out through the opening. Press.
Fold the lower, finished edge, 5 1/2" up. Topstitch the sides.
Position the pocket on the "lining" of the back panel. Align the raw edges. Topstitch the pocket to the panel along the upper edge with 1/4" seam allowance. |
 |
Out of the light-weight iron-on interfacing cut a strip measuring 3" and the length of the "lining" strip. Adhere the stabilizer to the fabric.
Fold one of the long edges of the strip 1" back and press.
Fold the left short edge about 1/2" on the wrong side and press.
Starting with this finished edge, position the strip along the upper edge of the bag. Pin it, then baste in place.
Topstitch the strip in place 1/4" from the edge.
|
|
Turn the strip inside of the bag. Topstitch 1/4" from the upper edge. Then topstitch 1/4" from the first stitch line. Finally topstitch 1/8" from the lower edge of the strip.
|
|
| Your tote is ready! |
|
|
|
Enjoy!
|
|
Happy Stitching!
|
|
Back to Cutwork Lace Applique Calla Lily Panel
|
|
Back to Projects Page
|


