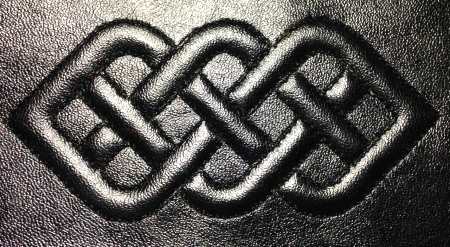
These are instructions on how to embroider and some ideas on how to use the designs from the Celtic Style Freestanding Motif Set.
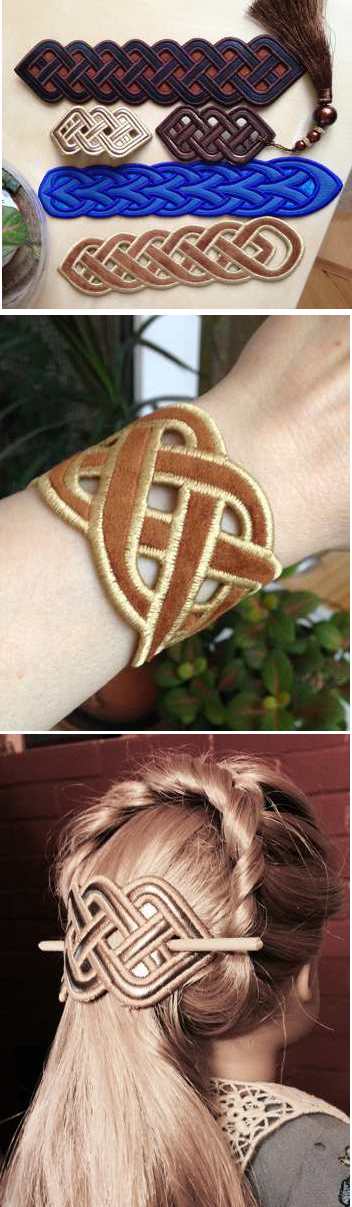
There are 4 designs in the set. The set is available for the large (5" x 7") and mega (6" x 10") hoops.
Please note that when we list the size of a design, the measurements shown is the space the design will take up in the hoop. The actual stitch-outs will be of the following sizes:
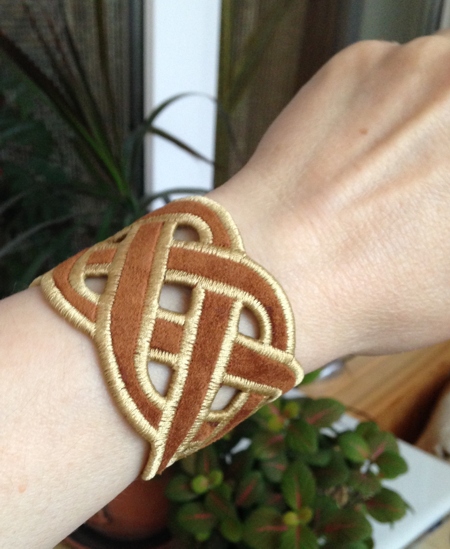
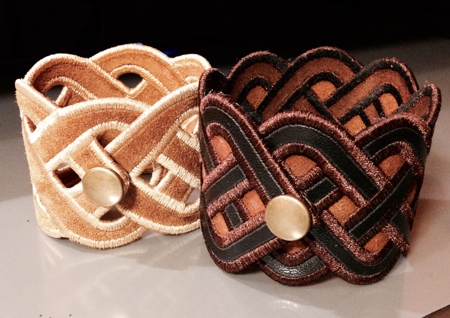
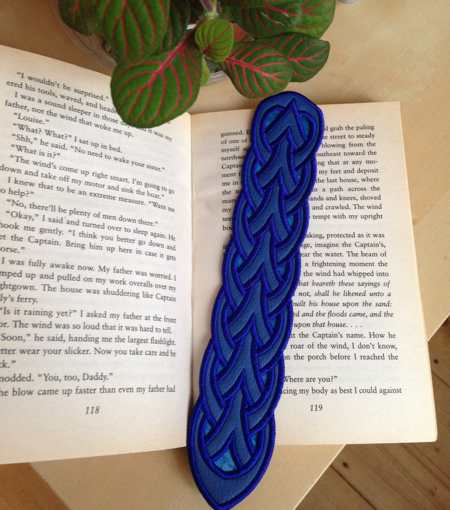
Large hoop bracelets: 1 1/2" x 8; 1 3/4" x 8 1/4"; 1 3/4" x 8"; pin: 1 3/4" x 3 5/8".
Mega hoop bracelets: 1 3/4" x 9 3/8"; 1 7/8" x 8 3/4"; 2" x 9 1/4"; the pin is the same as above.
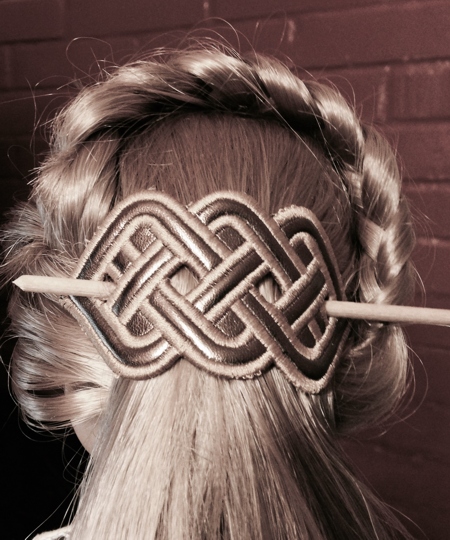
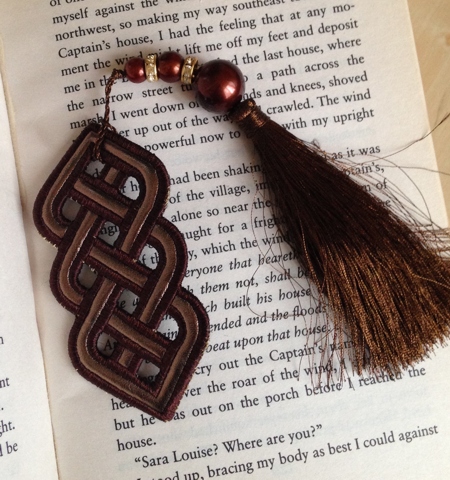
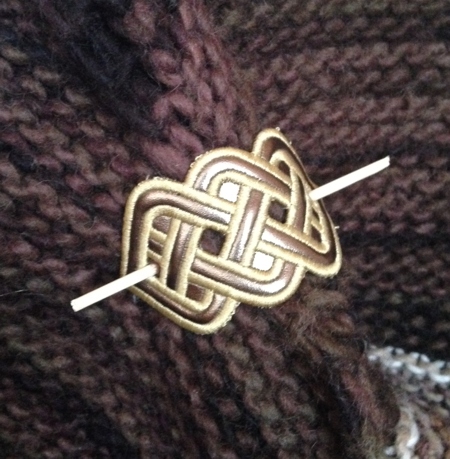
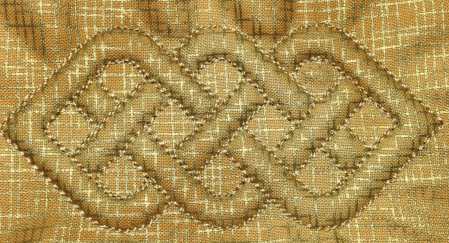
The designs can be made into bracelets, belts, pins or other accessories. They can also be embroidered as regular cutwork to decorate hems or cuffs.
You will need:
Instructions for the Long Motifs (files 1, 2, 3)
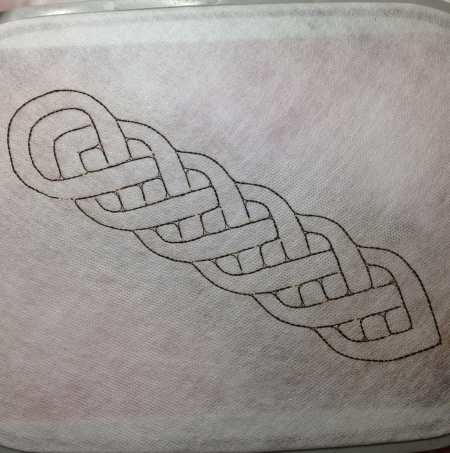
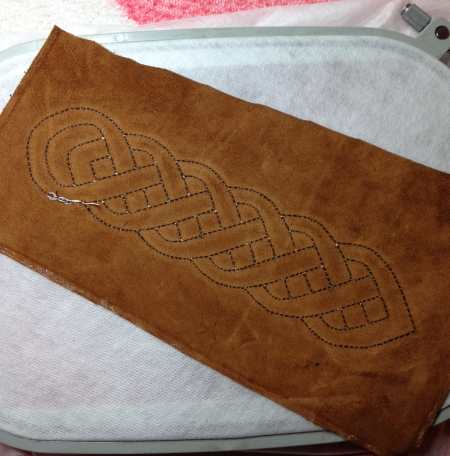
Step One: Hoop 1-2 layers of watersoluble mesh. Upload a file and start the machine. It will embroider the outline of the design and stop.
Step Two: Cover the outline with the applique fabric and start the machine. It will embroider the same outline over the fabric and stop.
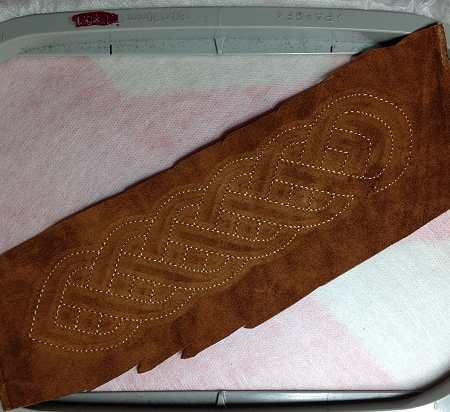
Step Tree: Take the hoop from the machine and with a pair of sharp scissors cut away the fabric aroud the outline and inside the Celtic motif.
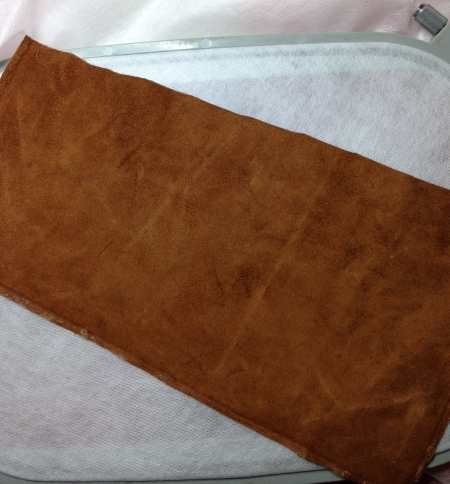
Step Four: On the back of the hoop, place a piece of the lining fabric over the outline. Fasten with small pins outside the embroidery area. Altenatively, you can use a glue-stick.
Return the hoop to the machine.
This is the back of the embroidery:
Cover the back with the lining fabric
Step Five: Start the machine. It will embroider the same outline.
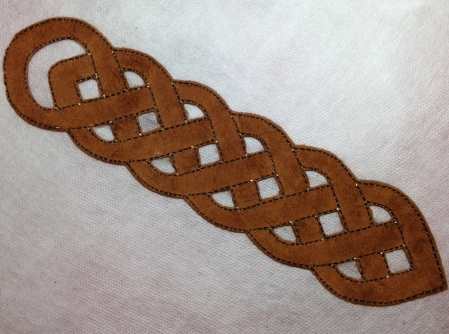
Take the hoop from the machine and cut away the lining fabric around the outline and inside the Celtic motif un the same way as you did on the top of the embroidery.
This is the back of the embroidery:
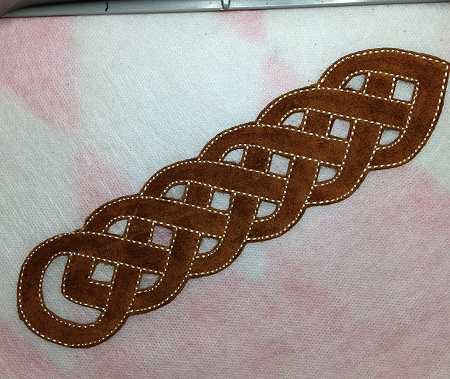
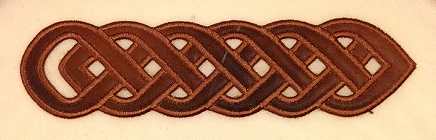
Step Six: Return the hoop to the machine and finish embroidery.
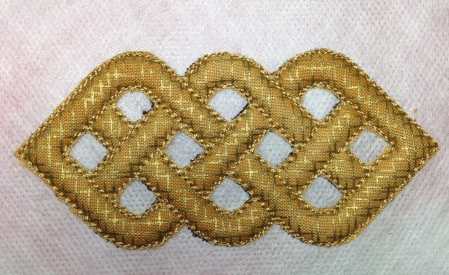
This is the top of the embroidery
This is the back of the embroidery
Step Seven: Cut away the watersoluble mesh as close to the stitches as possible and dissolve the remaining stabilizer.
Instructions for the Small Motif (file 4)
Step One: Hoop 1-2 layers of water-soluble mesh. Start the machine. It will embroider the first color and stop.
Step Two: Place a Puffy Foam sheet over the outline and start the machine. It will embroider the same outline over the Puffy Foam and stop.

Step Three: Neatly remove the Puffy Foam around the outline and inside the motif.
Step Four: Cover the embroidery on the top and bottom with the top and lining fabrics. Pin the applique fabric to the stabilizer outside the embroidery field. Start the machine. It will embroider the outline over the fabric.
This is the top of the embroidery
This is the back of the embroidery
Step Five: With a pair of sharp scissors cut away the applique fabric around the outline and inside the design (see photo below) as close to the stitches as possible. Take care not to cut through the stitches.
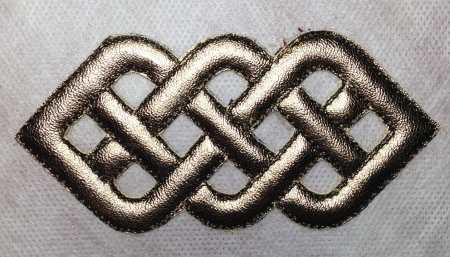
This is the top of the embroidery
This is the back of the embroidery
Step Six: Return the hoop to the machine and start it. It will finish the raw edges. You will get a neat trapunto embroidery.
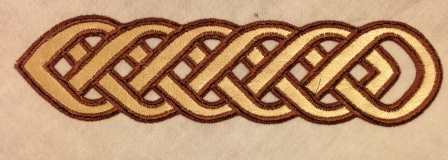
Here are some ideas on how you can use this motif: