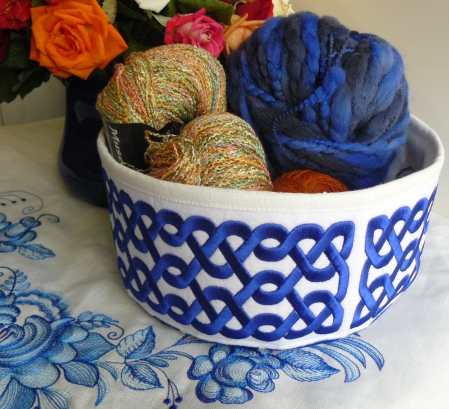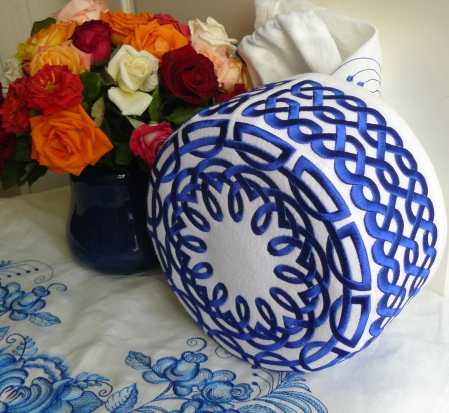
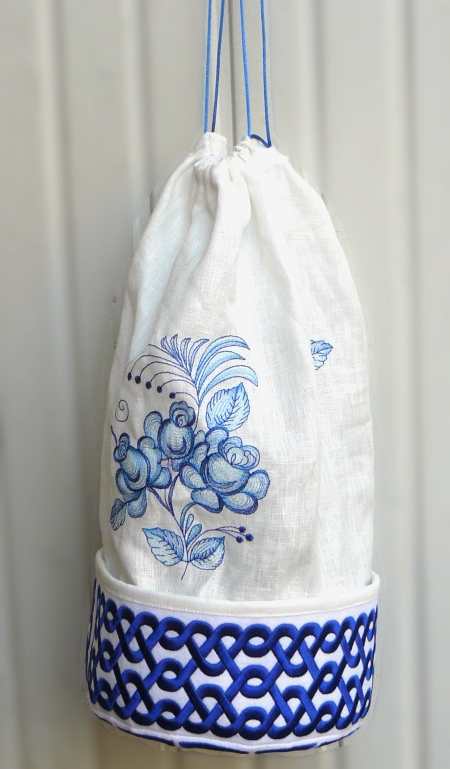
This convertible tote is very good for keeping your current small knitting, crochet or sewing projects. It's a great gift for a crafter. The tote features the designs from the Celtic Basket Set and Porcelain Flower Set.
The finished size of the tote is about 17" high and 7 1/2" in diameter.
Besides embroidery thread (either polyester or rayon), you will need
Emboridery
Stabilize craft felt with iron-on cut-away stabilizer.
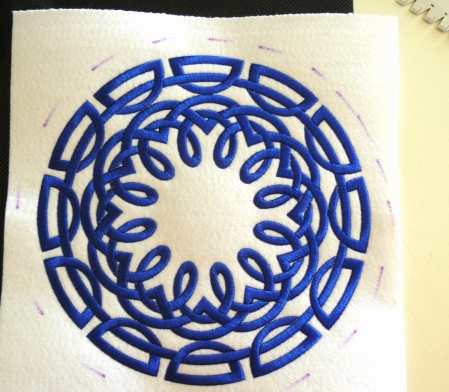
Embroider the circle design from the Celtic Motif Set once.
Embroider the rectangle design from the Celtic Motif Set twice.
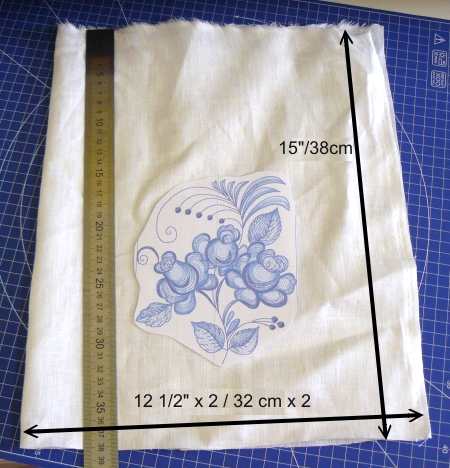
Out of linen fabric cut a piece measuring 25" x 15". Fold it half and mark the position of the embroidery on each half. We used the designs from the Porcelain Flower Set.
Stabilize the fabric with light-weight "no-show" stabilizer which is usually used for embroidering on light-weight clothes. Embroider the designs one by one.
Sewing the Lower Part of the Tote:
Cover the back of the embroidered circle and rectangles with iron-on sewing interfacing. Press from the interfacing to adhere it to the felt.
Cut out the circular part with a seam allowance of 1/2" from the edge of the embroidery.
Trace this circle onto the fabric for the lining and cut it out.
Cut out the rectangular parts leaving 1/2" along one of the long sides of the embroidery, 1" along the other side of the embroidery and 1/4" along the short edges.
Position the parts so the short edges are abutting and sew together with zig-zag (see photo below).
Measure the strip you received or trace it onto the lining fabric. Add 1/2" on the short sides for seam allowance and cut out the lining strip.
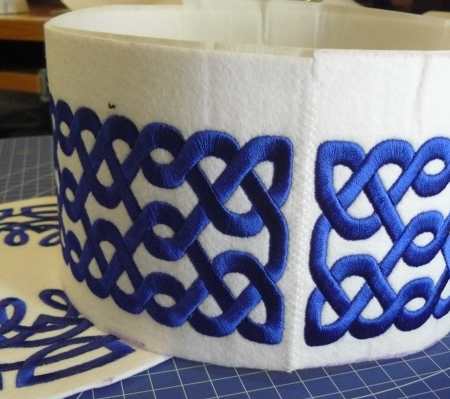
Fold the embroidered strip to make the ends meet and sew them with zig-zag to form a tube.
Sew the lining into a similar tube with seam allowance 1/4". Press the seam open.
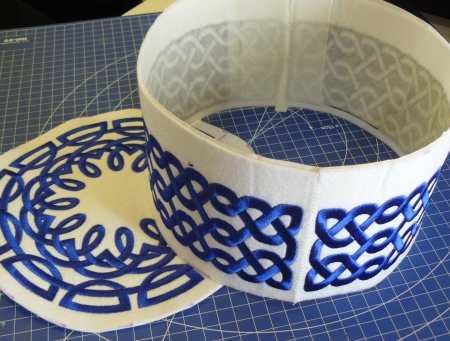
Turn the embroidered tube face inwards and cover with the circle part, face down. Pin or baste together. Machine stitch together close to the embroidery.
On the circular part make several notches.
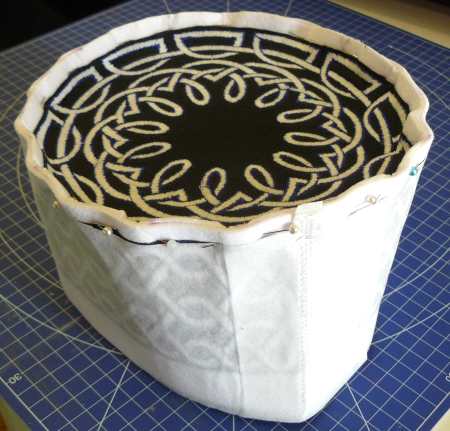
Turn the work right side out.
Sew the lining in the same way.
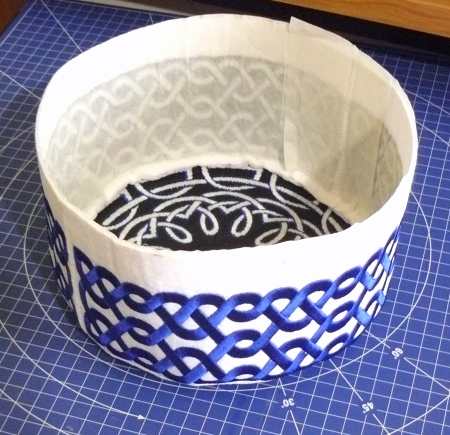
Insert the lining inside the "basket", wrong side to wrong side, and baste along the upper edges.
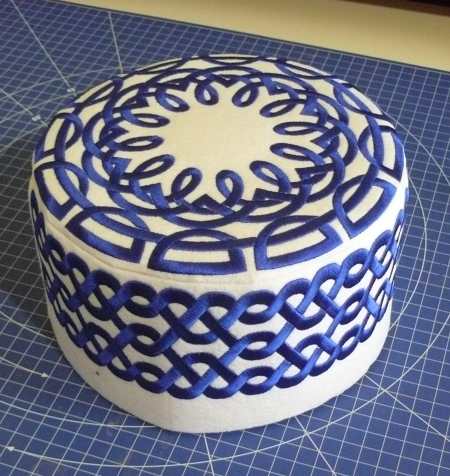
Sewing the Upper Part of the Tote:
Sew the embroidered fabric piece into a tube using a flat-felled seam. This is the same type of seam as used on jeans. A detailed description of how to make the seam follows:
Flat-felled seam: Fold the embroidered fabric piece in half with right side out. Align the edges. Now shift the edge that's on top slightly so that it is still parallel to the edge on the bottom, but 1/2" away. Pin them together.
Machine stich together 1/4" from the edge on top. Press the seam.
Now fold the bottom edge over the top edge. Press. Pin. Machine stitch. You will have a neat finished linen stitch.
As an alternative, you can just sew the sides together and finish the raw edges with zig-zag.
Fold the upper edge 1/2" inside and press.
Insert 4 small eyelets 1" from the upper edge, 1/2" on each side of the seam and on the opposite side of the tube. If you don't like to use eyelets, make small button-holes with your sewing machine.
Cut the cord in 2 halves. Take the first piece. Insert its ends into the first pair of eyelets/holes from the outside in, then insert into the second pair of eyelets/holes from the inside out .
Repeat with the second piece of cord, but start with the second pair of eylets.
Tie the ends of the cord.
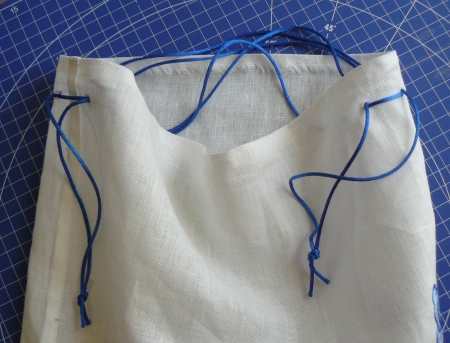
Slightly pull the ends of the cord to make it lay even. Fold the upper edge again about 1/2". Pin. Then stitch the edge closed. Be careful not to stitch through the cord inside.
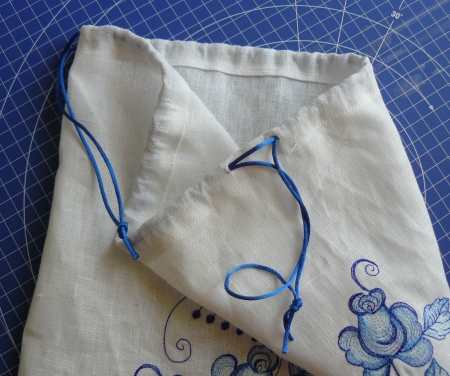
Connecting the Upper and Lower Parts.
Put on the upper part on the lower part, face to face. Align the edges.
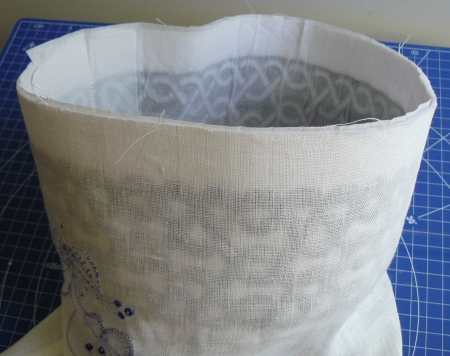
Sew together with seam allowance about 1/2".
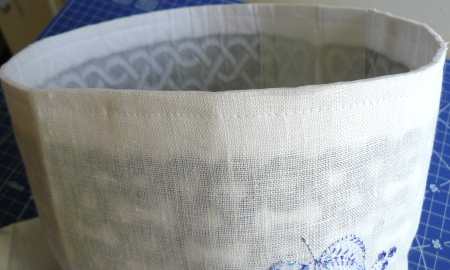
Turn the working piece right side out.
Tuck the upper part inside the lower part.
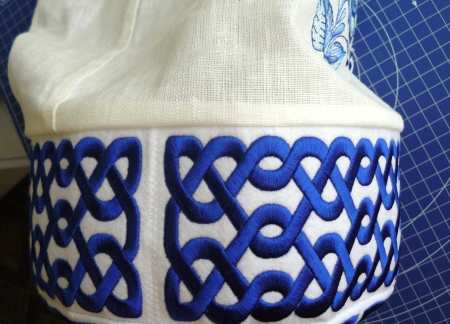
Stitch again about 1/2" from the edge. This will finish the raw edge inside the tote and make a pleat to make the tote easier to fold.
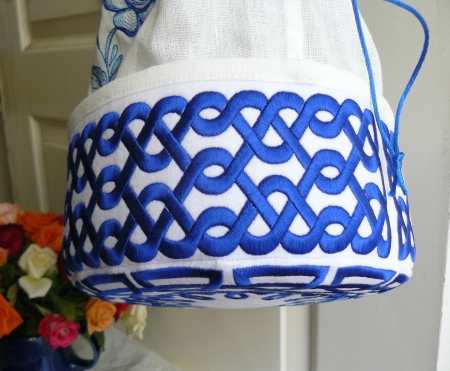
Your tote is ready!
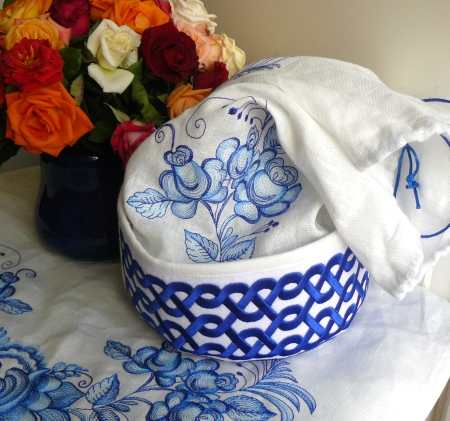
You can use it both ways - as a tote or as a basket.
