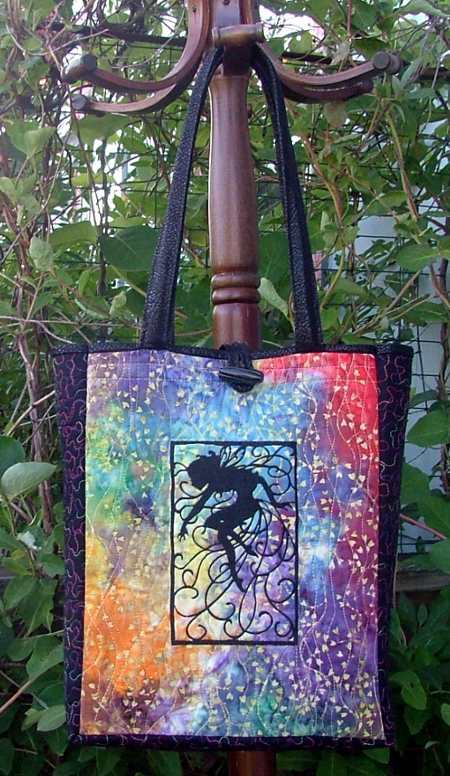
This enchanting totebag uses the designs from the Fairy Silhouette Set. The finished size of the bag is about 11" wide, 14" high and 3 1/2" deep. It's roomy enough to hold all your stuff yet small enough to be elegant.
You will need:
Cutting:
Out of batik, cut 2 panels measuring about 13" x 16" (for the front and back panels).
Out of solid black fabric, cut
On your working table, spread the 13" x 16" pieces of craft felt . Cover with batik panels. With your hands, smooth the fabric over the felt, so that both layers cling to each other. Mark the center of the panels, hoop both layers and embroider the designs one by one.

Quilting Panels and Side-Bottom Part:
Spread the black 13" x 16" panels on the table and cover with the embroidered panels. Pin all 3 layers together. Quilt in a free motion style.
After quilting press with heavy steam and trim the panels to 11 1/2" (upper and lower edges) x 14" (left and right edges).
If you prefer to finish the raw edges with zig-zag, finish the sides and lower edge now.

Spread the first black strip on your working table, cover with the batting strip, cover with the second black strip. Pin all three layers together. Quilt in a free-motion style with multicolored threads.
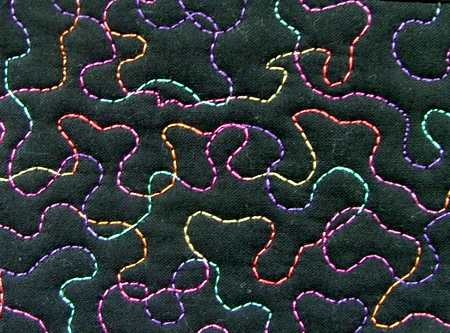
After the quilting is finished, press it with heavy steam and trim to 4" wide.
If you're finishing the edges with zig-zag, zig-zag the long edges of the strip now.
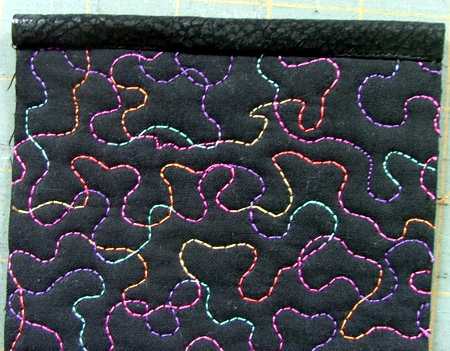
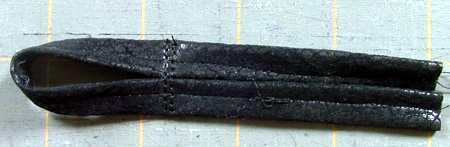
Finish the short edges with the 2" x 4" leatherette strips. For this, align a leatherette strip, face down, along a short edge of the black quilted strip, which stays right side up.
Topstitch with 1/4" seam allowance. Unfold the smaller strip and fold it to the back of the black quilted strip. Topstitch in the ditch. Top-stich again 1/2" from the edge. See the photo below.
We're going to finish the second short edge in the same way, but we have to do some other things first, so set the piece aside for now.
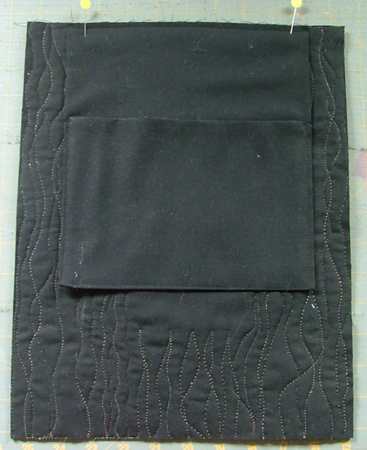
Fold the 14" x 16" black piece in half lengthwise, right side inwards. Stitch the 2 sides together, leave the third side open. Turn the working piece out through the opening. Press.
Fold the lower, finished edge, 5 1/2" up. Topstitch the sides.
Position the pocket on the "lining" of the back panel. Align the raw edges. Topstitch the pocket to the panel along the upper edge with 1/4" seam allowance.
Making Handles and Frog Fastener
Take the 2 1/2" x 26" leatherette strips. Working with one strip at a time, fold the strip in half lengthwise. Topstitch along the folded edge as close to the edge as you can (1/8"- 1/16" seam allowance). Start and finish stitching 1" from the ends.
Fold the raw edges of the strip 1/4" inside, pin while folding. Topstitch this side of the strip closed with 1/8" seam allowance. Start and finish stitching 1" from the ends.
Insert the cord into the handle. It should fit inside the stitched portion of the handle.
For the frog fastener, fold the 1" x 10" strip widthwise in three. Pin. Topstitch along the strip.
Fold the thin finished strip in half. Laying it flat, topstitch across several times, making a loop about 1" long and leaving the ends about 3 1/2" - 4" long, depending on the size of your button.
Attaching Handles and Fastener
On your working table, place the back panels right side upwards. Pin the ends of one handle to the upper edge, 2 1/2" from the left and right edges, 1" protruding beyond the edge.
Position the fastener between the handle. Pin with about 1" of "tails" protruding beyond the panel's upper edge.
Topstitch the handle and fastener in place. Seam allowance 1/4".
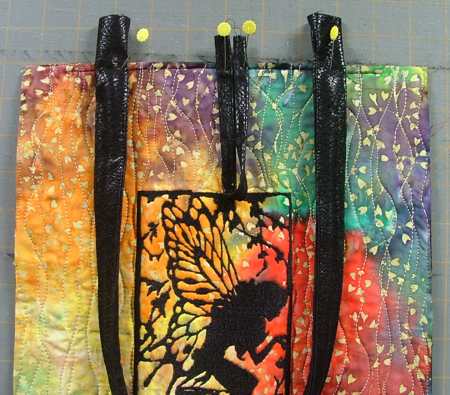
Return the panel to the table, with the handle and fastener in the same position as on the photo above. Cover with the 2" x 11 1/2" leatherette strip, face down. Align the upper edges. Pin together.
Stitch the strip to the panel with seam allowance slightly larger than 1/4", about 5/16".
Fold the strip back onto the "lining". Pin. Topstitch into ditch, then step 1/2" from the first stitch-line and topstitch again.

In the same way, attach handle to the front panel.

Assembly of the Bag.
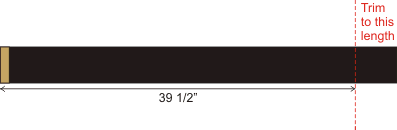
Now measure the length of the left, right and lower edges of the panel. It should be around 14" + 14" + 11 1/2" = 39 1/2".

Take the quilted black strip, which is going to form the sides and bottom. Measure the length you just calculated from the leatherette strip, cut the excess and finish the edge with the second leatherette strip as described earlier.
Place the quilted black strip, face up, on the table. Position the tote panel, face down, over the strip along the right edge. Align the upper and right edges. Pin together. Stitch together from the side of the panel, starting 1/4" from the lower edge. Seam allowance 1/4". Then stitch again 1/16" from the first stitch-line.

Turn the quilted black strip and align its edge with the bottom edge of the panel. Pin in place. Stitch with seam allowance 1/4". Start and finish stitching 1/4" from the panel's side edges. Stitch again 1/16" from the first stitch line.

Turn the quilted black strip and align with the left edge of the panel. Pin together. Stitch together from the side of the side-bottom part, starting 1/4" from the lower edge. Seam allowance 1/4". Then stitch again a parallel stitch-line 1/16" from the first stitch-line.

In the same way, attach the second panel.
If your raw edges are not finished with zig-zag, finish them with binding.
Turn the work right side out.
Press all seams to give the tote its rectangular shape.
Sew the button to the front panel. You are done!


