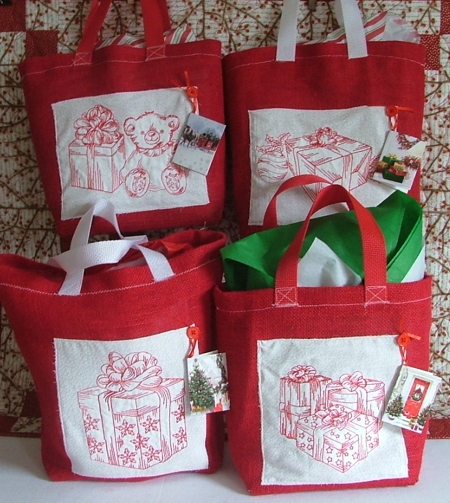
This is a "last minute" Christmas project. Home-made gift bags add much more of a personal touch, and unlike the paper ones you buy at the store, they stay useful for the giftee for a long time to come.
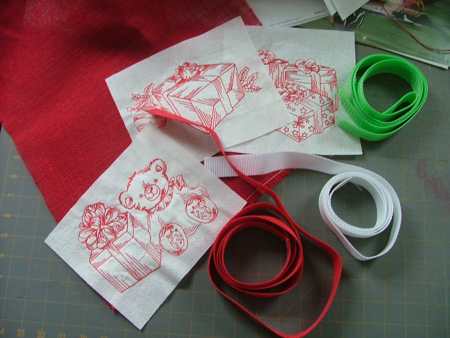
All you need are patterned fabric from your stash, white fabric for embroidery, webbing for handles and your embroidery and sewing machine!
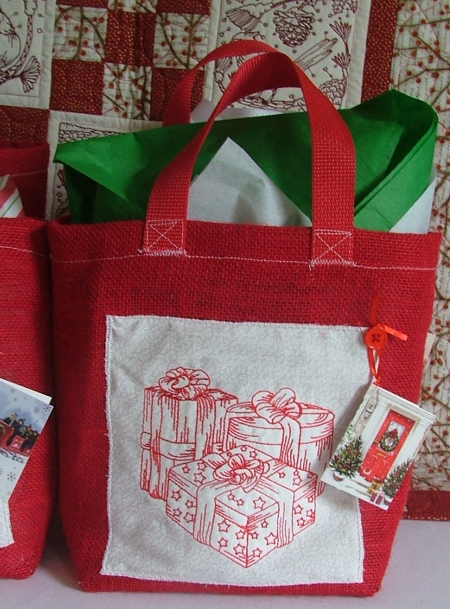
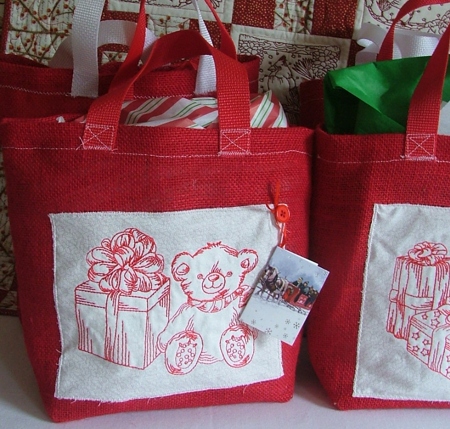
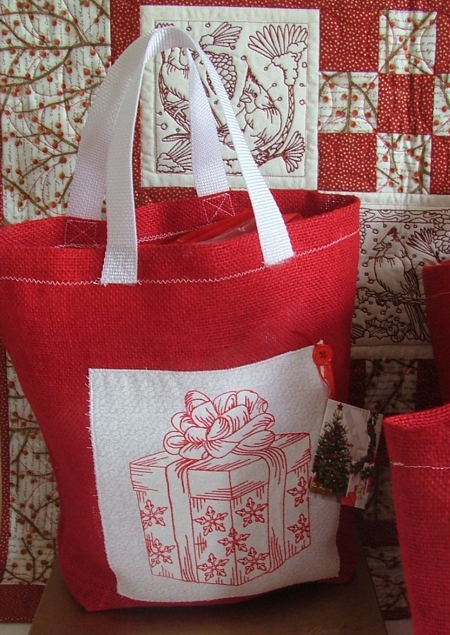
We used red burlap and light-weight webbing (red and white).
We used the designs from the Christmas Gifts Redwork Set. However, many other redwork designs from our vast collection will work.
Emboridery
Make the embroidery first. Redwork designs are easy and fast to embroider. Use light-weight cut-away stabilizer.
Trim the stitch-outs leaving margins of about 1/2" or less around the embroidery. Do not remove the stabilizer from the back of the stich-outs.
Sewing a Bag
Decide how large a bag you need. For our gifts, we needed bags 9" wide, 10" high and about 4" deep.
So, the width of our template was 14" x 26":
14" = 9"(width) + 4" (depth) + 1" (seam allowance)
26" = 10" (height of the front) + 1" (hem) + 4" (bottom width) + 10" (height of the back) + 1" (hem)
Out of your patterned fabric, cut a piece measuring 14" x 26" .
On your sewing machine, finish all raw edges with zig-zag stitch.
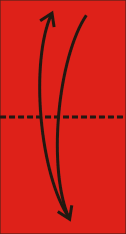
Fold the piece in half widthwise, face inwards and lightly press the folded line to mark the center of the bottom.
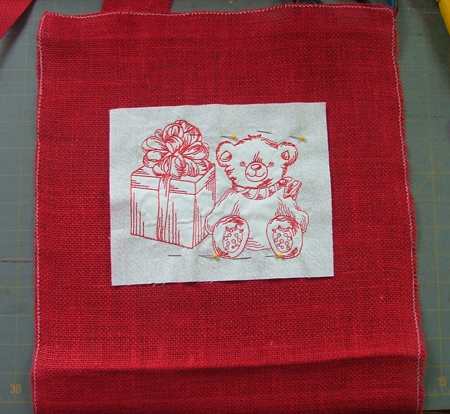
Unfold the piece and position the stitch-out on the front panel of the future bag. It should be about 4" from the upper edge and an equal distance from the side edges.
Pin it in place.
On your sewing machine, using zig-zag, stitch the embroidered piece to the panel.
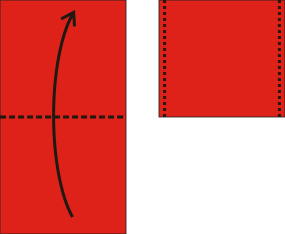
Fold the piece widthwise again, face inwards. Align the side edges. Sew them together. If you work with regular cotton fabric, seam allowance can be 1/4". For burlap (or other loose fabric), seam allowance is 1/2". Press the seams open.
Stitch box corners at the bottom of the bag. For this separate the front and back sides at the corners. Center the side seam over the central bottom line. Measure 2" along the seam from the corner.
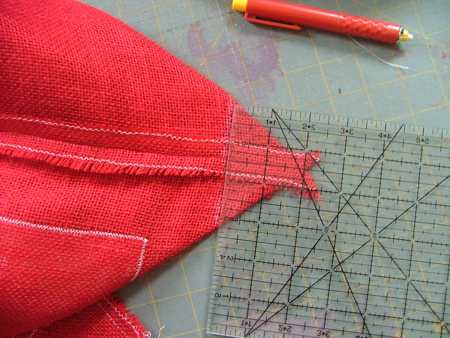
Draw a line perpendicular to the seam across the corner and machine-stitch it. Do not trim the seam.
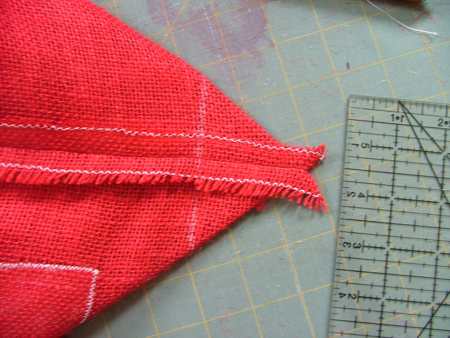
Repeat for the second corner.
Turn the corners to the bottom and press.
Turn the bag right side out.
Fold the upper edge 1" inside. Press.
Machine-stitch the hem from the inside of the bag.
Cut the webbing into lengths for the handles. Our handles are 14" long.
Pin the handles to the upper edges of the front and back panels an equal distance from the side seams.
Sew the handles in place.
You can further decorate the bags, if you have time, with buttons, beads, trims, etc.
Your bags are ready!