Mobile Menu IconMenu
Advanced Embroidery Designs -- Online Center for Machine Embroidery Designs
Enter code ArborDay24 to get Crescent Moon Tree FREE with Any Order! Shop Now!

Felt and Burlap Banner with Scarecrow Embroidery

This very easy to make banner or wall hanging uses burlap and scarecrow embroidery for a charming rustic look. The hanging features the designs from the Scarecrow Redwork Set.

The finished size of the hanging is about 11" x 36".

Felt and Burlap Banner with Scarecrow Embroidery image 1


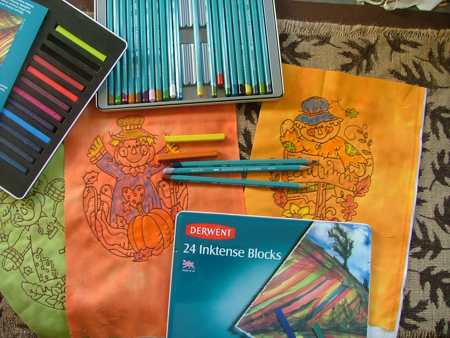
Besides embroidery thread (either polyester or rayon) and light-weight cut-away stabilizer, you will need

  • polyester craft felt in 3 different colors; 3 pieces should measure 11" x 11" and 1 piece 6" x 11"
  • solid cotton fabric in autumn colors for the embroidery; the pieces should be large enough for hooping,
  • burlap,
  • fabric glue (optional),
  • fabric markers, pencils, inks (optional),
  • a dowel, or a branch about 13"-14" long.
  • a quilter's ruler and a rotary cutter can be helpful. If you don't have them use a straight-edge and a pair of scissors,
  • a sewing needle with a large ear.

Emboridery

Stabilize the fabric with cut-away stabilizer.
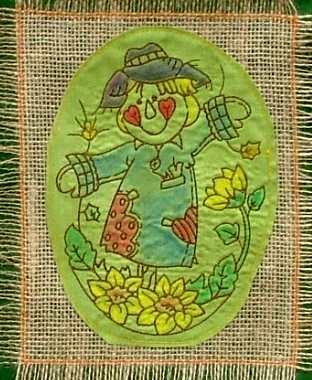
Embroider the designs from the Scarecrow Redwork Set.

If you any fabric coloring media, you can use them to color the embroidered scarecrows. This is optional.

Felt and Burlap Banner with Scarecrow Embroidery image 2

Making the Burlap Patches:

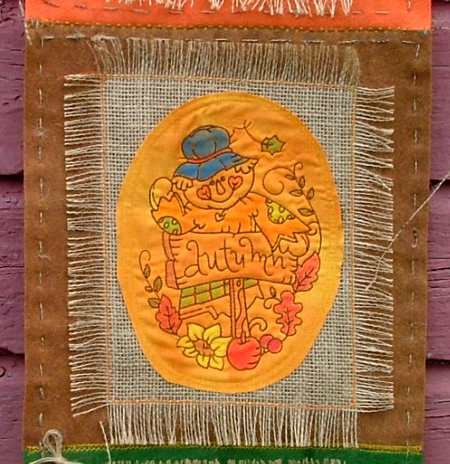
Cut the burlap into squares measuring about 11" x 11". Pull threads from the edges until the inner burlap measures 7" x 9". Do not discard the pulled threads.
Using zig-zag, stitch along the burlap edges.

With the rotary cutter (or scissors), trim the fringe to 1".

Cut out the embroidery. Spread a small amount of fabric glue on the back of the embroidery and adhere it to the burlap piece.

Felt and Burlap Banner with Scarecrow Embroidery image 3

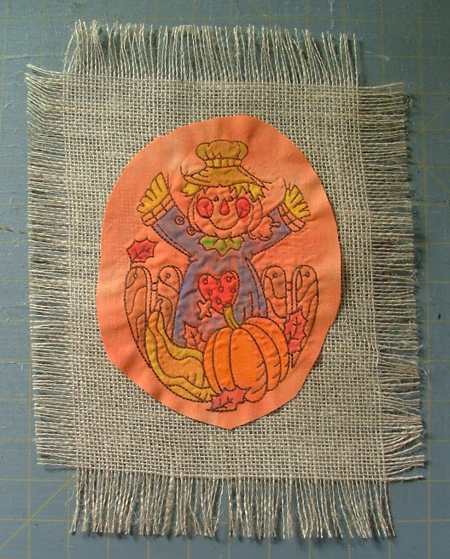
Using a straight stitch, sew along the edges of the embroidered piece 1/8" from the edge.

Felt and Burlap Banner with Scarecrow Embroidery image 4

Making the Felt Hanging

Place the 11" x 11" felt pieces end-to-end and stitch them together using any bridge stitch from your machine.

Sew the 6" x 11" felt piece to the top felt square. Fold it in half and sew again to form a sleeve for the stick.

Finishing the Hanging:

Position the burlap patches with embroidery over the felt squares. Sew them to the felt along the edges using a straight stitch.

Felt and Burlap Banner with Scarecrow Embroidery image 5

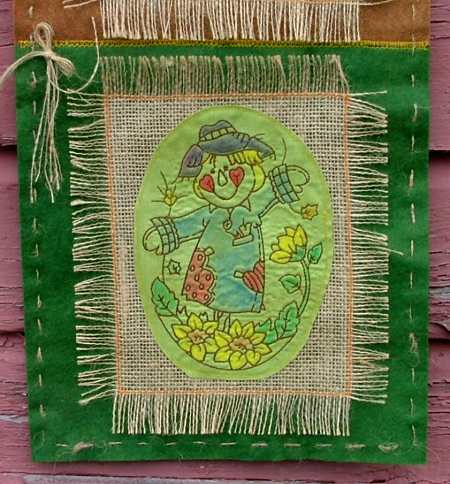
Thread the needle with the large ear with the burlap thread that you pulled from the squares and baste along the felt edges.

Make a couple of bows with the remaing burlap threads and attach them to the hanging.

Felt and Burlap Banner with Scarecrow Embroidery image 6

Insert the dowel or branch into the sleeve. Tie burlap threads to the ends to make a loop for hanging.

Felt and Burlap Banner with Scarecrow Embroidery image 7

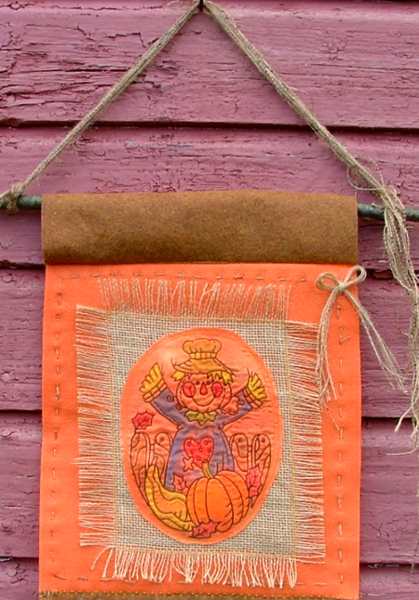
The hanging is done!

Enjoy!

Happy Crafting!

Back to Scarecrow Redwork Set.

Back to Projects Page

Mailing List
Enter your e-mail for news, discounts and exclusive special offers.


Find us on Twitter

Special Offers
Bonus design on all orders over $25
Coffee Coasters In-the-Hoop

Shop Now!

Announcement
Best Project Contest
The results are in!
Featured Project
Check out our latest project Birds and Blooms Quilted Tablerunner
Tutorials
Never heard of photo stitch? - Check out our What is Photo Stitch? page
Most Popular Designs
|| Home || Shop || Free Designs || New Designs ||
|| Projects || Tutorials || Links || About Us || Contact Us ||
|| Store Policy || Licensing || Accessibility ||

Social Media:

Copyright © Advanced Embroidery Designs. All Rights Reserved.