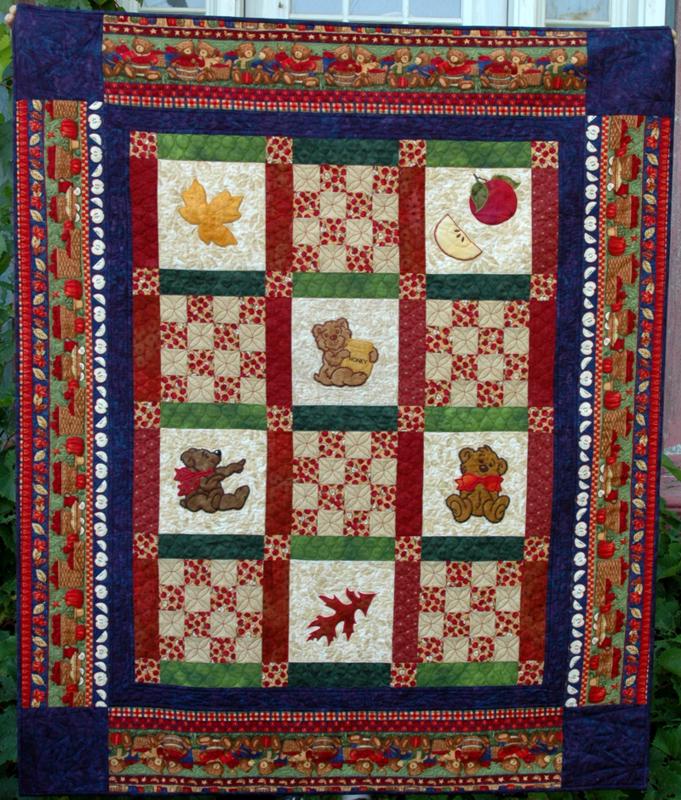
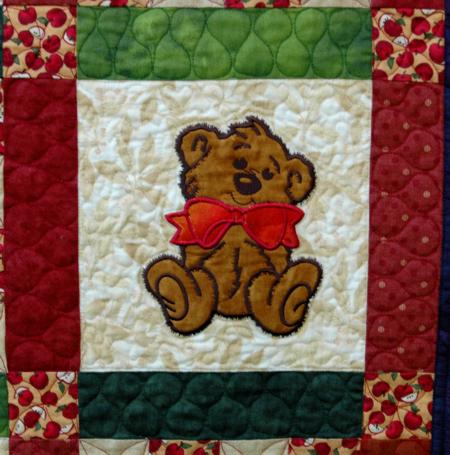
This charming Teddy Bear-themed wall quilt is perfect for the kids' room. We used darker colors for a Fall and Winter theme, but you could make the same exact quilt with brighter colors for a Summer look.
The finished size of the quilt is about 50" x 60".
The applique designs used on the quilt are from the
Apple Applique Set, Teddy Bear Applique Set, Leaves Applique Set.
|

Click to enlarge
|
You will need:
- embroidery thread (either polyester or rayon)
- light-weight cut-away stabilizer,
- scraps of cotton fabrics for applique,
- about 1 yard of neutral fabric for the background and pieced blocks;
- 1 fat quarter or 1/4 yard of fabric with a small pattern (ours is patterned with tiny apples) for the pieced blocks and sashing;
- 1 1/2" yard of autumn-themed patterned fabric for the borders;
- scraps of cotton fabrics for the sashing to match the colors of the border (Choose them after you choose the border fabric. We chose different shades of red and green),
- 1 yard of fabric for the first border, border corners and binding (ours is navy blue);
- batting and backing,
- quilting thread to match the fabrics,
- quilter's ruler and rotary cutter (or graphic pencil and sharp scissors).
|
| Cutting: |
Out of neutral colored fabric/s cut
- 6 squares measuring 8 1/2" x 8 1/2" and
- 48 squares measuring 2 1/2" x 2 1/2".
Out of fabric with small pattern cut 68 squares measuring 2 1/2" x 2 1/2".
Out of red fabrics, cut 16 strips measuring 2 1/2" x 8 1/2".
Out of green fabrics, cut 16 strips measuring 2 1/2" x 8 1/2".
Out of blue fabric cut
- 2 strips measuring 2 1/2" x 42 1/2,
- 2 strips measuring 2 1/2" x 36 1/2" and
- 4 squares measuring 7 1/2" x 7 1/2".
Out of fabric for the second border cut
- 2 strips measuring 7 1/2" x 36 1/2" and
- 2 strips measuring 7 1/2" x 46 1/2".
|
Assembly:
|
| Note: seam allowance is 1/4". Press each seam after you make it. |
| Sew 48 neutral colored and 48 patterned squares in 48 pairs. |

|
| Sew the new elements in 24 strips: |

|
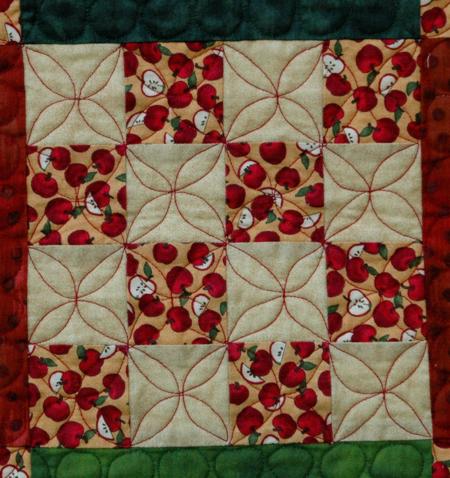
Sew the strips together 4 at a time to get 6 pieced blocks:
|

|
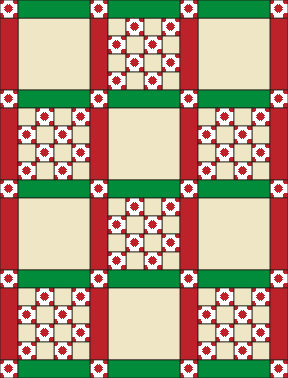
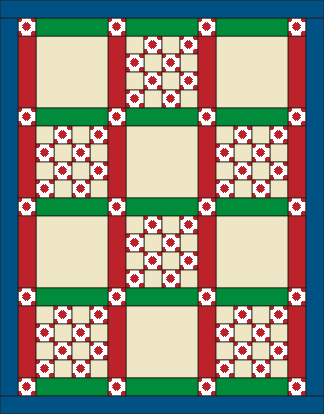
| Using the red strips, the neutral squares and the pieced blocks, sew the rows. The first and the third row are sewed in the following order: red strip - neutral square - red strip - pieced block - red strip - neutral square - red strip. |

|
The second and the fourth rows are sewed in the following order: red strip - pieced block - red strip - neutral square - red strip - pieced block - red square.
|
|
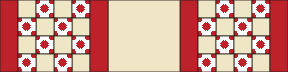
Out of 4 patterned squares and 3 green strips each, sew 5 sashing strips:
|

|
| Sew the sashing strips between the rows and to the upper and lower edges of the quilt. |
|
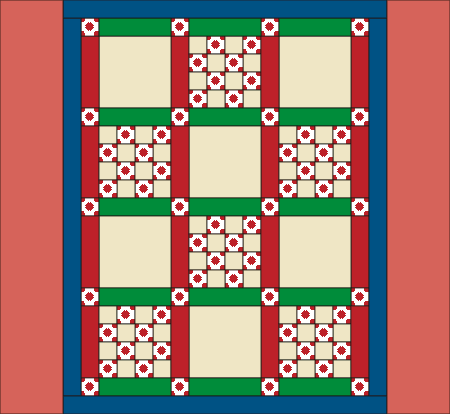
| Sew the blue 42 1/2" strips to the left and right edges of the quilt. |
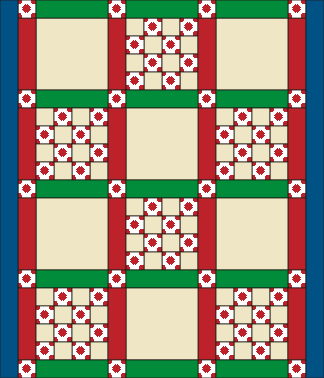
|
| Sew the blue 36 1/2" strips to the upper and lower edges of the quilt. |
|
| Embroidery: |
| We did the embroidery before we attached the outer border. Decide which design goes in which neutral square and do them one by one. |
|
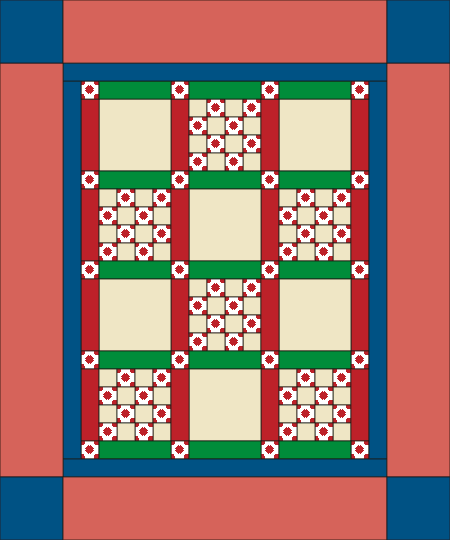
| Borders: |
| Sew the 7 1/2" x 46 1/2" borders to the left and right edges of the quilt. |
|
| Sew the blue 7 1/2" squares to the ends of the 36 1/2" border strips. |

|
| Sew the borders to the upper and lower edges of the quilt. |
|
| Quilting and Finishing: |
Now place the backing on a flat surface (table) face down. Cover with batting. Spread your working piece over it.
Pin all three layers together with 1" pins and start quilting. We in a free kotion style all over the quilt. |
After the quilting is finished, press the work with heavy steam and square the work -- all corners should be 90 degrees and opposite sides should be of the same length.
Finish the raw edges with the binding.
|
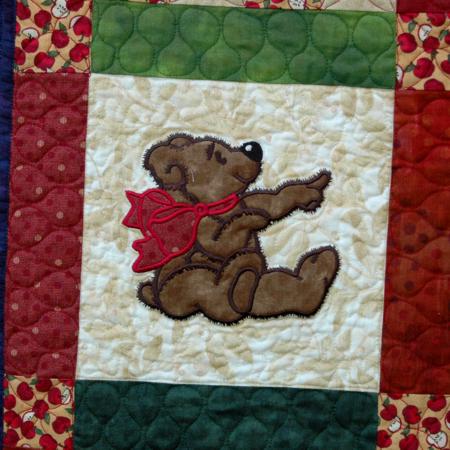
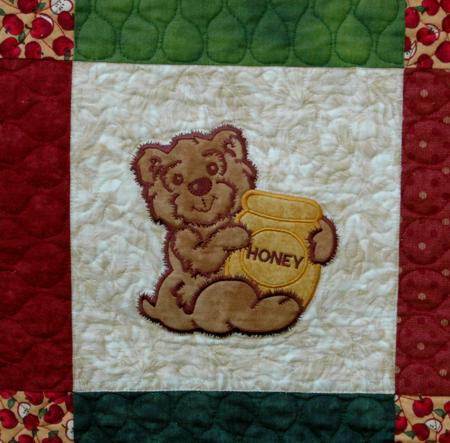
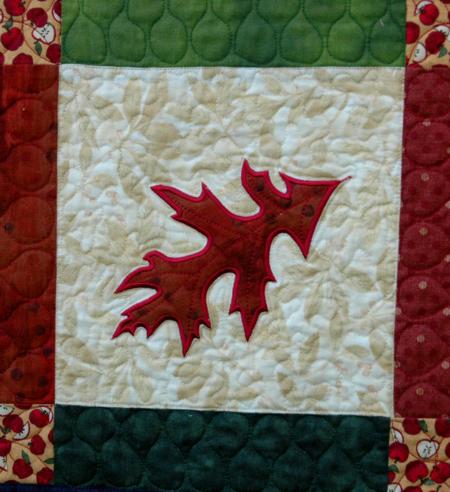
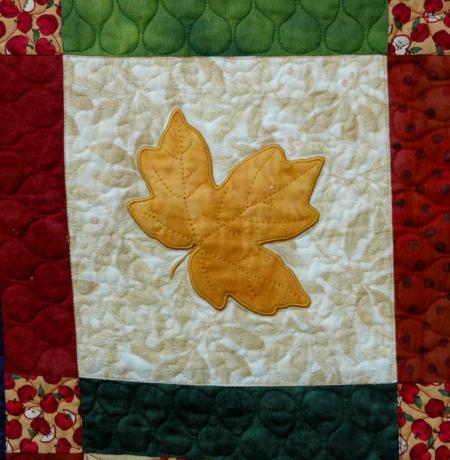
| Your quilt is ready. Enjoy! Here are some more close-ups: |
|

|
|
|
|
|
|
Enjoy!
|
|
Happy Stitching!
|
|
Back to Apple Applique Set, Teddy Bear Applique Set, Leaves Applique Set
|
Back to the Project Page
|