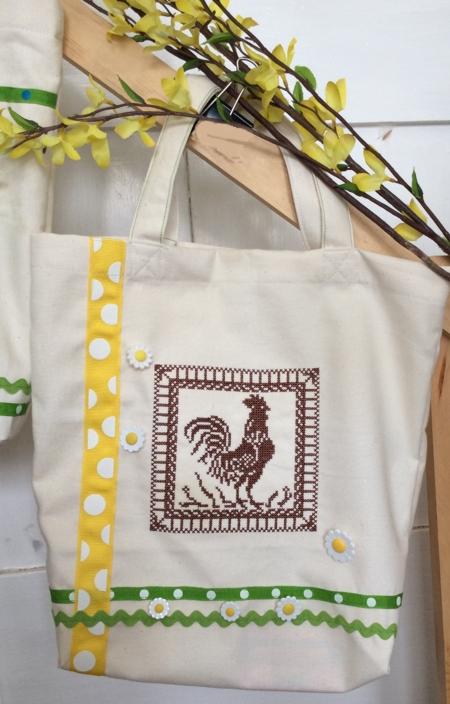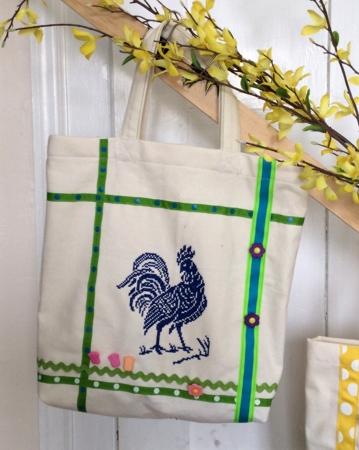
These whimsical Easter-themed tote bags are easy to make. They're easy to personalize for yourself or any of your family or friends.
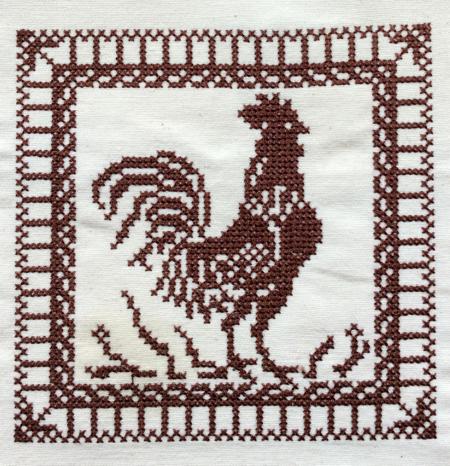
We used one color cross-stitch designs of roosters, one is from the Porcelain Chicken Family Set and the other is Rooster.
The finished size of the bags is about 13" x 15" x 2".
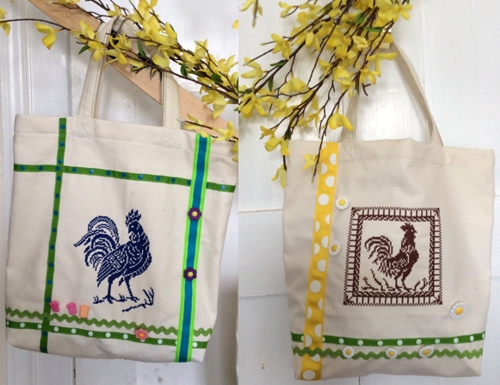
Besides embroidery thread (either polyester or rayon), you will need
Cutting:
Out of your fabric, cut a piece measuring 14" x 33" and 2 strips measuring 3" x 18" for handles.
Making the Bag:
Fold the 14" x 33" piece in half widthwise, wrong side to wrong side, align all edges and press the folded line to mark the center of the bottom.
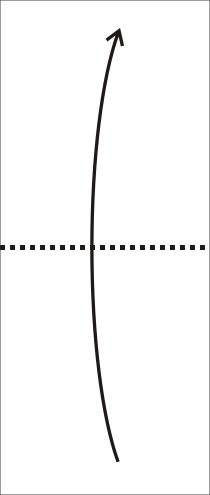
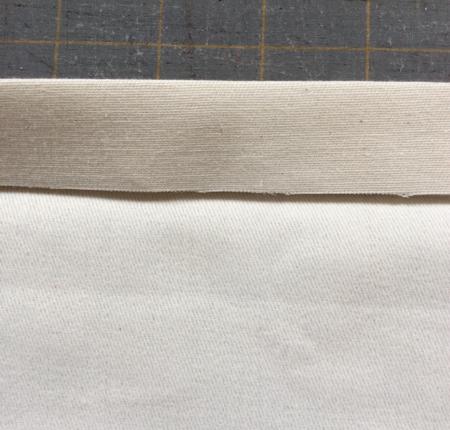
Fold one of the short sides 1" back and press it heavily .
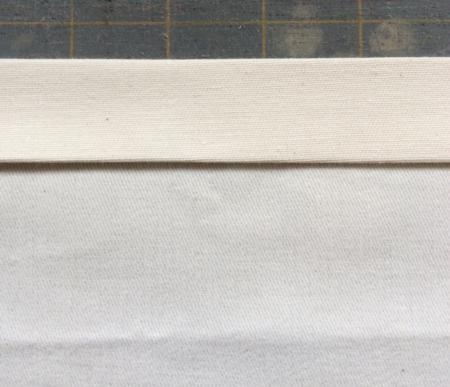
Fold back 1" again and again press heavily.
Handles:
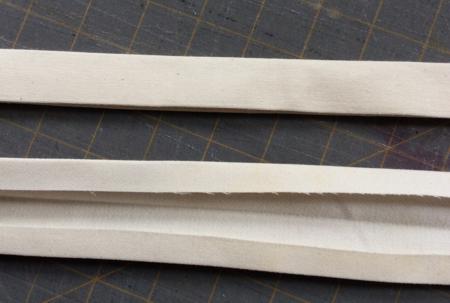
Fold the 3" x 18" strips lengthwise, wrong side to wrong side, and press heavily.
Fold the long edges 1/2" inside and press again.
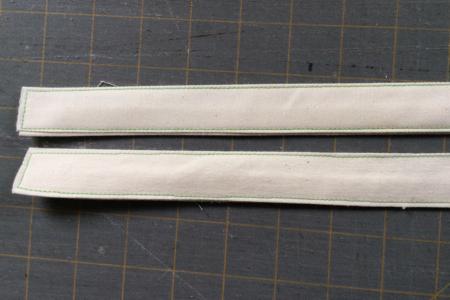
Topstitch along all the edges 1/8" from the edge.
Embroidery:
Mark the position of the embroidery on the bag. It should be approximately 4" below the folded upper edge, 4" from the side edges, 5" from the bottom line.
Make the embroidery of the Rooster or of the designs from the Porcelain Chicken Family Set.
Decorating with Trims:
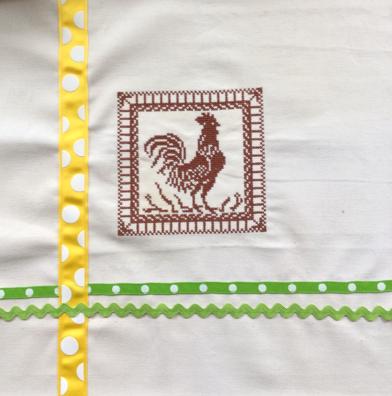
Position trim on the front panel around the embroidery. Play around with the trim. When you like how it looks, pin the trim and then topstitch it in place.
Sewing the Bag Sides:
Fold the working piece face inside, unfold the upper edges, align all sides. Sew the sides together, seam allowence 1/4". Finish the raw edges with zig-zag stitch.
Press the seams. Turn the right side out, press again.
Attaching the Handles:
Place the working piece on the working table, face up. Unfold the upper sides. Place the handles as shown - 3" from the sides and 3/4" protruding beyond the first crease line. Pin.
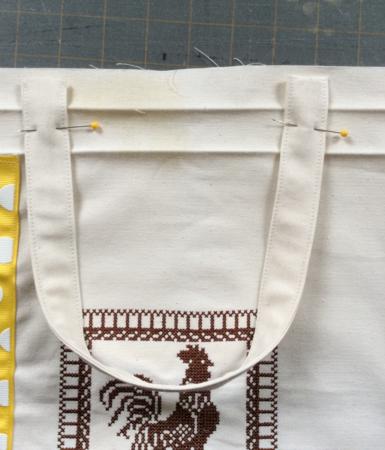
Topstitch along the first crease line. Repeat the procedure to attach the handles to the back panel.
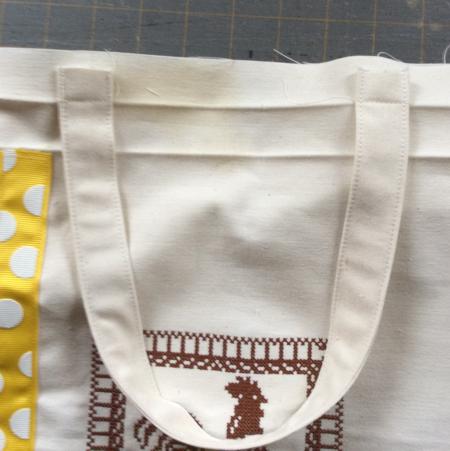
Fold along the crease line, the handle will turn inside the bag.
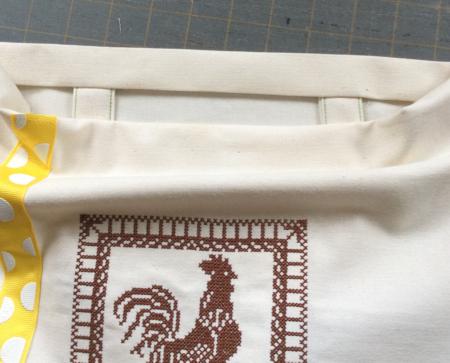
Unfold the handles up as shown and pin.
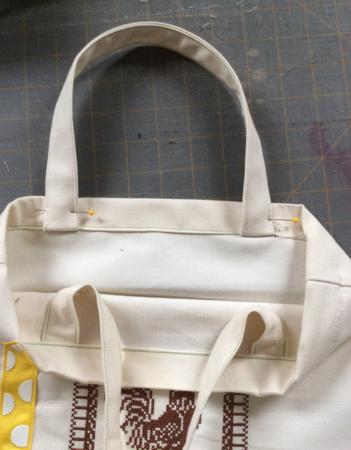
Topstitch to attach the handles. Then topstitch the upper edge close 1/8" from the edge.
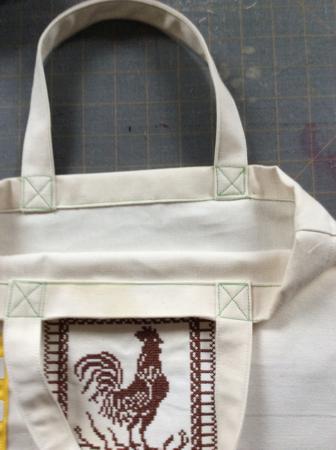
Making the boxd corners:
Make box corners at the bottom of the bag. For this, separate the front and back sides at the corners. Center the side seam with the center of the bottom. Measure
1 1/2" along the seam from the corner.
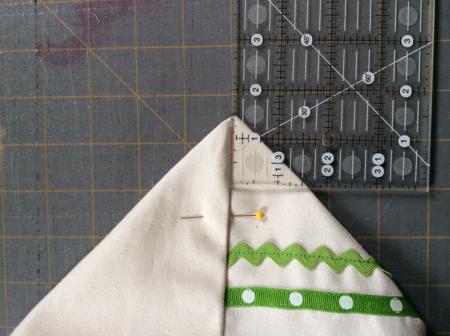
Draw a line perpendicular to the seam across the corner.
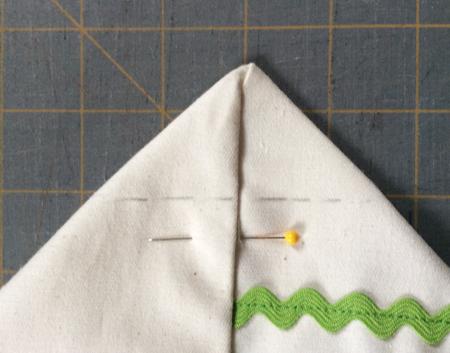
Topstitch along the line. Repeat for the second corner.
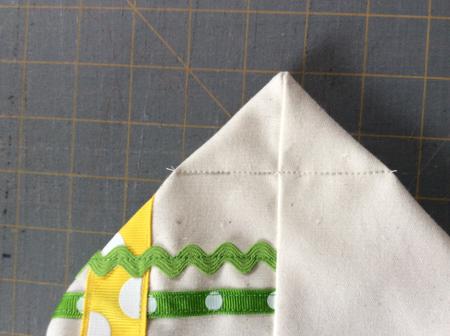
Fold the corner to the side seam.
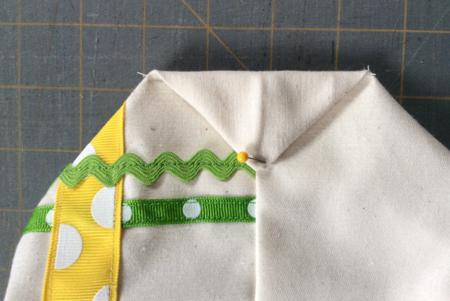
Hand-stitch the corner to the side seam. Decorate it with a button
.
If you want the corners inside the bag, turn the work inside out and perform the same procedure as described above.
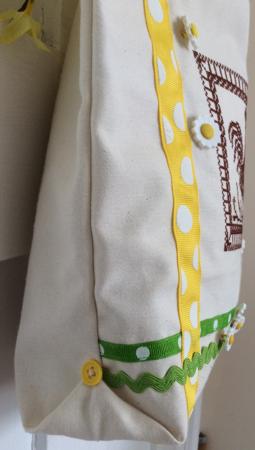
You can additionally decorate the front panel with buttons or other ornaments.
Your bags are ready. Enjoy!
