These are instructions on how to embroider and assemble the Patchwork Ball: Christmas Rose Ornament. Please note that you need some patience for handstitching to assemble the ball.
You will need
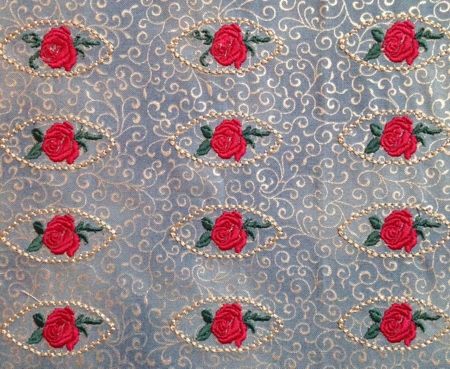
Embroidery
There are 2 simple designs in the set. You need to embroider the file with the rose 12 times, and the plain file 24 times.
Assembly:
Step 1: Cut out all stitch-outs with a 1/4" (6 mm) seam allowance. Divide them into groups - 1 rose stitch-out and 2 plain stitch-outs in each.
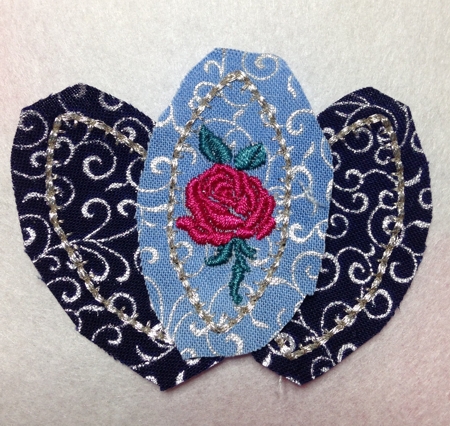
Step 2: Take one group of three stitch-outs. Using the matching thread, whip-stitch through the embroidered outline to attach the parts, leaving one seam open. (Note: it doesn't matter which order you start stitching them together in, as long as you leave one seam open for stuffing the ball. However, it's better to leave the seam between to plain stitch-outs open).
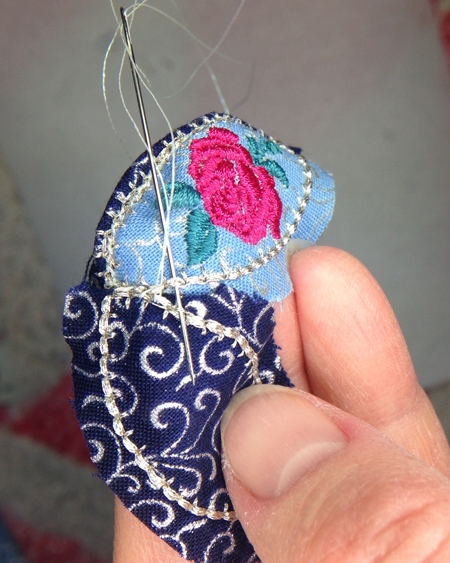
Step 3: Stuff the working piece and sew the seam closed.
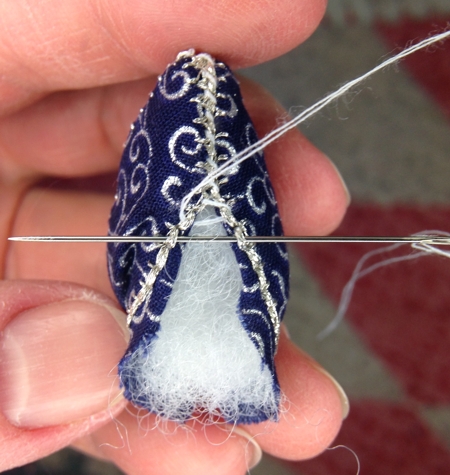
Sew all groups of stitch-outs in this way. You will get 12 separate pieces.
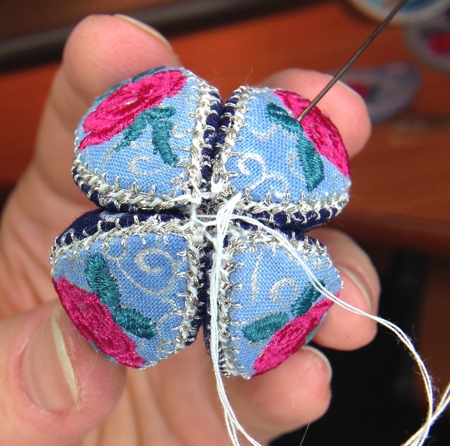
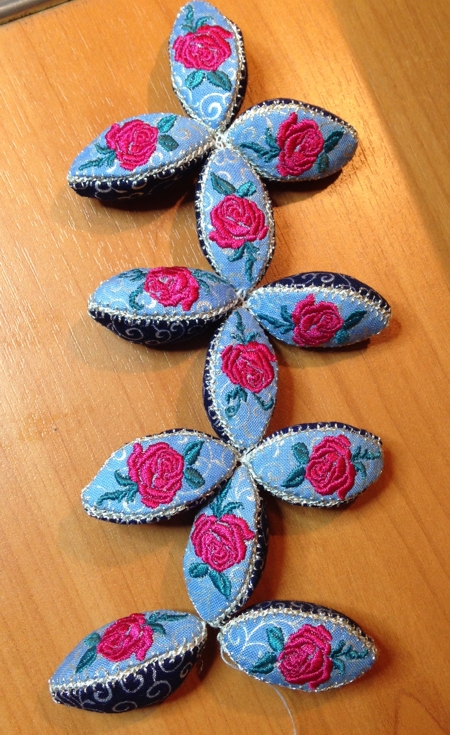
Step 4: Take 4 completed pieces and connect their tips as shown, by sewing them together with the same color thread.
Step 5: See photo below. Connect the next 3 pieces (5, 6, 7) to the fourth piece from the first group.
Connect the next 3 pieces (8, 9, 10) to the seventh piece from the second group.
Connect the last 2 pieces (11 and 12) to the tenth piece from the third group.
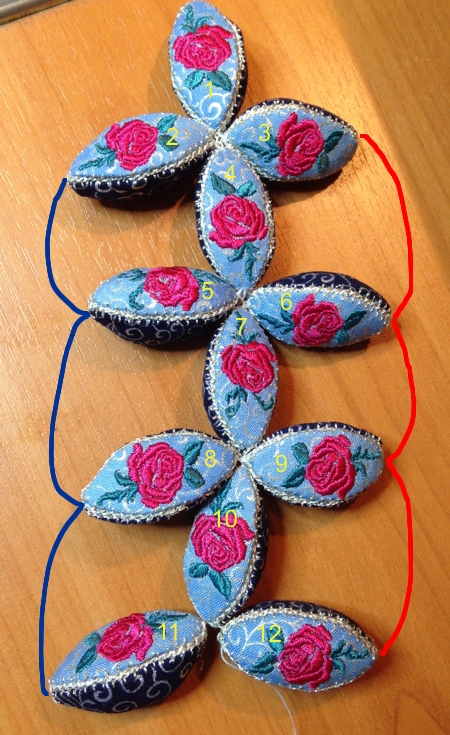
You will get :
Step 6: Now pull the line into a circle and connect the tip of piece 1 with the tips of the pieces from the third group (10, 11, 12). It should look like the photo below when resting on a surface.
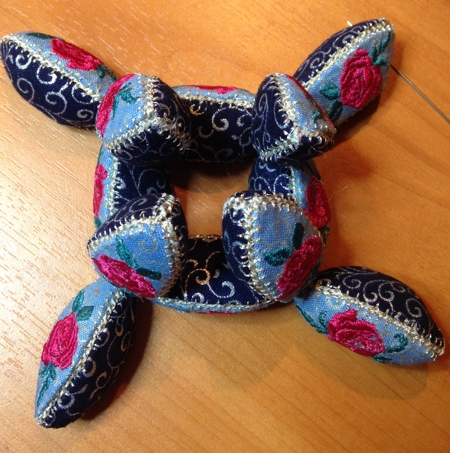
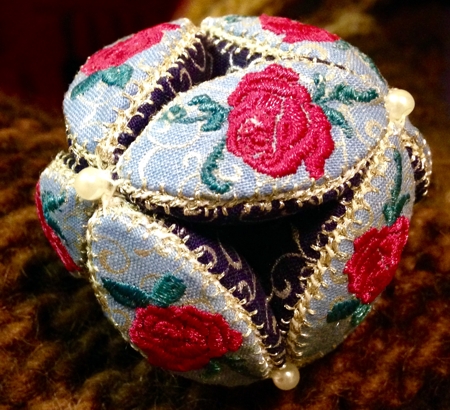
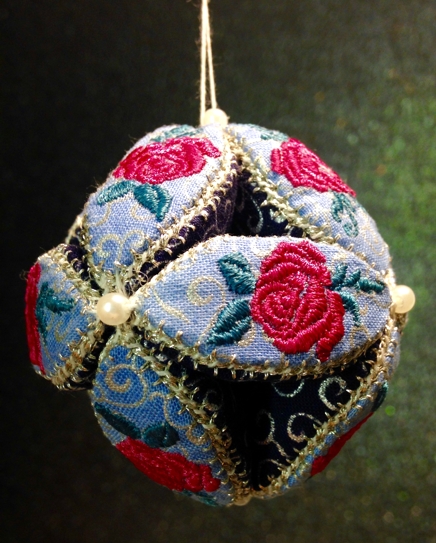
Step 7: On both sides, sew the 4 unattached tips together to get a ball.

Step 8: Decorate the places of connection with beads or buttons.