Mobile Menu IconMenu
Advanced Embroidery Designs -- Online Center for Machine Embroidery Designs
Earth Day Sale! 40% off Floral, Landscapes, Redwork Flowers and Seasons!

Easter Coasters/Ornaments with Embroidery

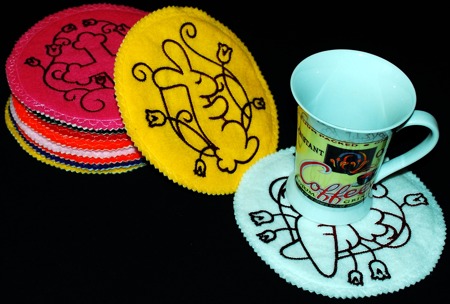
These charming Easter-themed Coasters / Ornaments are a great last-minute decoration for Easter week. They are very quick and easy to embroider, and are just the thing to add a finishing touch to your table.

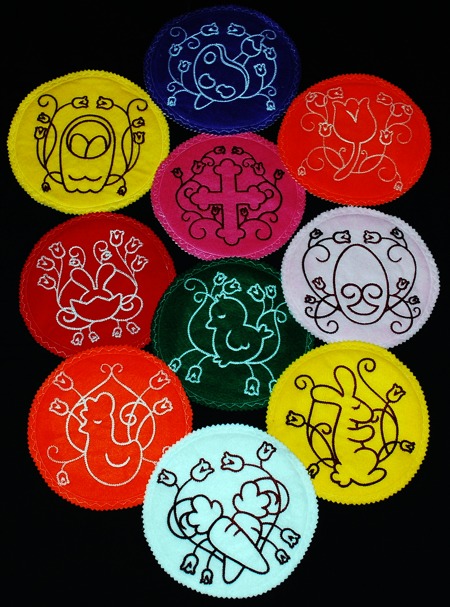
We used the designs from the One-Color Easter Set.

The finished size is about 5 1/2" in diameter.

Easter Coasters/Ornaments with Embroidery image 1

You will need

  • embroidery thread (either polyester or rayon), choose the color to your taste,
  • light- to medium-weight tear-away stabilizer,
  • polyester craft felt of different colors,
  • low-loft polyester batting for extra body,
  • any trim or ribbons to make loops, if you are making hanging ornaments,
  • a compass or a small plate/saucer with a diameter of 5"-5 1/2" diameter,
  • a removable fabric marker,
  • pinking shears (though regular scissors will also work)

Embroidery:

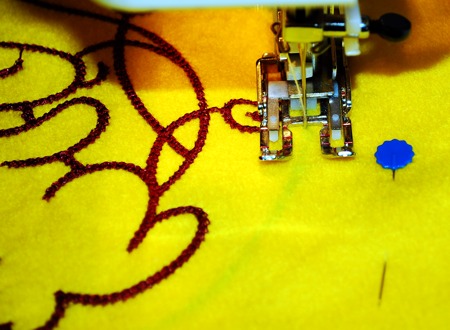
Stabilize a piece of felt with light-weight tear- or cut-away stabilizer. Embroider the designs from the One-Color Easter Set.

Making the Coasters/Ornaments

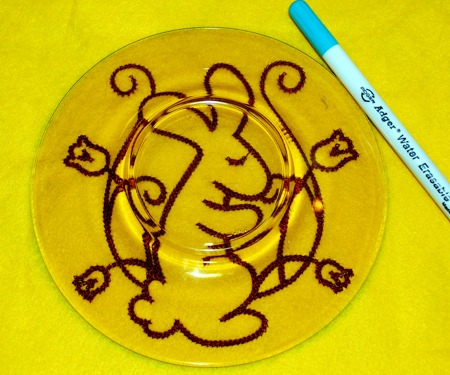
Step One: Draw a circle around the stitch-out.

Easter Coasters/Ornaments with Embroidery image 2

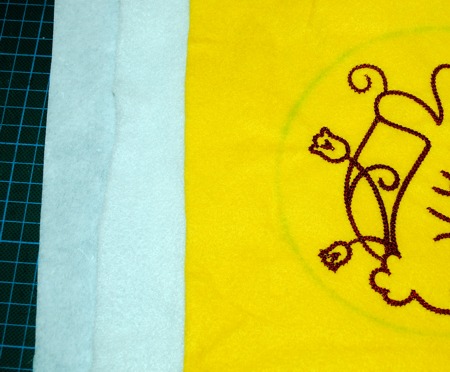
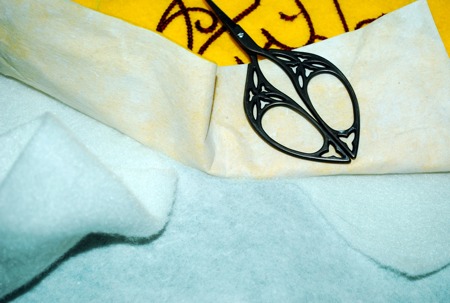
Step Two: Make a sandwich using another piece of felt, low-loft batting and felt with the embroidery. Pin them together.

Easter Coasters/Ornaments with Embroidery image 3

Step Four: On your sewing machine, topstitch through all layers along the drawn line.

Note: If you are making a hanging ornament and want to attach a loop, cut a piece of trim or ribbon about 12" long, fold it in half and tuck the ends between the layers.

Easter Coasters/Ornaments with Embroidery image 4

Step Five: Fold the upper and lower felt layers back and cut away the batting as close to the stitches as possible.
Note: If you added a loop, take care not to cut it.

Easter Coasters/Ornaments with Embroidery image 5

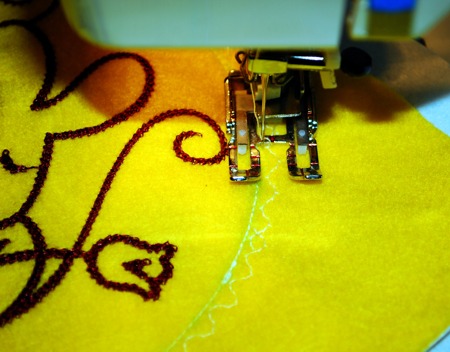
Step Six: Return to your sewing machine, choose any decorative stitch you like and topstitch along the circle.

Easter Coasters/Ornaments with Embroidery image 6

Step Seven: Using the pinking shears, cut away the upper and lower layers.
Note: If you added a loop, take care not to cut through it.

Easter Coasters/Ornaments with Embroidery image 7

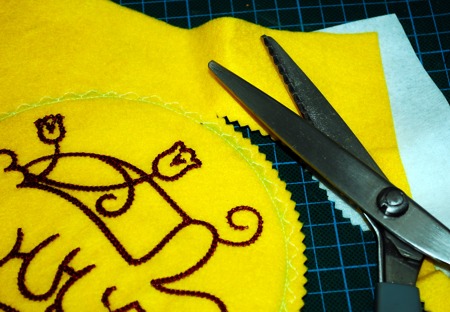
This is what the coaster looks like.

Easter Coasters/Ornaments with Embroidery image 8

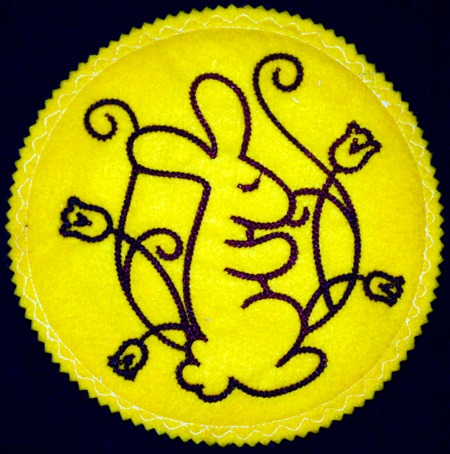
Your coasters are done. Enjoy!

Easter Coasters/Ornaments with Embroidery image 9


Back to One-Color Easter Set

Back to the Project Page

Mailing List
Enter your e-mail for news, discounts and exclusive special offers.


Find us on Twitter

Special Offers
Bonus design on all orders over $30
Ivy Vine Border Set

Shop Now!

Announcement
Best Project Contest
The results are in!
Featured Project
Check out our latest project Birds and Blooms Quilted Tablerunner
Tutorials
Never heard of photo stitch? - Check out our What is Photo Stitch? page
Most Popular Designs
|| Home || Shop || Free Designs || New Designs ||
|| Projects || Tutorials || Links || About Us || Contact Us ||
|| Store Policy || Licensing || Accessibility ||

Social Media:

Copyright © Advanced Embroidery Designs. All Rights Reserved.