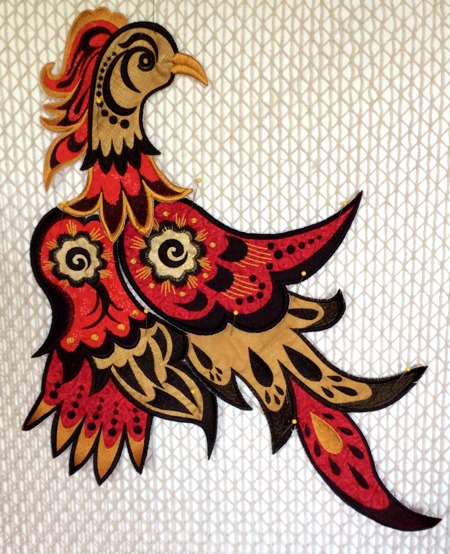
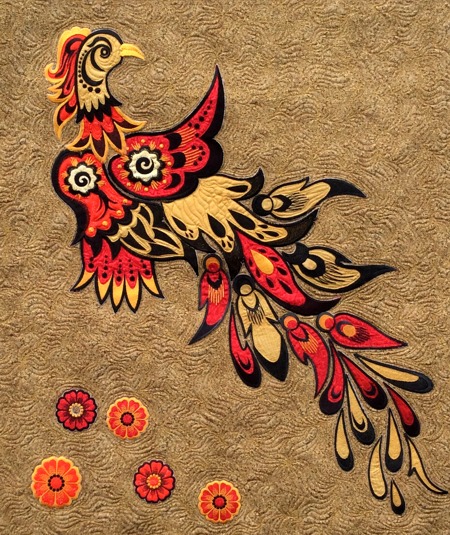
These are instructions on how to embroider the designs from the Phoenix Applique Set. All the designs are embroidered separately on organza and watersoluble mesh. They are then positioned on the background fabric and are fused, adhered or sewn in place.
The full finished size of the applique is about 22" x 28".
Note: Feel free to change the colors of the fabric and threads to your taste. You can create some very interesting effects by changing up the colors.
You will need :
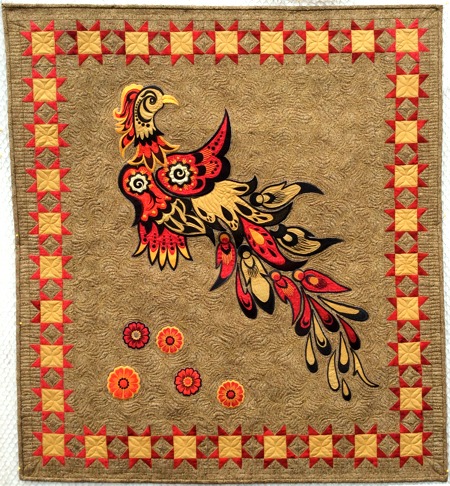
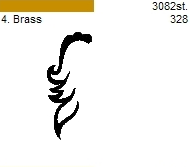
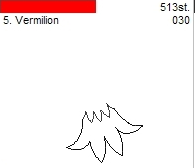
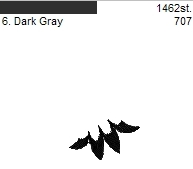
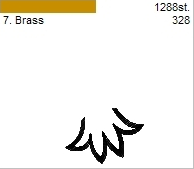
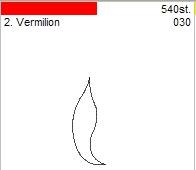
The Head (Part 1)
Step One: Upload the file into the machine. Hoop a layer of organza with a layer of watersoluble mesh. Start the machine. The first color will embroider the outline of the head.
Step Two: Place a piece of red fabric over the outline. It will embroider another outline over the fabric and stop. Cut out the fabric around the outline.
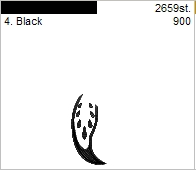
Step Three: The third color will embroider over the fabric. We used black thread.
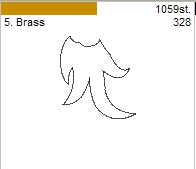
Step Four: The fourth color will finish the raw edge. We used a golden thread.
Step Five: Now place a piece of fabric of a different red hue over the outline and start the machine. It will embroider the outline of the neck feathers over the fabric. After the machine stops, cut away the fabric around the outline.
Step Six: The next color will finish the raw edges of the neck feathers. We recommend black thread.
Step Seven: The seventh color will embroider the feathers. We recommend golden thread.
Step Eight: Cover the outline with a piece of orange, yellow or golden fabric. Start the machine. After it embroiders the outline over the fabric and stops, cut away the fabric around the outline.
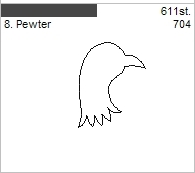
Step Nine: The next color will embroider the features of the head. We recommend black thread.
Step Ten: The last color will embroider the beak; use golden thread.
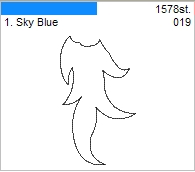
The Left Wing (Part 2)
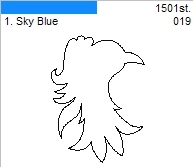
Step One: Hoop a layer of organza with a layer of watersoluble mesh. The first color will embroider the outline of the wing.
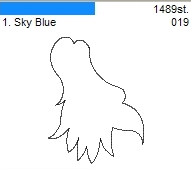
Step Two: Place a piece of red fabric over the outline. Start the machine. The second color with embroider an outline over the fabric. Cut away the fabric around the outline.

Step Three: The third color will embroider the feathers, use golden thread.
Step Four: The fourth color will finish the raw edges and embroider some details on the feathers. Use black thread.
Step Five: Cover the wing outline with a yellow or golden piece of fabric. Start the machine, it will embroider the outline of the next part over the fabric. Cut away the fabric around the outline.
Step Six: The sixth color will embroider this part of the wing. Use black thread.
Step Seven: Cover the wing outline with a piece of red fabric. Start the machine. It will embroider the outline of another part of the wing. Cut away the fabric around the outline.
Step Eight: Embroider the next color with golden thread.
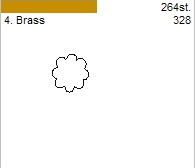
Step Nine: Cover this part of the wing with a piece of golden fabric. Start the machine. It will embroider the outline of a flower. Cut away the fabric around the outline.
Step Ten: Use black thread for this step. It will embroider the details of the flower and finish its raw edges.
Step Eleven: The next color will embroider some dots on the wing. Use golden thread.
Step Twelve: This color will finish the raw edges. We recommend black.
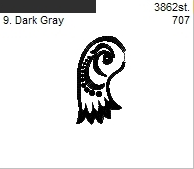
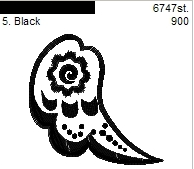
Right Wing (Part 3):
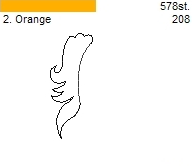
Step One: Upload the file into the machine. Hoop a layer of organza with a layer of watersoluble mesh. Start the machine. The first color will embroider the outline of the wing.
Step Two: Cover the outline with a piece of red-tone fabric. Start the machine. It will embroider the same outline over the fabric. Cut away the fabric around the outline.
Step Three: Embroider the next motif with golden threads.
Step Four: Cover the center of the motif with a piece of golden fabric. Start the machine. It will embroider a flower outline over the fabric. Cut away the fabric around the outline.
Step Fine: Finish the embroidery with black thread.
Body (Part 4):
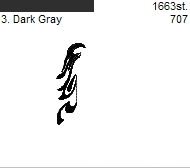
Step One: Hoop a layer of organza with a layer of watersoluble mesh. The first color will embroider the outline of the body with feathers
Step Two: Cover the outline with a piece of red fabric. Start the machine, it will embroider an outline of a feather. Cut away the fabric around the outline.
Step Three: This color will embroider the feather. We used golden thread.
Step Four: This color will embroider the feather and finish the raw edges of the feather. We used black thread.
Step Five: Cover the remaining outline with a piece of either yellow, golden or orange fabric. Start the machine. It will embroider the outline on the fabric. Cut away the fabric around the outline.
Step Six: The next color will embroider and finish the raw edges .
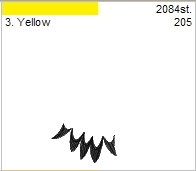
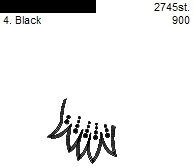
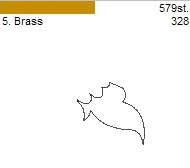
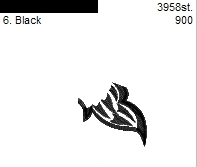
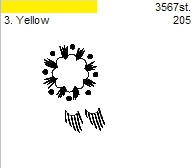
Feathers (Parts 5 and 6)
Note: Feel free to use as few or as many feathers as you like. The files "part 5" and "part 6" contain all the feathers of the set, and you can embroider them simultaneously. Each feather also has its own file.
All feathers are embroidered in the same way:
We embroidered the feathers from part 6 with both red and golden fabrics.
Feathers 1-7 use golden fabrics and black thread.
Feather 8-12 use red fabrics and black thread.
Assembly:
Wash out the stabilizer, spread the stitch-outs and leave to air-dry. Press. Cut away the organza.
Take a sheet of Steam-a-Seam2, peel the protective paper on one side. With your fingers, press a stitch-out to the sticky side. Cut away the excess sheet around the stitch-out. Repeat with all the stitch-outs.
Prepare the base fabric (fabric on which you will assemble the applique).
Lay out the parts of the Phoenix as they will appear in the finished version. This is the time to experiment and try different arrangements of the feathers. You can see our arrangement in the pictures on this page.
When you are happy with the layout, remove the protective paper from the back of the stitch-outs, leaving only the sticky film.
Position the first 4 parts on the base fabric. Please note that the parts slightly overlap each other.
Follow the instructions of the Steam-a-Seam2 manufacturer. Using a hot iron, fuse the stitch-outs to the base fabric.
Now repeat for the feathers. In our case, we embroidered parts 5 and 6 once each, and used the feathers to lengthen the Phoenix's tail. However, you might want to embroider additional feathers to increase the size of the wings for a truly spectacular Phoenix!
Enjoy!


