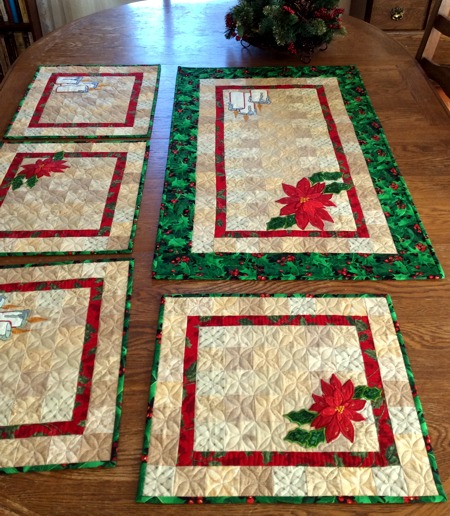
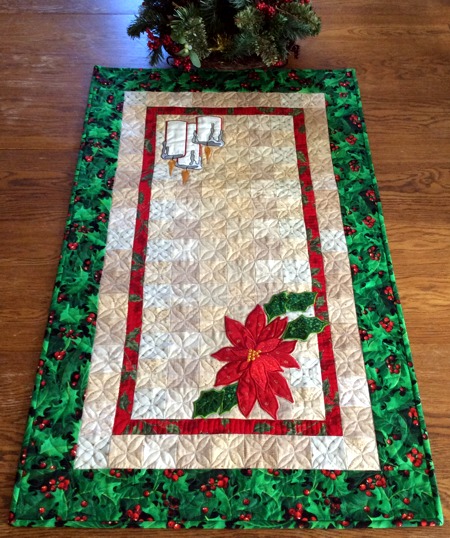
| This attractive, Christmas-themed set consists of a table runner and four place mats. You can also make the table runner by itself and use it as a wall hanging. This tutorial describes how to make the table runner. The place mat is described in a separate tutorial. |
|
For the table runner, we used the applique designs Poinsettia and Candles for the mega hoop (10" x 12"), however the version for the large hoop (5" x 7") will work as well.
The finished size of the table runner is about 23" x 39". |
For the table runner, you will need
- embroidery threads (either polyester or rayon),
- medium-weight cut-away stabilizer,
- about 1/4 yard each of six neutral colored fabrics (cream, sand, linen, light tan, beige, etc) for the background; OR you can use scraps of such fabrics from your stash
- about 1/4 yard of red fabric for the first border,
- about 1/2 yard of fabric for the border and binding (we chose a green fabric featuring a holly print),
- scrap fabrics for the applique (read applique instructions),
- backing and bating,
- quilting threads.
|
Cutting:
|
If using whole pieces of the neutral-colored fabrics, out of each, cut
- 2 strips 2 1/2" wide and the length of the width of the fabric,
Alternatively, if using scraps of neutral fabrics from your stash, cut
- 132 squares measuring 2 1/2" x 2 1/2" .
Out of the red fabric, cut
- 2 strips measuring 1 1/2" x 28 1/2",
- 2 strips measuring 1 1/2" x 14 1/2".
Out of patterned green fabric, cut
- 2 strips measuring 3 1/2" x 34 1/2",
- 2 strips measuring 3 1/2" x 24 1/2"
|
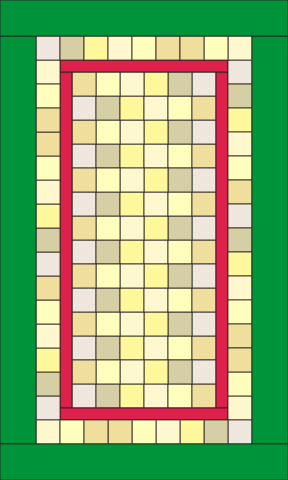
Sewing the Central Part:
|
| Note: seam allowance is 1/4". Press every seam immediately after you make it. |
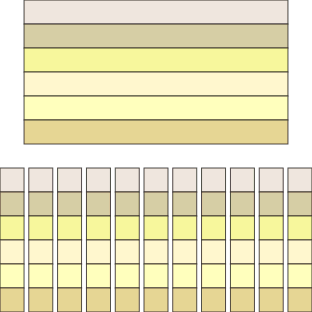
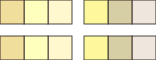
If working with strips of the neutral-colored fabrics, take one strip of each fabric and sew them together lengthwise. Press the seams in one direction. Repeat for the remaining 6 strips.
On your working table, cut the new wide strips into 2 1/2" wide strips. For the table runner, you will need 22 strips in all.
|
|
| Alternatively, sew your 2 1/2" x 2 1/2" squares into 20 strips with 6 squares in each strip and 4 strips with 3 squares each. |
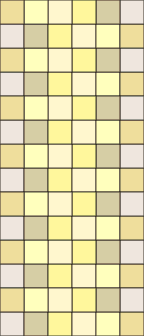
Take 14 of the 6-square strips and sew them together, flipping all even strips. Press seams.
|
|
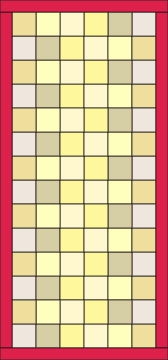
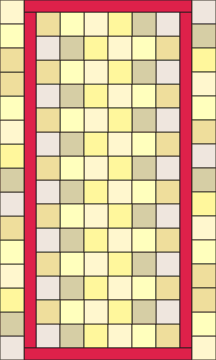
| First Border: |
| Sew the red 1 1/2" x 28 1/2" strips to the long edges of the central part. Sew the 1 1/2" x 14 1/2" strips to the shorter edges. |
|
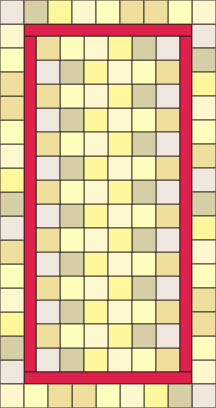
| Second Border: |
| Take 2 of the 6-square strips and rip the center seam to make 4 shorter 3-square strips. |
|
Sew two 6-square strips and one 3-square strip together to form a 15-square trip.
Make another strip in the same way.
|

|
| Sew the 15-square strips to the longer edges of the working piece. |
|
| Sew together a 6-square strip and a 3-square strip. Sew another strip in the same way. |

|
| Sew the 9-square strips to the shorter edges of the working piece. |
|
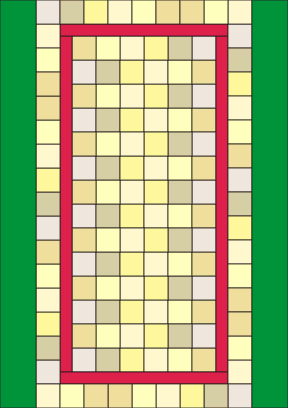
| Third Border: |
| Sew the 3 1/2" x 34 1/2" green borders to the longer edges of the working piece, |
|
| Sew the 3 1/2" x 14 1/2" green borders to the shorter edges. |
|
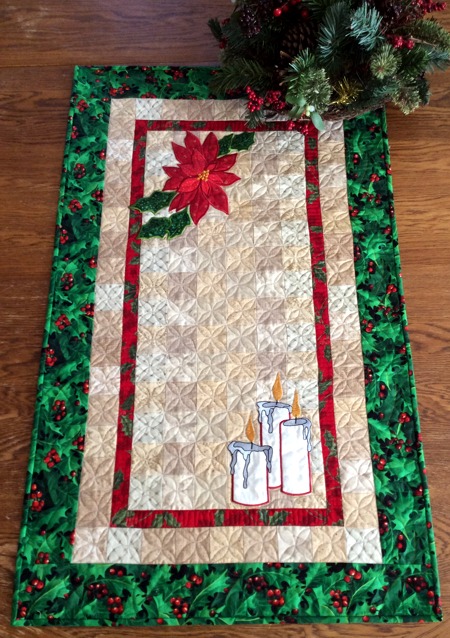
| Embroidery: |
| Upload files Poinsettia and Candles into your machine and embroider them in the corners of the table runner. Follow the applique instructions for these designs. |
|
| Quilting and Finishing: |
Now place the backing on a flat surface (table) face down. Cover with batting. Spread your working piece over it.
Pin all three layers together with 1" pins and start quilting. We quilted in a freemotion style all over the quilt. |
After the quilting is finished, press the work with heavy steam and square the work -- all corners should be 90 degrees and opposite sides should be of the same length.
Finish the raw edges with the binding.
|
|
Your table runner is done. Enjoy!
|
| The place mat is described in a separate tutorial. |
|
Back to Candles and Poinssettia
|
Back to the Project Page
|


