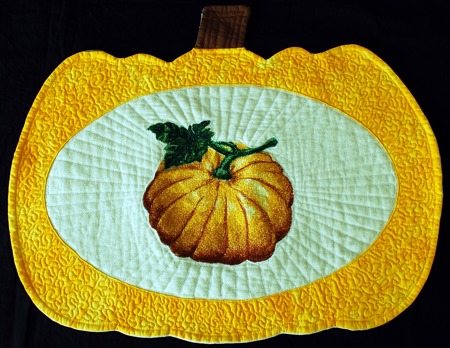
For this charming Harvest-themed place mat, we used the embroidery design Pumpkin for the commercial (8" x 8" ) hoop. The same design in other sizes can also be used.
The finished size of the mat is about 16" x 20".
You will need:
Embroidery
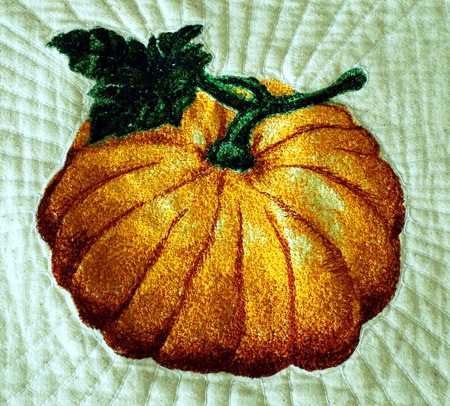
Stabilize the fabric for the central part with medium-weight iron-on cut-away stabilizer for embroidery. Print out the color card. Select embroidery threads according to the color card. Upload the design into the machine and embroider it
Set the stitch-out aside.
Sewing the Pumpkin Shaped Mat
Step One: Download the file with the template. To open and print the template, which is a PDF file, you will need Adobe Reader or a similar program. The program is free to download and install.
Step Two: Print out the parts of the template, cut them out and glue them together to form the template. You can use paper glue or tape for this, or you can trace the parts onto a large sheet of cardstock and cut it out.
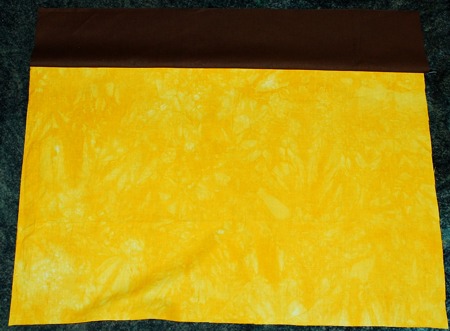
Step Three: Prepare the fabric for the top. Sew together the pieces for the stem and the pumpkin body lengthwise. Press the seam.
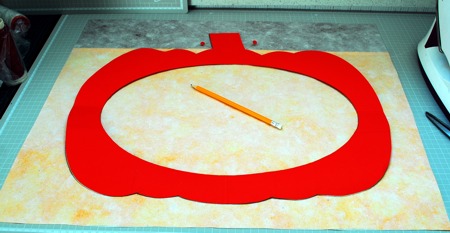
Step Four: With temporary fabric adhesive stick the fabric for the top to the iron-on cut-away stabilizer or interfacing.
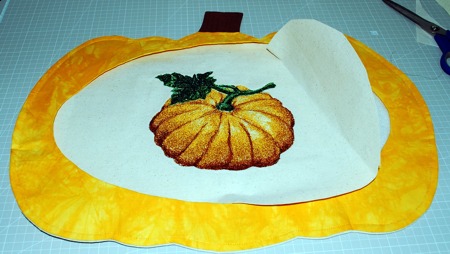
Lay the piece out with the stabilizer facing up. Position your template over the stabilizer. Take care to align the edge of the pumpkin body in the template with the edge of the stem fabric.
Trace the template with a pencil.
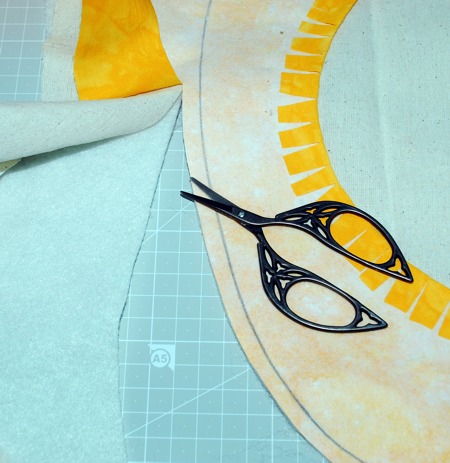
Step Five: With a pair of sharp scissors, cut out the central part 1/2" from the inner line.
Cut notches into the seam allowance from the edge to the inner line.
To make the edge of the frame even smoother, you can also cut away the stabilizer from the seam allowance.
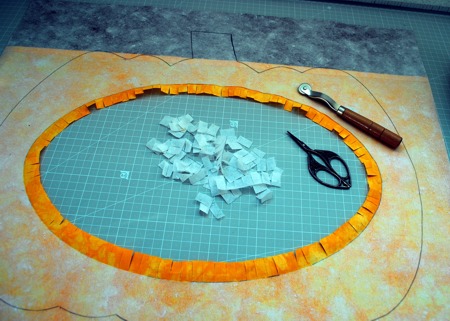
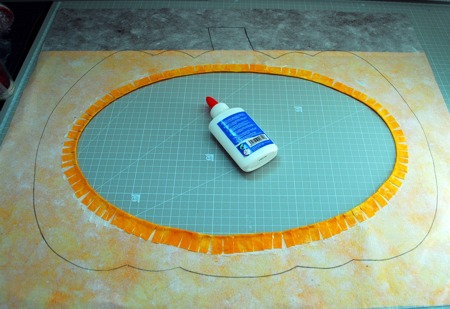
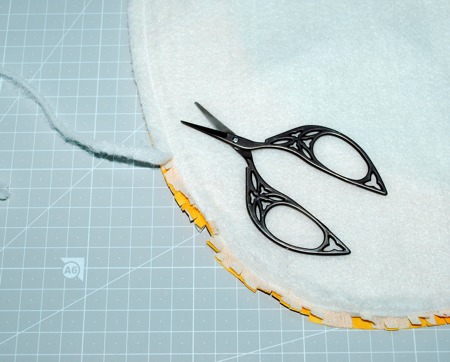
Step Six: Fold the notched fabric back and press. Using fabric glue, adhere the notches to the stabilizer. Leave to dry.
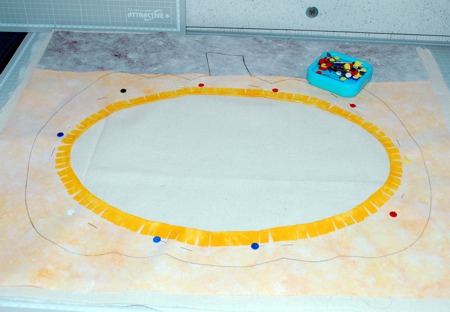
Step Six: Position the batting on the table and cover with the fabric for the backing, face up.
Cover with the working piece, face down.
Pin all the layers together.
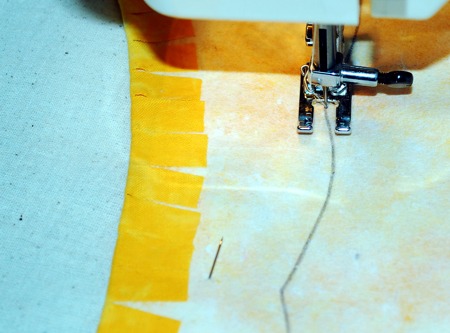
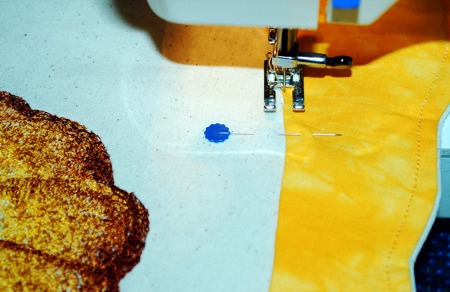
Step Eight: On your sewing machine, top-stitch along the marked outer lines.
Step Nine: Cut away the excess fabric and batting along the outer line leaving about 1/4" of seam allowance.
Then cut away the batting under the seam allowance close to the stitches.
Cut notches in the seam allowance.
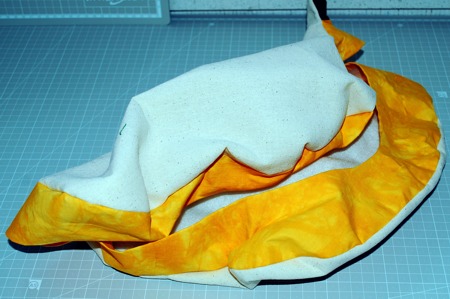
StepTen: Turn the working piece right side out and lay flat.
Take your time to straighten all of the seams. Press.
Step Eleven: Top-stitch 1/4" from the outer edge.
Step Twelve: Lay the template over the stitch-out, centering it within the template. Trace the interior of the template, then set it aside. Cut out with 1" seam allowance.
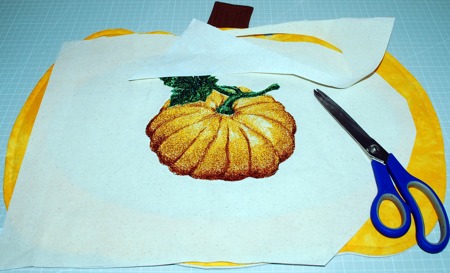
Insert the central part with the stitch-out into the "frame".
Pin all layers together.
On your sewing machine, topstitch along the inner line of the frame, 1/8" from the edge.
Step Thirteen: Then quilt around the embroidery and all over the piece.
That's it! The quilt is done!


