For this project we used one of the designs from the Celtic Motif Set. All files in the set are in the satin-stitch technique. All files can be used for embellishment of garments and home items.
One file in the set is in the applique technique. We used this file for our jacket make-over.
You will need
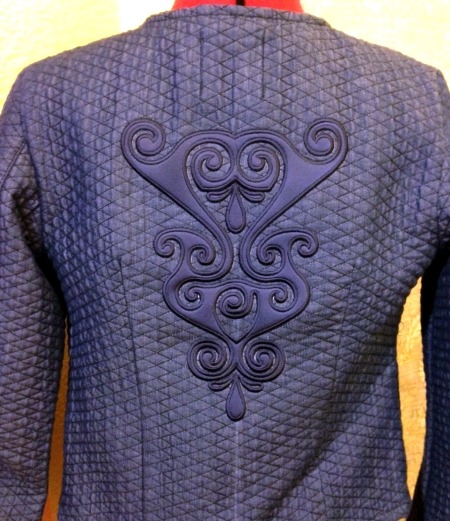
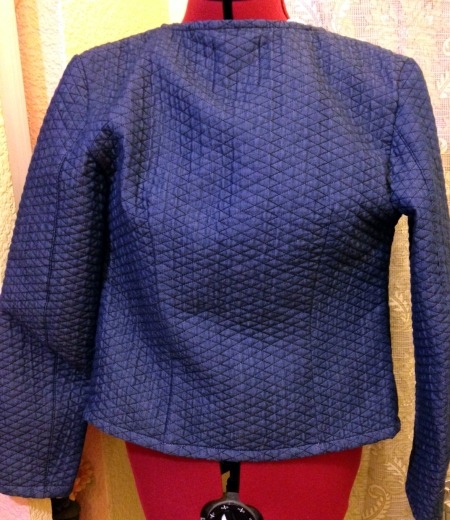
The original quilted jacket is quite plain looking. We decided to give it a much-needed dash of chic.
Embroidery:
Step One: First of all, find the center of the back of the jacket and mark it with fabric marker. Print out a screenshot of the file and pick the position of the embroidery. Upload the needed file into your machine.
Stabilize and hoop the base (jacket) fabric. The type and weight of the stabilizer for the base fabric depends on your project and the weight of your base fabric.
We did not use any additional stabilizer on our jacket because it's quite dense. You may need to, depending on the material of the jacket.
Start the machine, it will embroider the outline of the design and stop.
Step Two: Place a Puffy Foam sheet over the outline and start the machine. It will embroider the same outline over the Puffy Foam and stop.

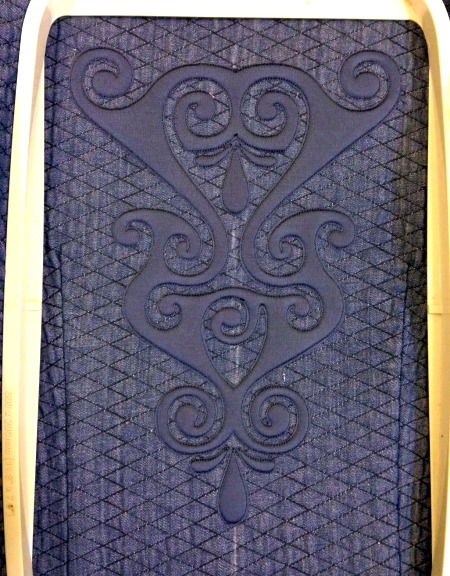
Step Three: Neatly remove the Puffy Foam around the outline and inside the motif as shown on the photo below.
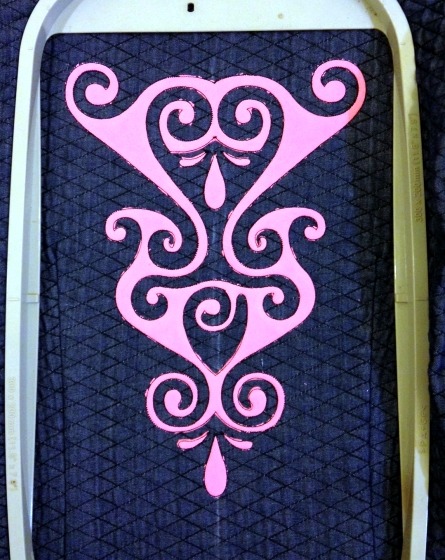
Step Four: Cover the working field with a piece of stretchy fabric. (We used stretchy polyester with a knit base). Pin the applique fabric to the base fabric outside the embroidery field. Start the machine. It will embroider the outline over the applique fabric.
Step Five: With a pair of sharp scissors cut away the applique fabric around the outline and inside the design (see photo below) as close to the stitches as possible. Take care not to cut through the stitches.
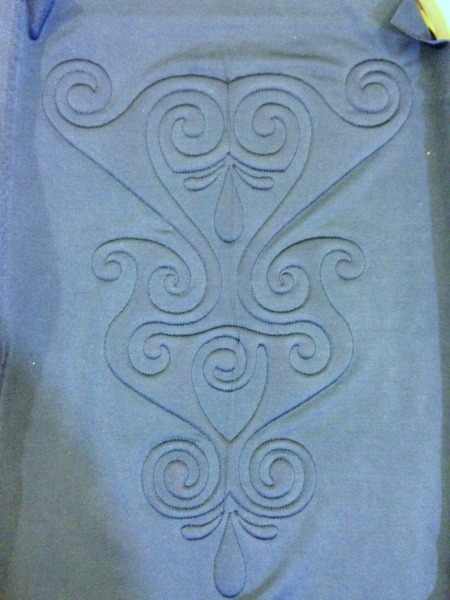
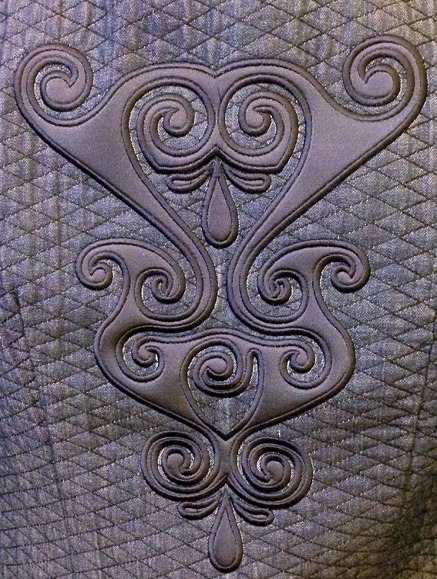
Step Six: Return the hoop to the machine and start the fourth color of the design. It will finish the raw edges. You will get a neat trapunto embroidery.
Enjoy!
Happy Stitching!


