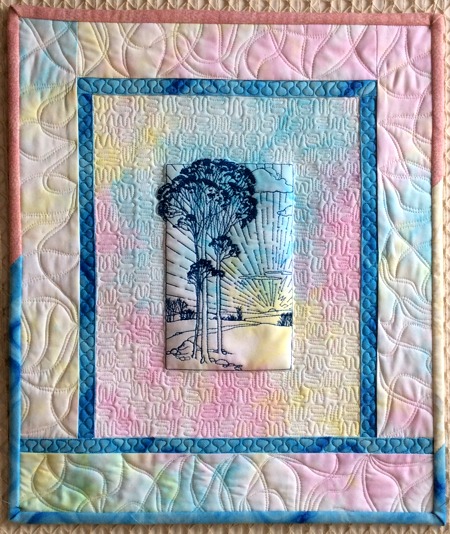
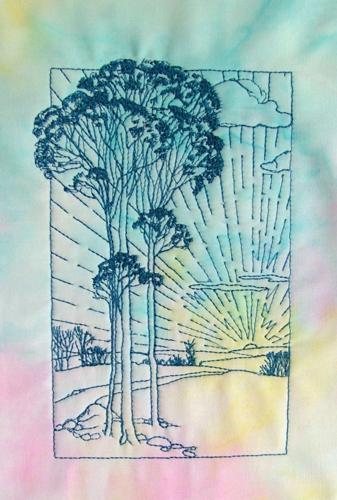
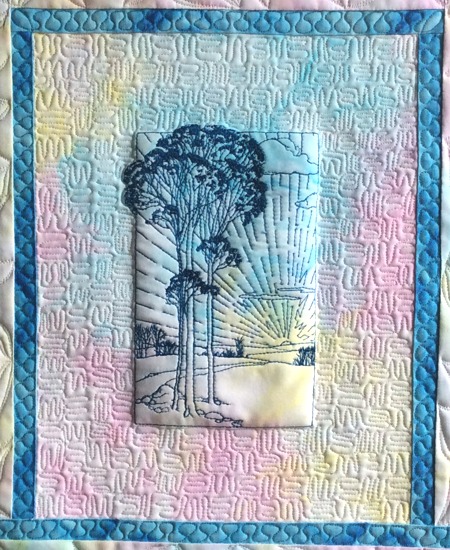
This is a small, cute art quilt that’s very quick and easy to put together. It makes a gorgeous gift! Though we used the design Summer Sunset, the colors of the fabric -- yellow, pink and pale aqua blue -- actually make it look more like a sunrise.
The finished size is about 13 1/2" x 16".
|
|
You will need
- embroidery thread (either polyester or rayon), choose color to your taste,
- light- to medium-weight tear-away stabilizer,
- about 1/2 yard of batik with pale yellow, pink and blue coloration,
- small amount of blue fabric, enough to cut 4 strips 1" wide and about 10"-14" long,
- backing and bating.
|
| Embroidery: |
Upload the design Summer Sunset into your machine. Stabilize your fabric, and embroider the design.
We chose blue thread to match the color of the border. |
|
Cutting:
|
Trim the stitch-out to 8 1/2" x 11 1/2".
Out of blue fabric, cut
- 1 strip measuring 1" x 9 1/2",
- 2 strips measuring 1" x 11 1/2" and
- 1 strip measuring 1" x 13 1/2";
Out of the main fabric, cut
- 1 strip measuring 2 1/2" x 9 1/2",
- 2 strips measuring 2 1/2" x 13 3/4",
- 1 strip measuring 2 1/2" x 13 1/2", and
- 2 strips measuring 2 1/2" and the length of the width of the fabric for the binding. Alternatively you can make binding out of strips of blue, pink and pale yellow fabrics.
|
Assembly of the Top:
|
| Note: seam allowance is 1/4". Press every seam immediately after you make it. |
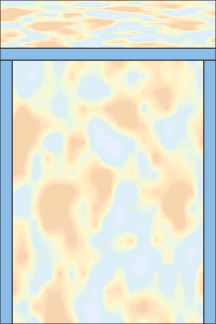
Sew the blue strips measuring 1" x 11 1/2" to the left and right edges of the stitch-out.
|
|
| Sew the 1" x 9 1/2" blue strip to the upper edge of the stitch-out. |
|
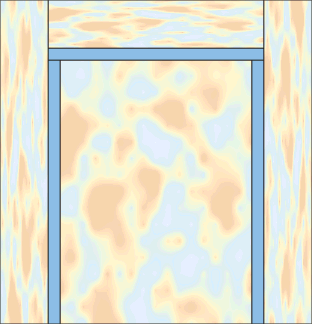
Sew the 2 1/2" x 9 1/2" strip to the upper edge.
|
|
Sew the 2 1/2" x 13 3/4" border strips to the right and left edges..
|
|
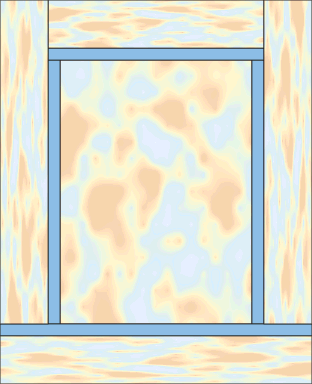
| Sew the 1" x 13 1/2" blue strip to the lower edge of working piece. |

|
Sew the 2 1/2" x 13 1/2" strip to the lower edge.
|
|
| Quilting and Finishing: |
Now place the backing on a flat surface (table) face down. Cover with batting. Spread your working piece over it.
Pin all three layers together with 1" pins and start quilting. We quilted in a free-motion style all over the quilt. |
After the quilting is finished, press the work with heavy steam and square the work -- all corners should be 90 degrees and opposite sides should be of the same length.
Finish the raw edges with the binding.
|
|
|
Your quilt is done. Enjoy!
|
|
Back to Summer Sunset
|
Back to the Project Page
|


