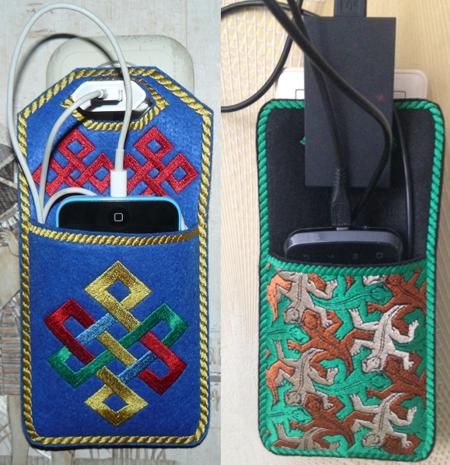
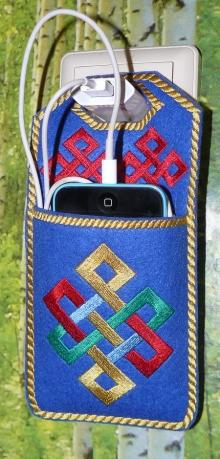
When your phone is charging, it can be quite the balancing act to find a convenient place for it to perch that's also close enough to the electrical outlet. This charger case solves that problem: the case hangs right from the charger, and the phone is slipped inside it. It also works great when you're travelling.
It's a fantastic gift for family or friends.
These are instructions on how to embroider the files from the Smartphone Charger Case Set.
You will need
There are 5 files in the set: "part1A", "part1B", "part2A", "part2B", "part2C".
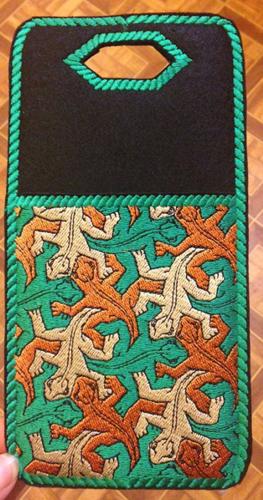
Files labelled "part1" contain the frobt of the pocket with 2 different motif: A features a celtic motif and B features lizards.
Choose either of them. You will need one Part 1 for each case. Stabilize the fabric, hoop it and embroider the file.
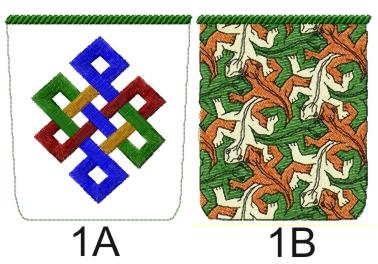
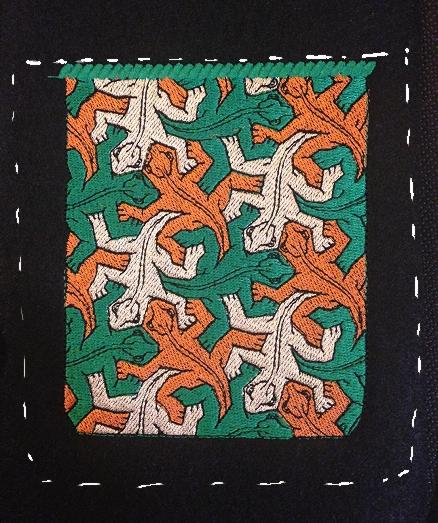
After the stitchout is finished, take it from the hoop. Cut it out, leaving about 1/2" (1 cm) margins on the bottom and left and right edges. Cut the fabric as close to the stitches as possible on the upper edge.
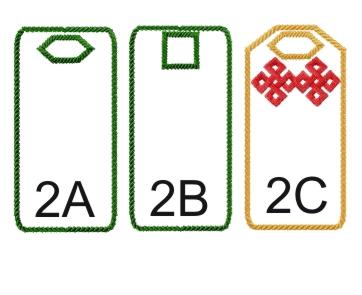
The files "part2A", "part2B", "part2C" are for the back of the case. The first 2 files are undecorated (you can personalize them with initials or embellishments). File 2A is for an oval-shaped charger, file 2B is for a square shaped charger. File 2C is for an oval-shaped charged and features a celtic motif.
Hoop the fabric for the second file. For files A and B, embroider the first color.
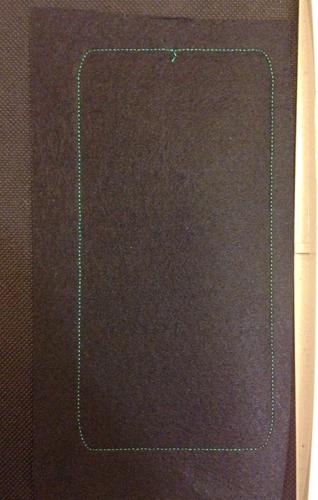
Position the stitch-out of Part 1 over the outline. Try to align the side and bottom edges of the embroidery with the outline. Pin Part 1 to Part 2 (which is in the hoop). Start the machine.
The machine will embroider the same outline, stitching the two parts together.
Start the machine. The third color will finish the embroidery.
Cut out the embroidery as close to the stitches as possible.
Note: Please note that in file C, the first color is the celtic motif on the back panel.
Your charger case is ready. Enjoy!


