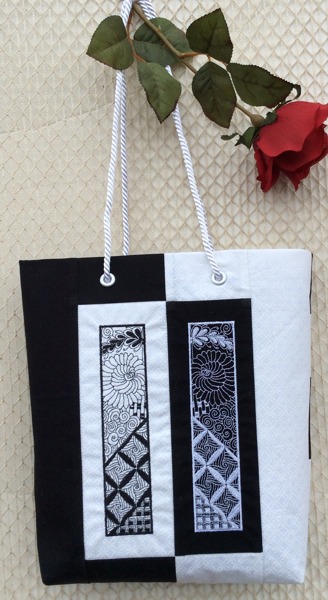
This gift bag is for the truly important occasions in life. Eye-catching an elegant, it is a keepsake all by itself.
For this project, we used the design Zen Art Bookmark.
The finished size of the bag is 11" high x 9" wide x 2" deep.
You will need :
Embroidery:
Upload the file with Zen Art Bookmark into your embroidery machine.
Stabilize a piece of white fabric and a piece of black fabric with light-weight iron-on stabilizer. Hoop the first piece, tighten the hoop.
Embroider the file on the white fabric with black thread.
Make a mirror image of the design in your machine and embroider it on the black fabric with white thread.
After the stitch-outs are done, trim them to 3 1/2" x 9".
Cutting :
For the front panel, out of black and white fabrics each, cut:
The back panel can be either solid white or solid black, if you have enough fabric. Alternatively, you can piece the back panel as well. This is what we did.
For the back panel, out of black fabric cut
Out of the fabric for the lining, cut 2 pieces measuring 12 1/2" x 13".
Out of the heavy-weight iron on stabilizer or interfacing cut 2 pieces measuring 13" x 14 1/2".
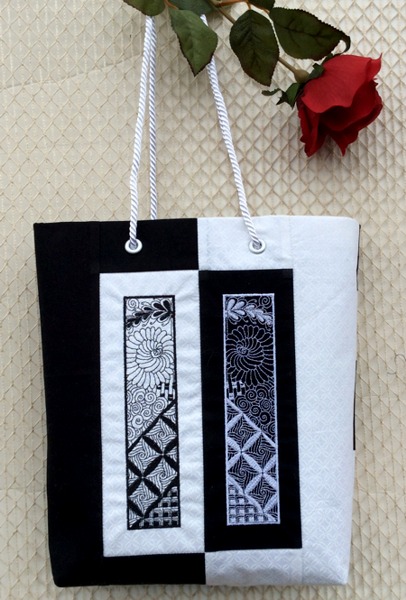
Assembly of the Front Panel:
Note: seam allowance is 1/4", press each seam after you made it.
Sew the 3 1/2" x 3" black pieces to the upper and lower edges of the stitch-out on the white fabric.
Sew the black 3 1/2" x 14" strip to the left edge of this piece.

Sew the 3 1/2" x 3" white pieces to the upper and lower edges of the stitch-out on the black fabric.
Sew the white 3 1/2" x 14" strip to the right edge of the working piece.

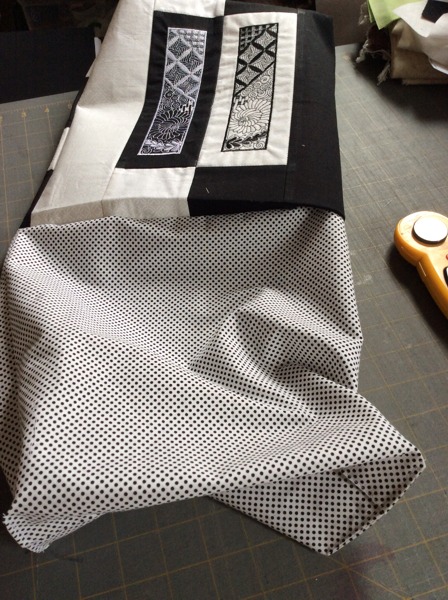
Sew the two pieces together.

Position the panel over the piece of iron-on stabilizer and, following the manufacturer's instructions, adhere it to the panel.
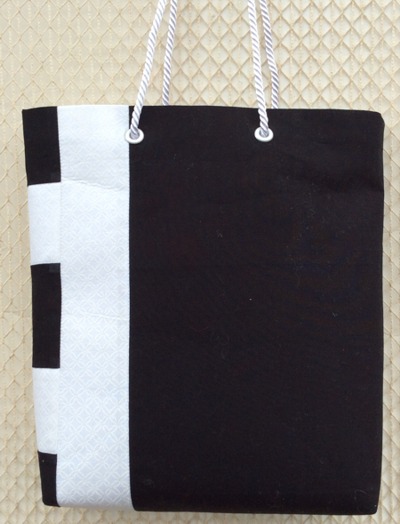
Assembly of the Back Panel.
Sew the 3 black and 2 white 2 1/2" wide pieces into a strip, starting with a black piece and alternating the colors.

Sew this strip to the left edge of the white 2 1/2" x 14 strip.

Sew the black 8 1/2" x 14" strips to the right edge of the working piece.

Position the panel over the piece of iron-on stabilizer and, following the manufacturer's instructions, adhere it to the panel.
Quilting:
On your sewing machine top-stitch in the ditch along all seams of the both panels.
Trim the panels with the stabilizer to 12 1/2" x 14 ".
Assembly of the Outer Bag:
On your pressing mat, fold the upper edges of the panels 1" back and press. Unfold.
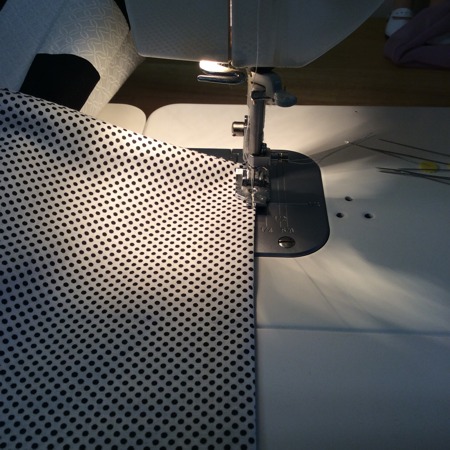
Position the panels face to face, align the edges. Stitch the bottom, seam allowance is about 1/2".
Unfold the seam. Press. Topstitch on both sides of the seam.
Align the side edges. Sew them together. Press the seams open.
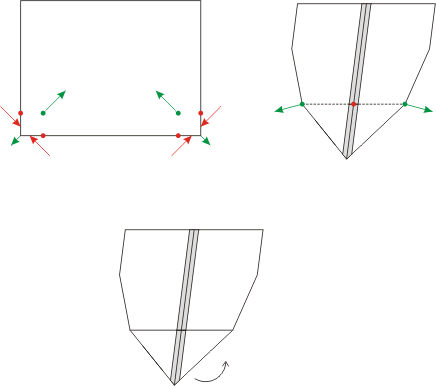
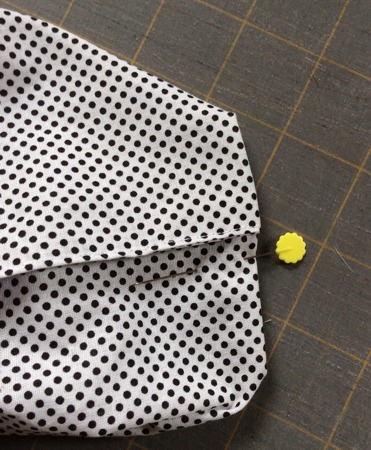
Stitch box corners at the bottom of the outer bag and the lining. For this separate the front and back sides at the corners. Center the seams on each side of the corner on top of each other. Measure 1 1/2" along the seam from the corner and draw a line perpendicular to the seam across the corner and machine-stitch it. Do not trim the seam.
Turn the bag right side out.
Making the Lining:
Position the lining pieces face to face, align the edges and sew them. Seam allowance is 1/4". Press the seams open. You'll get a tube.
Put the tube on the outer bag. The bag and the lining are face to face. Align the side seams and the upper edge. Pin.
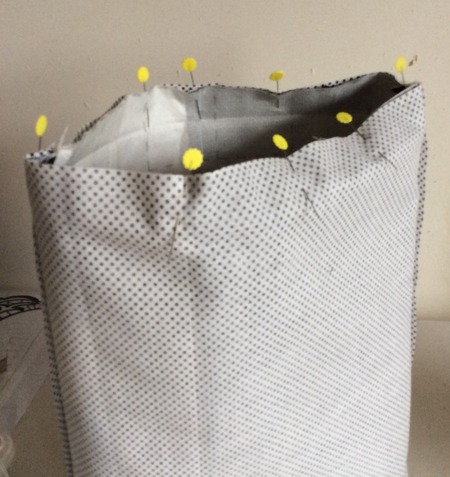
Topstitch the bag and the lining together along the upper edges.
Turn the lining upright. Tuck in the raw edge of the bottom about 1/2" inside. Press. Topstitch it closed.
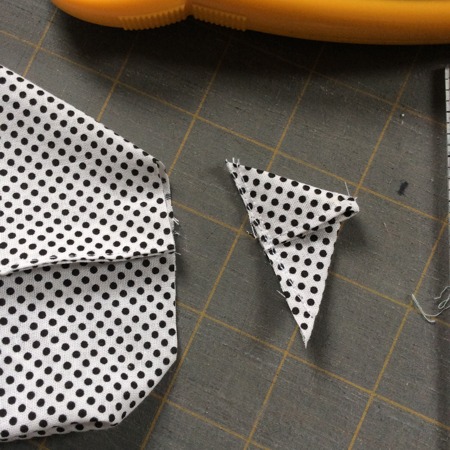
Fold the corners as if making box corners. Measure 1". Draw a line.

Cut along the line.
Tuck in the raw edges about 1/2" and press. Topstitch them closed.
Tuck the lining inside the bag. Align the corners of the lining with those of the bag.
The Handles:
Mark the position of the grommets 4" from the side seams and about 3/4" from the top edge. Insert the grommets.
Cut the cord in half, to get 2 pieces about 28" long. Thread the ends through the grommets and tie knots to prevent them slipping back out.
Enjoy!