These are instructions on how to embroiderand assemble the CutworkAnemone Doily. There 2 files in each set. The designs areavailablein 2 sizes: for the large hoop (5" x 7") and mega hoop.
The finished size of the doilies in diameter are about 14" for the large and about 15 3/4" for the mega hoops.
Mega Hoop:
Part 1:
Size: 149 x 166 mm
Stitches: 31 421
Colors: 1
Part 2:
Size: 91 x 92 mm
Stitches: 6 978
Colors: 1
Large Hoop:
Part 1:
Size: 129 x 136 mm
Stitches: 26 828
Colors: 1
Part 2:
Size: 80 x 81 mm
Stitches: 6 978
Colors: 1
You will need fabric, water soluble meshand embroidery threads.
We recommend to use water-soluble mesh,such as Vilene. Vilene D0102is a non woven dissolvable stabilizer which is imported into the US, issold in large rolls and is sometimes repackaged under different brandnames.
Some of these brand names are Fabri-Solvy by Sulky, Avalon Plus byMadeira, Wash-Away, and Aqua Magic.
40-50-weight embroidery cotton threads arepreferred for the project.
Rayon thread is softer and more sensitive to the chemicals in thewater-soluble mesh. We do not like to use rayon thread for cutwork laceprojects.
Please note: ALWAYS make a test stitch-outon scrap before you makea stitch-out on the final item.
Both files are embroidered in the same way.
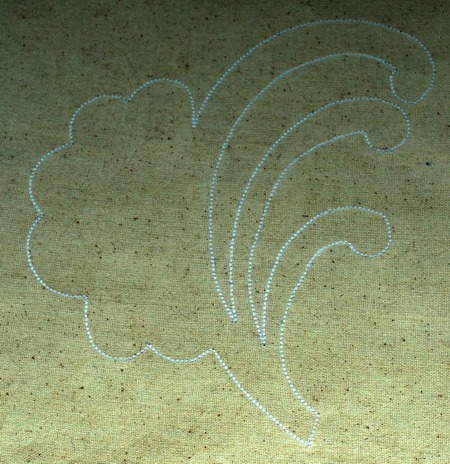
Step One: Hoop 1-2layers of water soluble mesh. Start embroidering. The firstcolor will embroider the outline of thedesign.

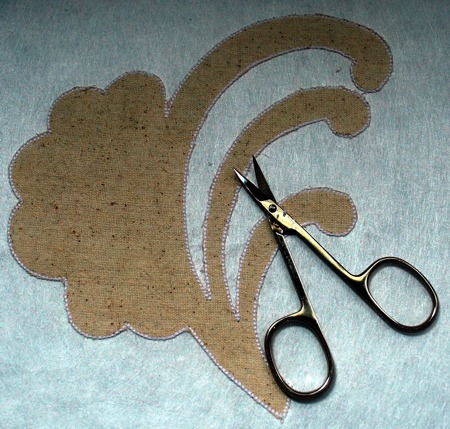
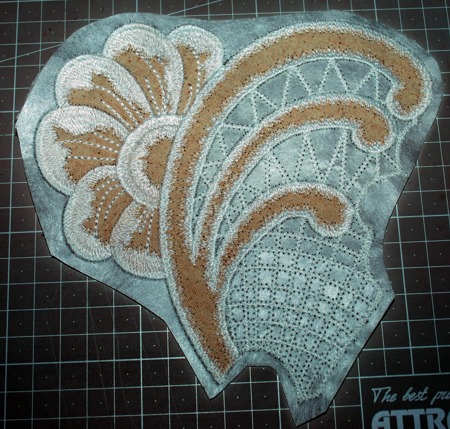
Step Two: Cover theoutline with a piece if fabric and start the machine. It will embroiderthe same outline over the fabric.
Step Three: Take thehoop from the machine. With a pair of sharpscissors cut away the fabric in the places shown on the picture below.
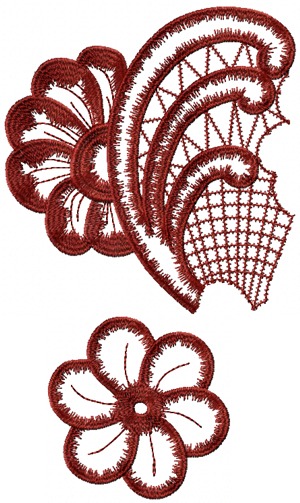
Step Four: Return thehoop to the machine and finish embroidering. Embroider Part 1 six times.
StepFive: In the same way embroider Part 2. You need toembroider it once.
Washingout the Stabilizer:
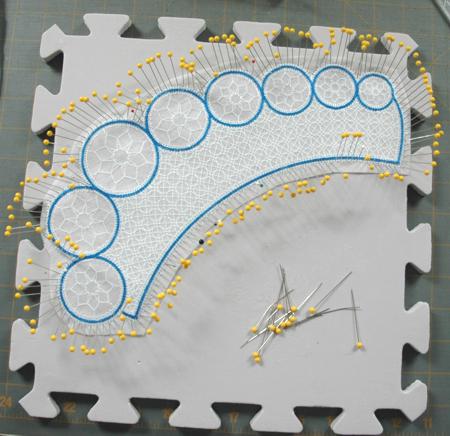
Rinsing away the stabilizer is also animportant step, because the lacecan be stretched or distorted if this is done incorrectly. We recommendto use a foam board and stainless pins.
Cut away the excess stabilizer close to thestitches. Take your timeand carefully pin all the edges to theboard.
Now place the board into a bowl withluke-warm water. Leave the boardin the water for at least half an hour. Change the water a couple oftimes.
Take the board out of the water and leave toair dry. Do not unpin thelace until it's completely dry.
Press, if needed.
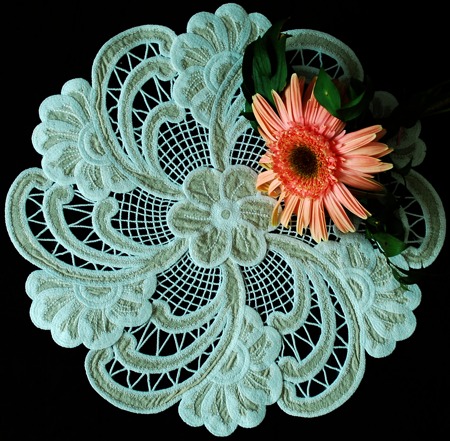
Assemblyof the Doily.
On your working table, lay out all parts asshown:
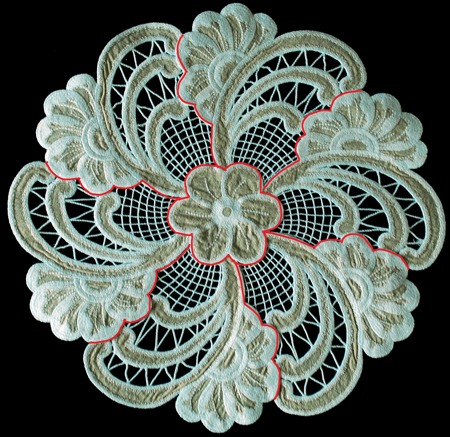
On your sewing machine, using the samethread with which you made the embroidery and the zig-zag stitch,stitch the parts together.
Press.
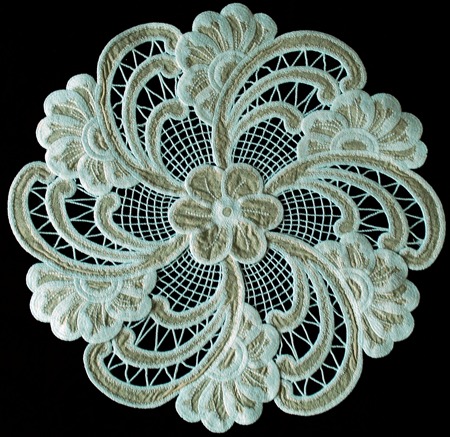
Happy Embroidering!


