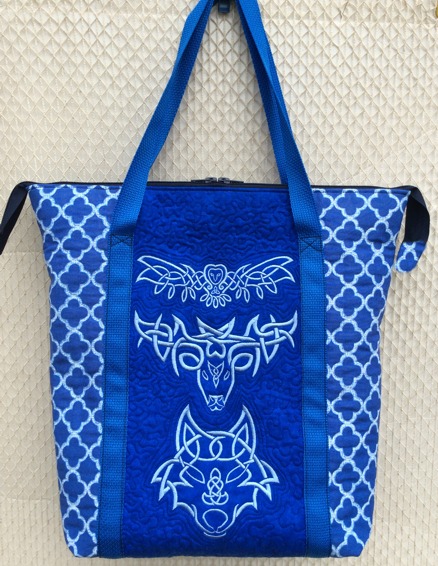
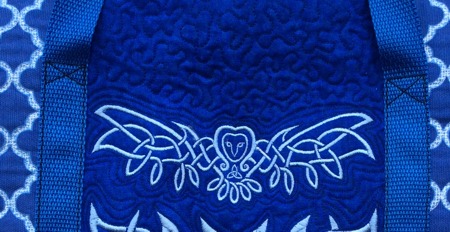
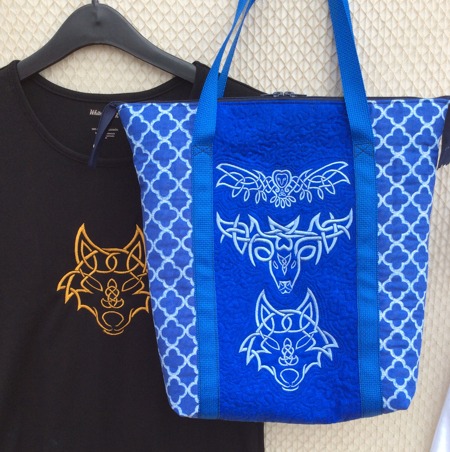
This charming quilted tote features designs from the Celtic Animals Set for the large hoop (5" x 7").
The finished size of the tote is about 16" H x 15" W x 5" D. |
|
|
You will need :
- embroidery thread; use any colors that match your fabrics,
- 1/2 yard of patterned fabric for the outer bag,
- about 1 yard of a matching solid fabric for the outer bag and lining,
- 3 yards of 1" wide webbing,
- 20-21" long purse fabric,
- 1/2 yard of polyester craft felt,
- quilting thread, #12 quilting needle,
- quilter's ruler and rotary cutter, or pencil and scissors,
- heavy duty sewing thread, #14 sewing needle.
|
| Cutting and Assembly of the Outer Panels: |
Out of patterned fabric, cut
- 2 strips measuring 5 1/2" x 20" and
- 5 strips measuring 2 1/2" x 20".
Out of solid fabric, cut
- 1 strip measuring 8 1/2" x 20" and
- 4 strips measuring 2 1/2" x 20".
|
| Front Panel: |
| Sew the 5 1/2" x 20" patterned strips to the left and right edges of the 8 1/2" x 20" solid strip. Seam allowance is 1/4". |

|
| Back Panel: |
| Sew the 2 1/2" x 20" strips together, alternating the patterned and solid strips; start and finish with the patterned strips. Seam allowance is 1/4". |

|
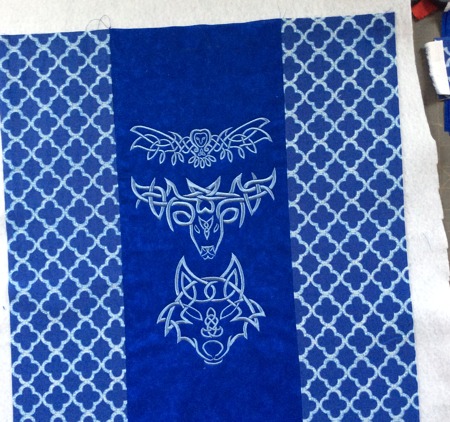
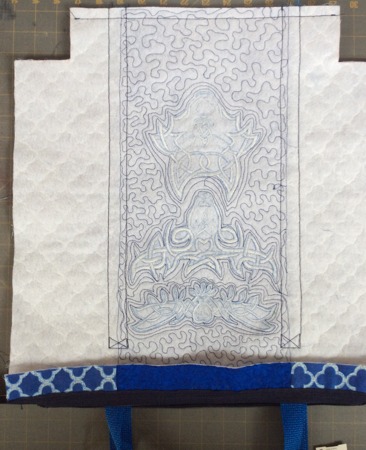
Embroidery:
|
Cut a piece of felt about 20 x 22". Spread the front panel over it.
Hoop the central solid strip, tighten the hoop.
Embroider the files in the order you like. You can make all files in one color or choose a new color for each design
|
|
Quilting the Panels:
|
| Note: use regular quilting thread and #12 quilting needle. |
| Cut another piece of felt about 20 x 22". Spread the back panel over it. |
| Quilt both panels in a free motion style. Do not use any backing! |
|
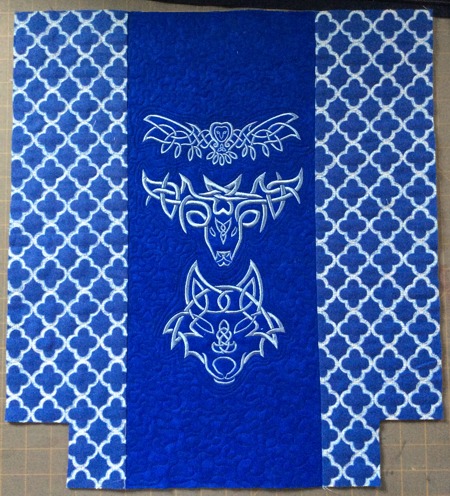
After you're done quilting, press both panels and trim them to 17" x 19".
|
|
| In the lower corners of both panels draw 2 1/2" squares and cut them out. |
|
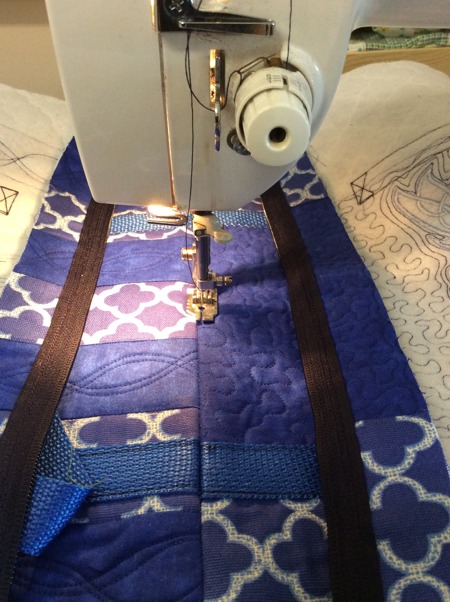
| Handles: |
| Note: use heavy-weight thread and #14 sewing needle. |
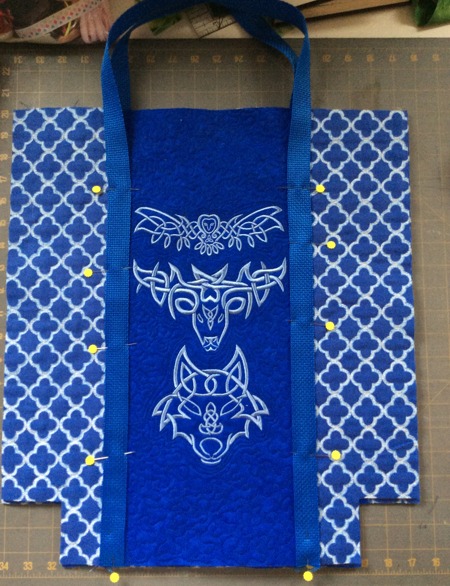
Cut the 3 yard piece of webbing in half - each piece should measure 1 1/2 yard or 54".
|
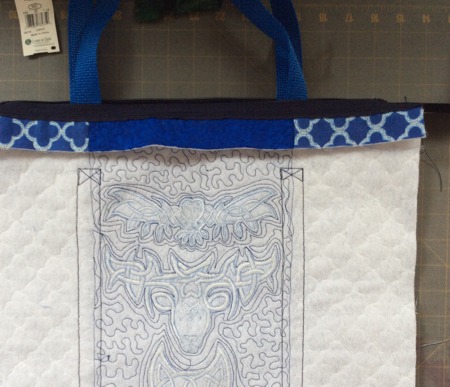
Position the webbing on the panels, 4" from the side edges. Pin. The webbing should cover the seam between the solid and patterned fabric.
Measure 3 1/2" from the upper edges of the panels and mark these points. You'll have to stitch the handles up to this point. |
|
On your sewing machine, top-stitch the handles to the panels, stop 3 1/2" before the upper edge. Reinforce with criss-cross stitches.
|
|
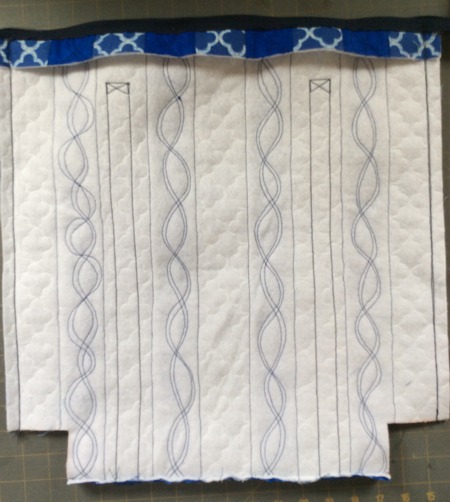
Sewing in the Zipper:
|
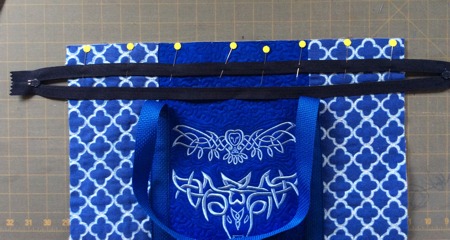
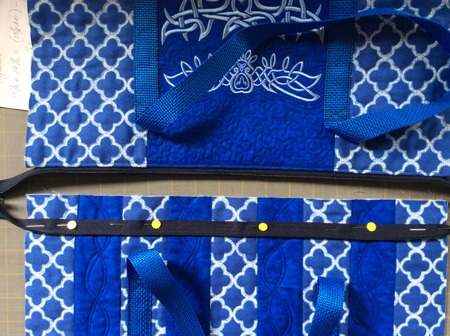
Working with one panel at a time, measure 1" from the upper edge. Either draw a line with a removable marker or keep a ruler on the line and use it as a guide. Position the zipper along the line, face down. Pin.
|
|
Topstitch the zipper to the panel, starting and finishing sewing 1/2" from the side edges of the panels.
|
|
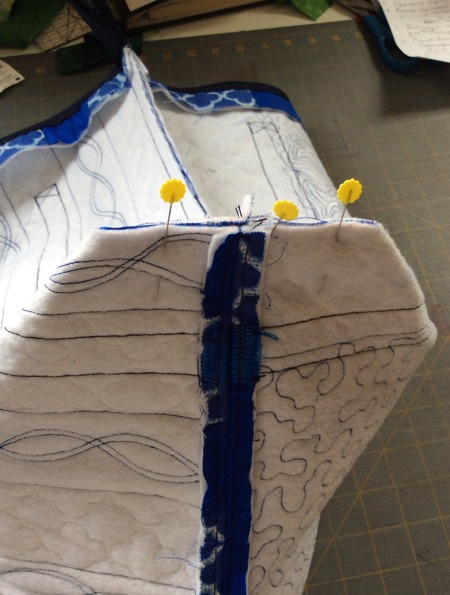
Fold the upper edge back, under the zipper and topstitch in place.
|

|
| This is what this looks like when the bag is turned inside out: |
|
Sew the second half of the zipper to the other panel in the same way.
|
|
Finishing the Outer Bag:
|
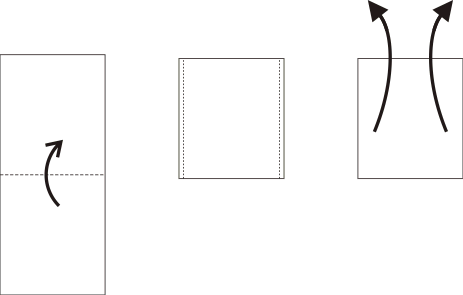
Working with the zipper open (IMPORTANT!), turn the work wrong side out. Position the panels face to face, align the edges. Pin the bottom edge. Sew the bottom line with seam allowance 1/2".
|
|
Open the seam, press. Topstitch on the both side of the seam 1/4" from the seam.
|
|
| Align the side edges, sew them together with seam allowance 1/2". Make another seam, 1/32" (1mm) from the first seam. |
|
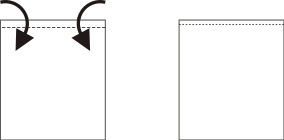
| To shape the bottom, pinch the corners as shown in the diagram below. Pin. Stitch them closed. Seam allowance is 1/2". Make another seam 1/32" (1 mm) from the first one to reinforce the bottom. |
|
|
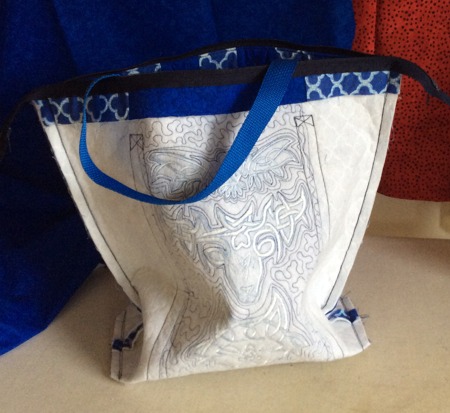
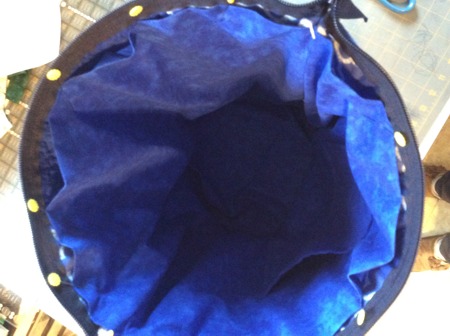
| This is what the bag looks like at this stage: |
|
Turn the work right side out.
|
The Lining with the Pocket:
|
| Note: for the lining use a #12 sewing needle. Seam allowance is 1/2". |
Out of the fabric for the lining, cut 2 squares measuring 18" x 18" and a strip measuring 7" x 16" for the pocket.
|
| Position the 18" x 18" squares face to face and cut out 2 1/2" squares in the lower corners. |
| Fold the piece for the pocket (16" x 7") widthwise, face inwards. Stitch along the long sides. Seam allowance for the pocket is 1/4". |
|
| Turn right side out. Press. Tuck the raw edges 1/2" inside, press and topstitch. |
|
| Position the pocket on one of the lining panels, about 4" from the upper edge and an equal distance from the sides. Pin. |
Topstitch the pocket in place:
- Sew the lining in the same way as the outer bag:
- Sew the bottom, unfold the seam and press.
- Sew the sides, unfold the seams and press.
- Sew the bottom corners.
Fold the upper edge of each panel 1" back and press. |
| Insert the lining into the bag. Align the bottom and side seams. Pin. |
| Hand-stitch the upper edge of the lining to the bag with a slip-stitch. |
|
You're done. Enjoy!
|
|
|
| Back to Celtic Animals Set |
Back to Projects Page
|


