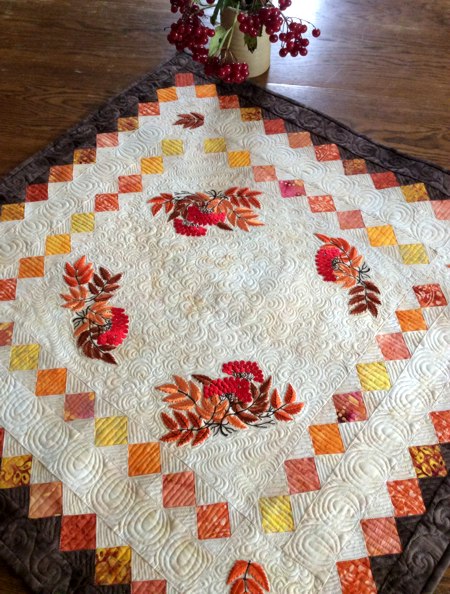
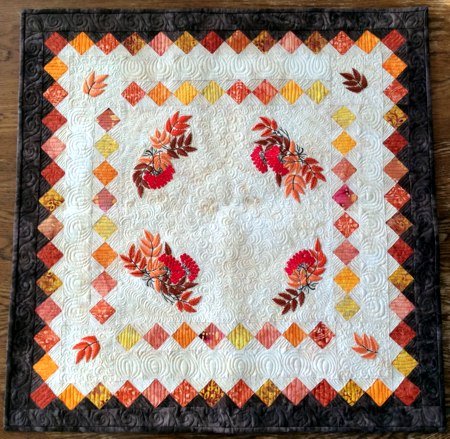
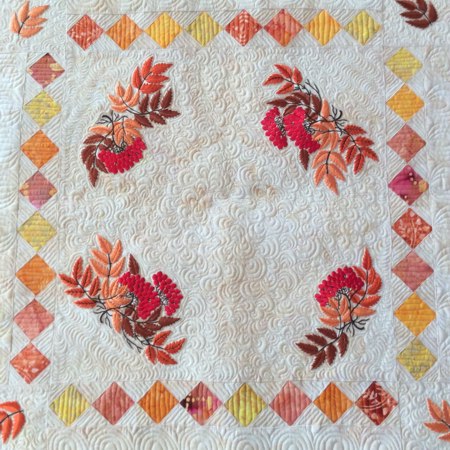
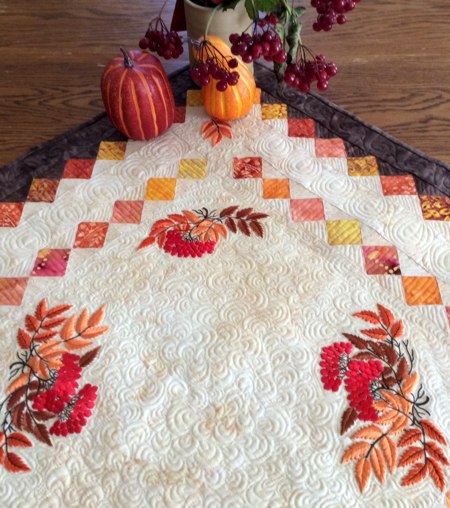
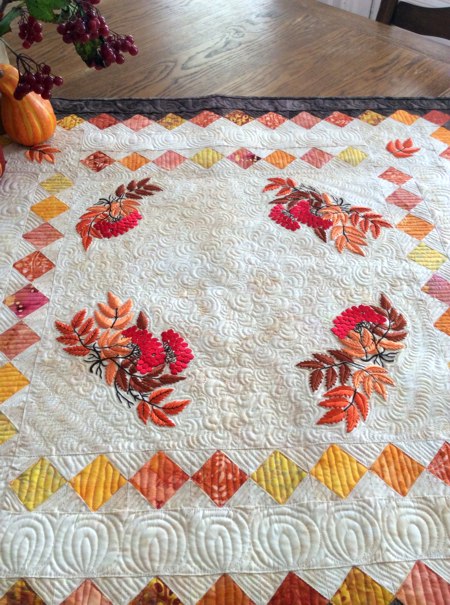
This colorful table topper would make a great centerpiece for your table in the Fall. We used the designs from the Mountain Ash Set for the large (5" x 7") hoop.
The finished size is about 30" square.
|
|
|
You will need :
- embroidery threads according to the color card,
- light-weight cut-away stabilizer,
- 3/4 yard of light-colored cotton fabric,
- scraps of yellow, rust, orange, red fabrics,
- 1/2 yard of brown fabric,
- batting,
- fabric for the backing,
- quilting thread,
- quilter's ruler and rotary cutter, or pencil and scissors.
|
Cutting:
|
Out of light fabric, cut
- a square measuring 16 1/2" x 16 1/2",
- 2 squares measuring 4 1/2 x 4 1/2",
- 4 strips measuring 2 1/2" x 16 1/2",
- 228 squares measuring 1 1/2" x 1 1/2".
|
| Out of the colored scraps cut 84 squares measuring 2 1/2" x 2 1/2". |
Out of brown fabric, cut
- 108 squares measuring 1 1/2" x 1 1/2",
- 2 strips measuring 1 1/2" x 28 1/2",
- 2 strips measuring 1 1/2" x 31 1/2",
- 3 strips measuring 2 1/2" and the length of the width of the fabric for the binding.
|
| Assembly of the Block: |
| Note: seam allowance is 1/4", press each seam after you made it. |
|
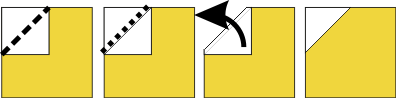
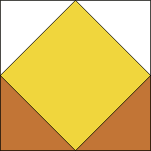
Take a colored 2 1/2" x 2 1/2" square and four 1 1/2" x 1 1/2" light colored squares. Position the light square in the corner of the colored square. Align the edges. With a pencil, draw a diagonal, as shown on the diagram below. Sew along the diagonal. Cut, leaving 1/4" seam allowance. Unfold the corner and press.
|
|
|
Repeat with all the corners. Do one corner at a time.
|
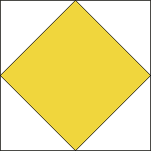
You will need 32 blocks with light corners.
|
|
| You will need 48 blocks with 2 light corners and 2 brown corners. |
|
| You will need 4 blocks with 1 light corner and 3 brown corners. |

|
| Assembly of the Top: |
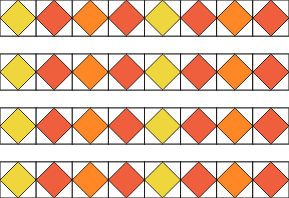
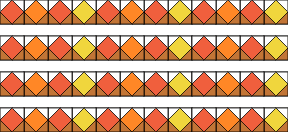
| Sew the 32 blocks with light corners into 4 strips, 8 blocks per strip: |
|
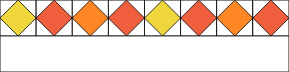
| Sew the light-colored 2 1/2" x 16 1/2" strips to the 8-block strips. |
|
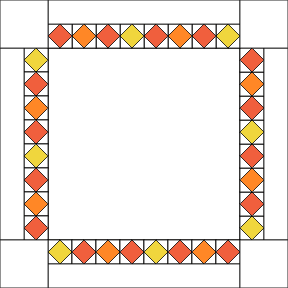
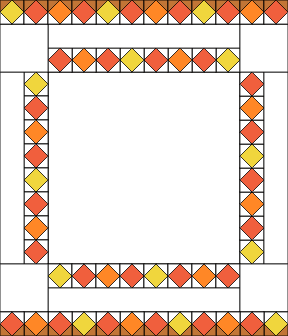
| Sew 2 of the new strips to the left and right edges of the 16 1/2" x 16 1/2" central square. The colorful blocks should be towards the inside. |

|
| Sew the 4 1/2" x 4 1/2" light squares to the ends of the 2 remaining strips. |

|
| Sew these strips to the upper and lower edges of the central part. |
|
| Sew the 48 blocks with 2 light and 2 brown corners into four strips, 12 blocks per strip. All light corners should be on one side and all brown corners on the other. |
|
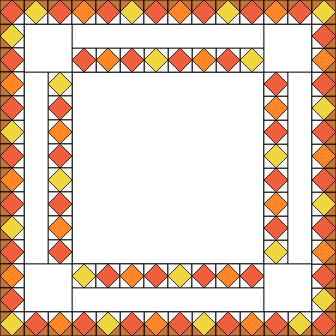
| Sew 2 of these new strips to the upper and lower edges of the working piece, with the light corners to the inside and brown corners to the outside. |
|
| Sew the blocks with the 3 brown corners to the ends of the remaining 2 strips. |

|
| Sew these strips to the left and right edges of the working piece. |
|
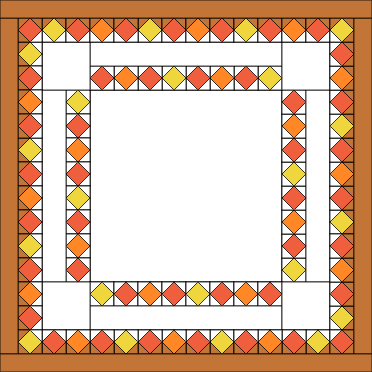
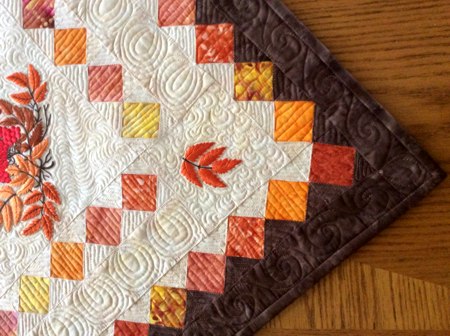
| Sew the brown 2" x 28 1/2" strips to the left and right edges of the working piece. |

|
| Sew the brown 2" x 31 1/2" strips to the upper and lower edges of the working piece. |
|
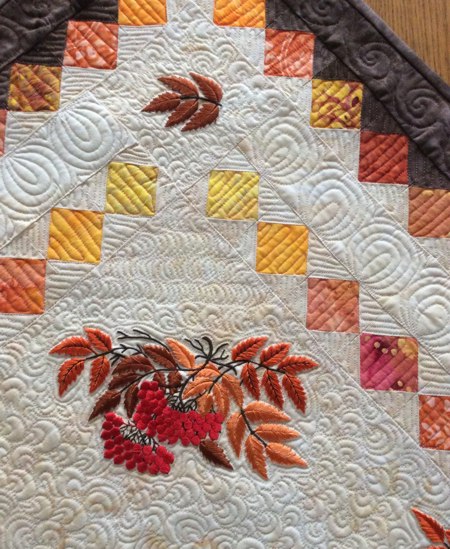
| Embroidery: |
If you have an embroidery software on the computer, open the files from the Mountain Ash Set and printout the templates. Position the templates over the table topper to decide where you want the embroidery. If you do not have a software, make templates from paper - cut out rectangles of the same size as the designs from the set.
Upload the files into the machine. Embroider them one by one. Don't forget to stabilize the fabric before embroidering. |
|
| Quilting and Finishing: |
Now place the backing on a flat surface (table) face down. Cover with batting. Spread your working piece over it.
Pin all three layers together with 1" pins and start quilting. We quilted in a free-motion style all over the quilt. |
|
| After the quilting is finished, press the work with heavy steam and square the work -- all corners should be 90 degrees and opposite sides should be of the same length. |
| Finish the raw edges with the binding. |
|
|
| Enjoy! |
|
|
Back to Mountain Ash Set
|
Back to Projects Page
|


