In this tutorial we show you how you can breathe life into a pair of old jeans and a simple peasant blouse using machine embroidery. We used the designs from the Rose Arbor Set.
You will need :
Preparing for Embroidery:
Wash the jeans, let them dry, then rip the inner seam of the legs.
Open the designs on your computer and print them out. Print as many templates as you want to embroider.
Select threads for the embroidery. These roses are in the satin-stitch technique, so you canselect not only receommended colors, but change them according to your taste.
Stabilize the waste fabric with the stabilizer you are going to use for the embroidery and MAKE A TEST STITCH-OUT!
If you are satisfied with the results, proceed to embroider on your clothes. If not, make the necessary changes: thread colors, or thread tension, or change the needle and MAKE A TEST STITCH-OUT AGAIN.
Please note that most probably you will need needles of different sizes for the jeans and for the blouse.
Embroidery:
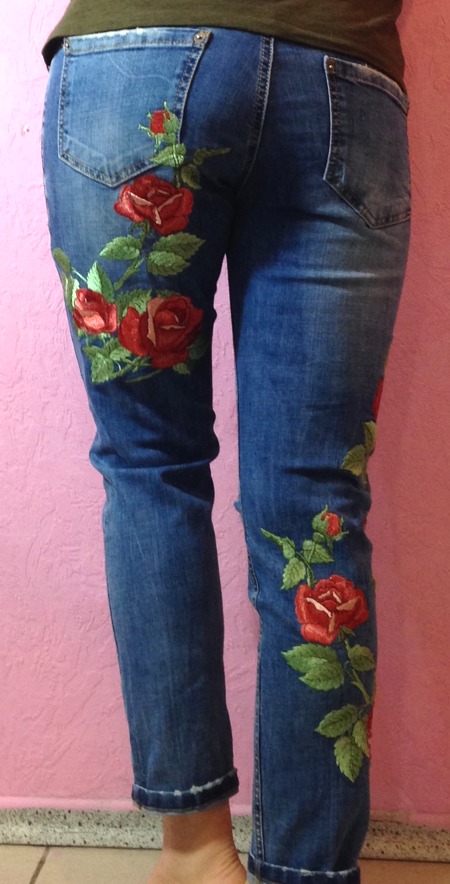
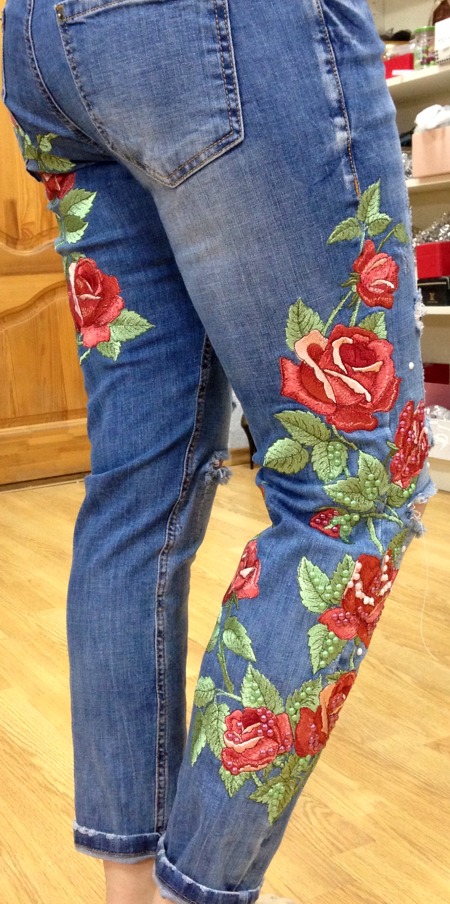
The Jeans:
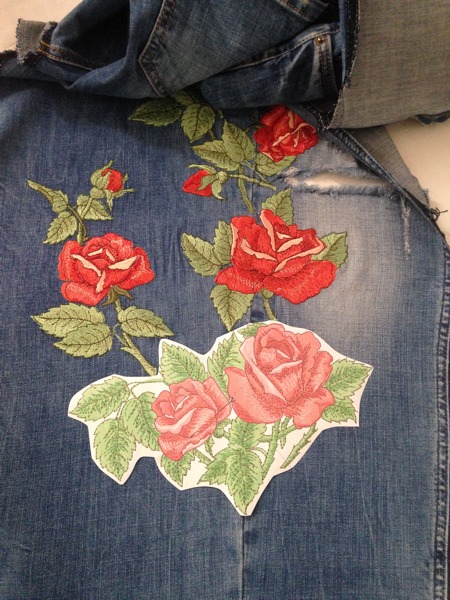
Open the jeans leg and position the paper templates of the designs on the fabric in the order you like. When you're satisfied with the composition, pin the templates to the fabric.
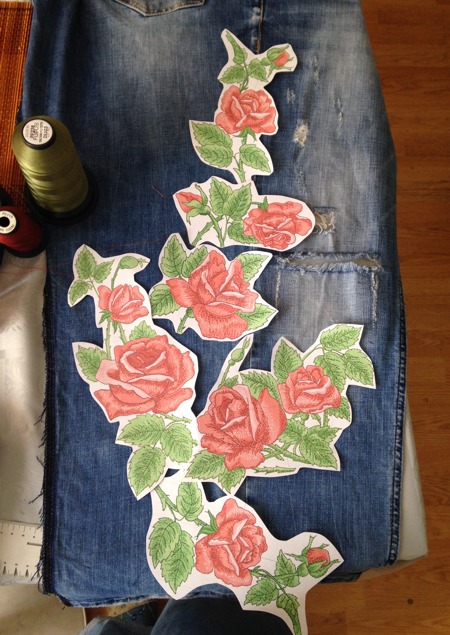
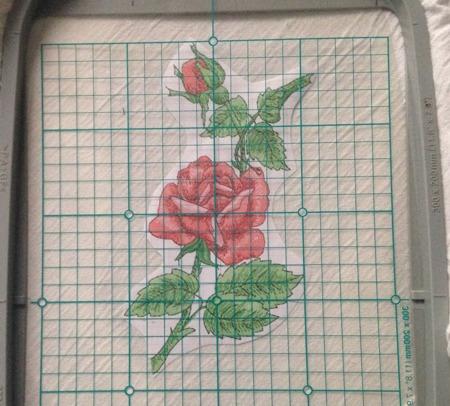
Stabilize each potion of the fabric separately for each design as you go. With the help of the hoop grid (frame grid) and templates check the position of each design on the fabric before you start to embroider it.
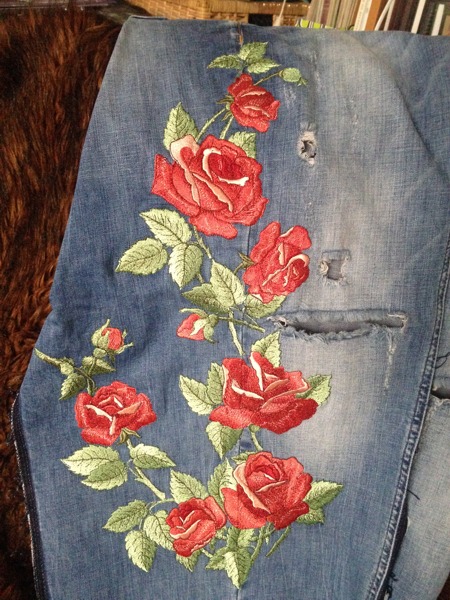
Here are the results. Neatly cut-away the excess stabilizer.
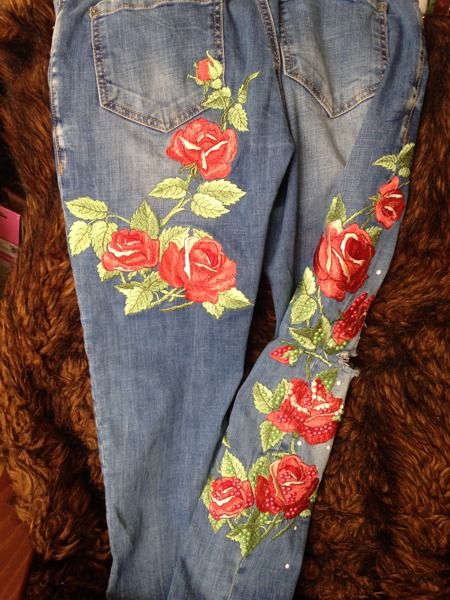
If you wish, you can further decorate the embroidery with crystals or beads, but this is optional.

Now, on your sewing machine, sew the inner seam closed. Voila! Your "new" jeans are ready!
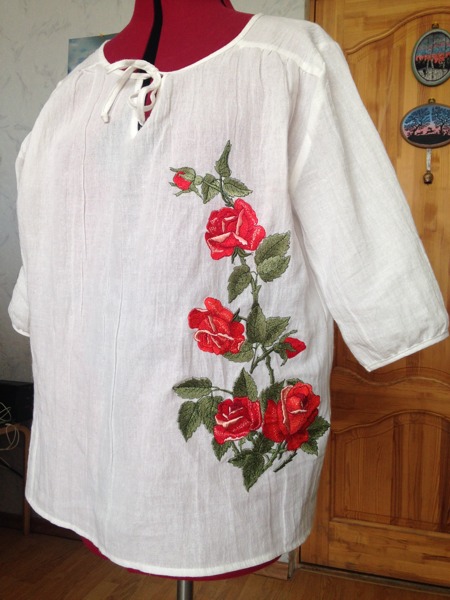
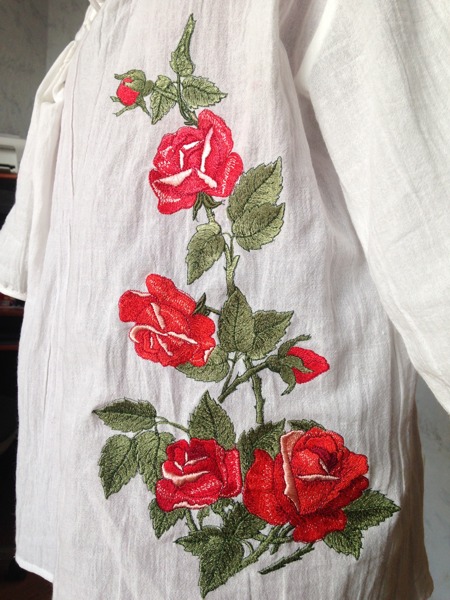
The Blouse.
The fabric of our blouse - cotton lawn - is rather fine. We used the same SULKY's light-weight cut-away stabilizer as for the jeans and #12 embroidery needle.
Make a test-stitch-out on the same or similar fabric! Maybe you will need a #10 needle, another tension, etc. Maybe you'd like to choose other thread colors. Always do tests when embroidering clothes!
First we wanted to embellish only the front of the blouse. It's wide enough to hoop, so we didn't need to rip the seams.
With the design print-out templates, decide on the embroidery composition.
Stabilize each potion of the fabric separately for each design as you go. With the help of the hoop grid (frame grid) and templates check the position of each design on the fabric before you start to embroider it.
After we embroidered the front, we also decided to add some embroidery on one of the sleeves. For this we had to rip the inner seam of the sleeve and the blouse to lay the sleeve flat.

After the embroidery is done, neatly cut away all excess stabilizer. Press the embroidery and stitch the seams back together.
Enjoy!


