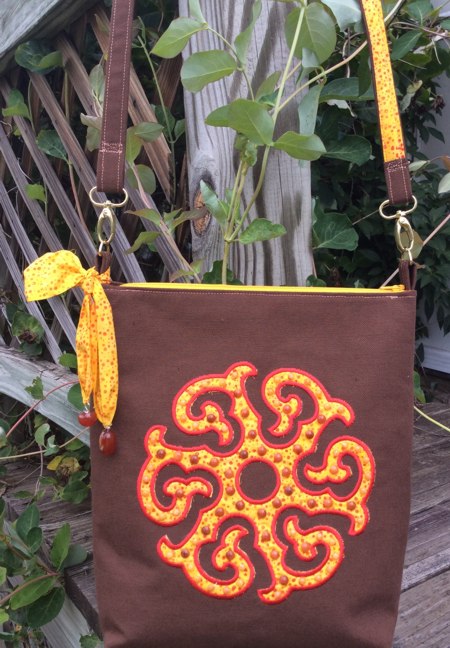
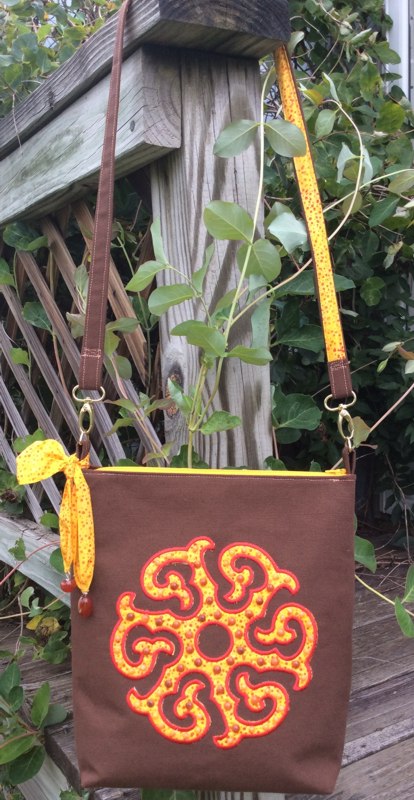
This tutorial describes how to knit a charming and elegant shoulder bag. We used the design Sun Mandala Applique to decorate it.
The finished size of the shoulder bag is about 10" wide x 11" high x 2 1/2" deep.
You will need :
Embroidery:
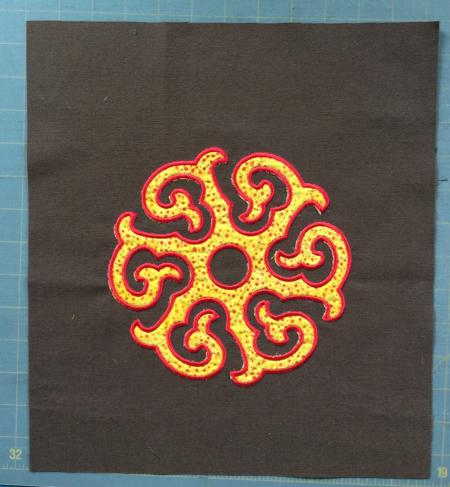
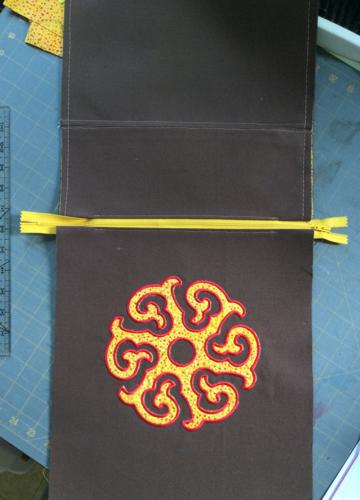
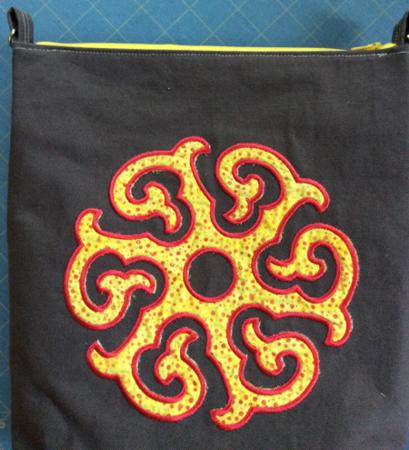
Upload the file Sun Mandala Applique to your embroidery machine and embroider the applique, following the instructions, on a piece of fabric for the outer bag.
When you are done, press the stitch-out and trim it to 12" (wide) x 13 1/2" (high), leaving approximately equal margins around the embroidery.
This is the front panel. Set it aside for the time being
Cutting the other parts of the bag:
Out of the fabric for the outer bag, cut
Read the directions for the interfacing! Be careful not to scorch the fabric! Press/adhere the interfacing parts onto:
Back Panel:
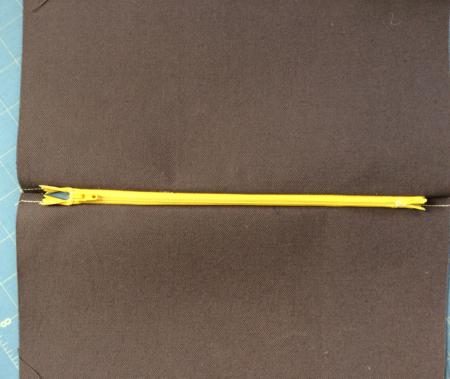
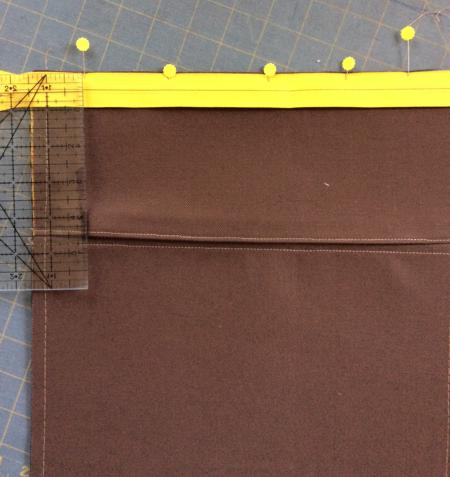
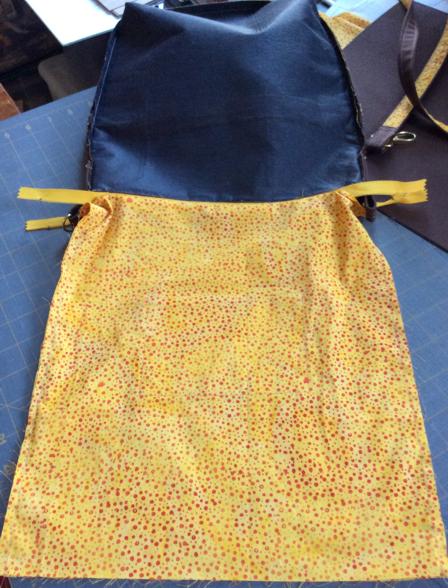
Take the smaller zipper and the 5" x 12" and 10 1/2" x 12" pieces of the outer fabric.
Lay the narrow piece face up, and position the zipper, face down, along the lower edge, leaving equal margins on both sides.
Pin. Topstitch in place.
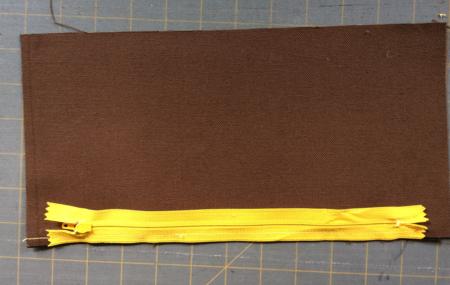
In the same way, sew the other side of the zipper to the larger piece.
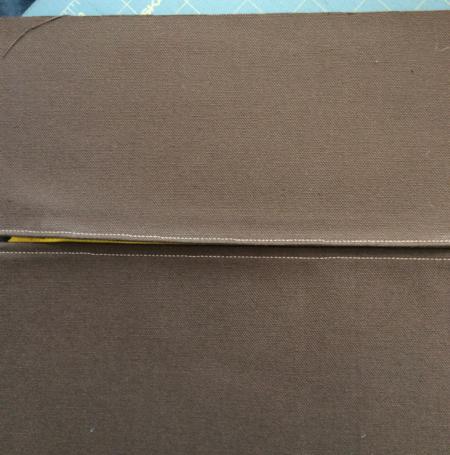
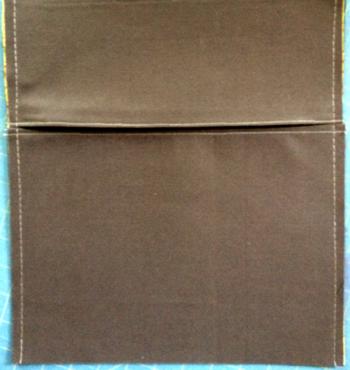
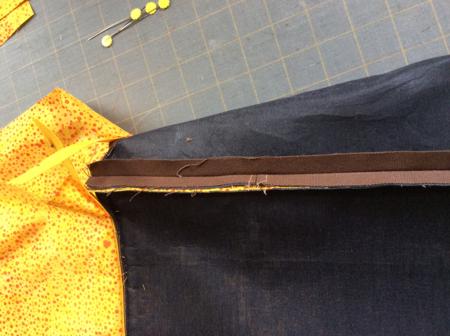
Lay the working piece on the table, face up. Fold the upper part of panel down over the zipper, then fold it back about 1/2" from the first fold, to form a pleat that covers the zipper.
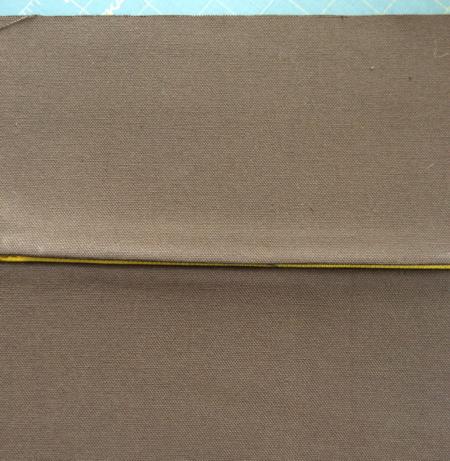
Press. Top-stitch through the pleat, about 1/8" from the edge. Topstitch along the lower half of the zipper.
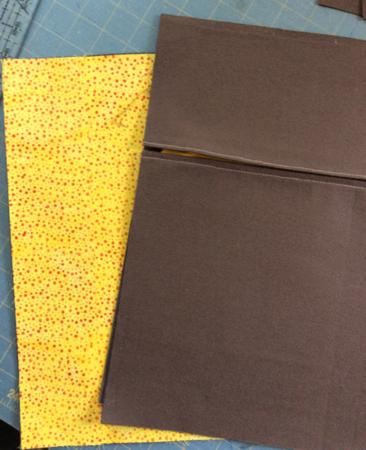
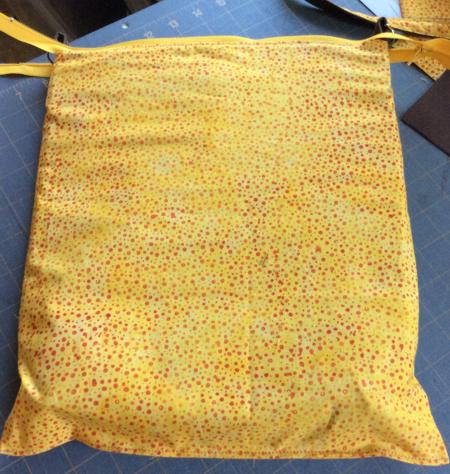
Lining of the back panel:
Check that the panel is 12" x 13 1/2", and if needed, trim to this size.
Place the stabilized piece of the lining, face up. Cover with the back panel, face up. Align all edges. Pin. Topstitch along all edges 1/4" from the edge.
Align all edges. Pin. Topstitch along the side edges 1/4" from the edge.
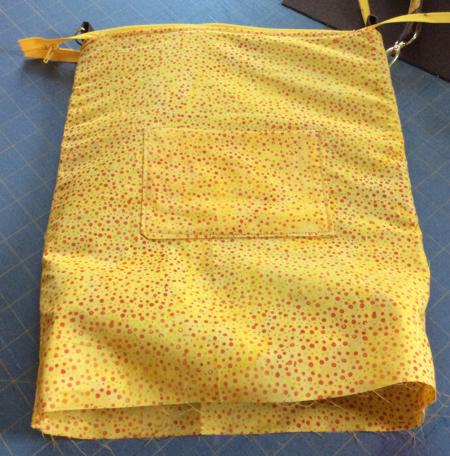
The Pocket:
Take the 4 1/2" x 10" strip of the lining fabric, fold it in half with right side to the inside. Stitch along the long edges, seam allowance 1/4". Leave the short side open.
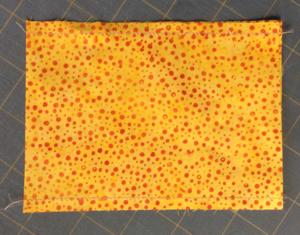
Turn right side out. Tuck the raw edges 1/2" inside, press and topstitch.
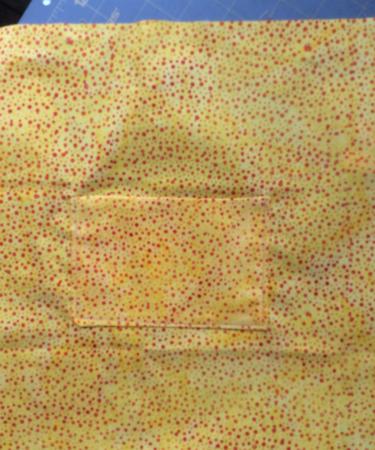
Position the pocket on one of the lining panels, approximately in the middle of it.
Top-stitch in place.
The Loops
Fold the long edges of the 12" long strip towards the center to make them meet. Let them lightly overlap. Press.
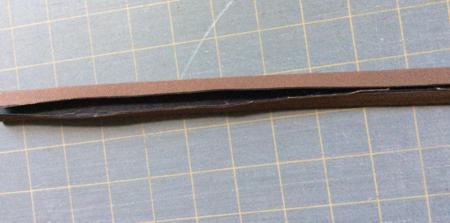
Topstitch 1/4" from each edge. Cut the strip in half to get 2 strips, each 6" long.
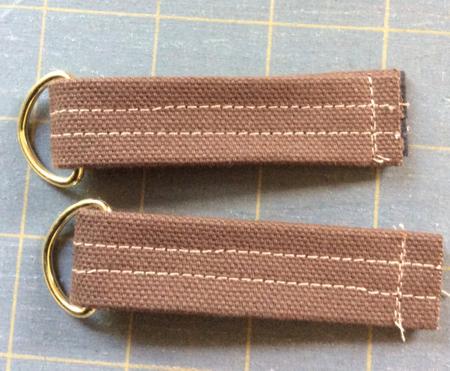
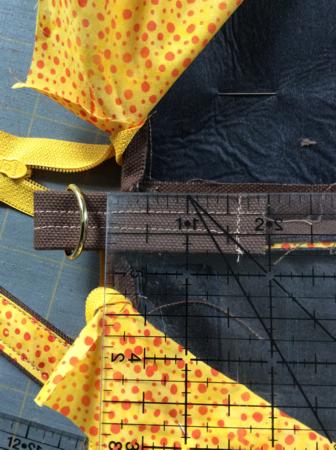
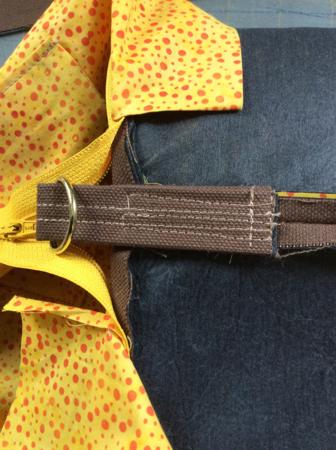
Put on the D-rings.
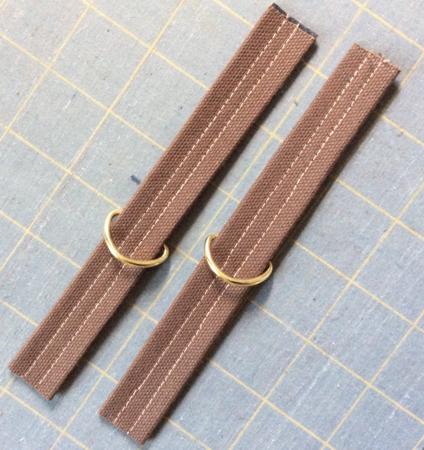
Fold the strips in half to form loops. Align the ends and topstitch 1/4" from the edges.
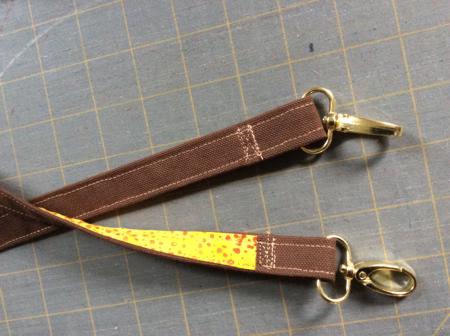
The Handle:
Fold the long edges of the 38" long strips towards the center to make them meet. Let them overlap slightly. Press.
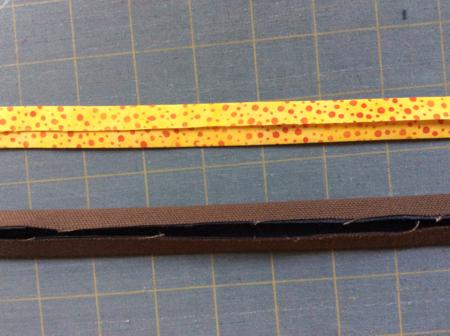
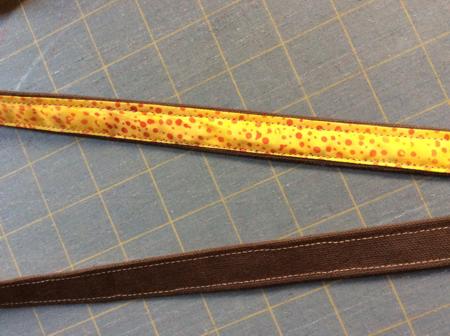
Position the strips, back to back. Pin. Topstitch along the long edges 1/8" from the edge.
Put the ends through swivels, fold them about 1 1/2" back onto the lining and topstitch several times.
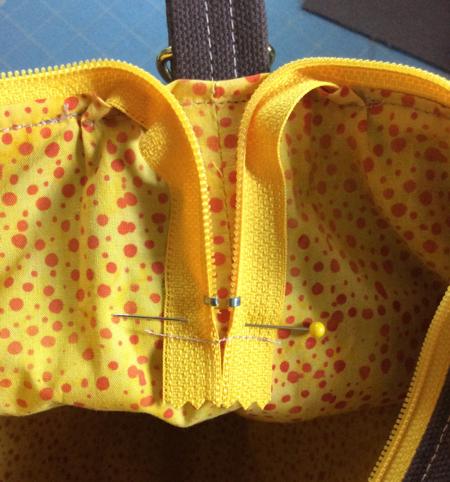
Upper Zipper:
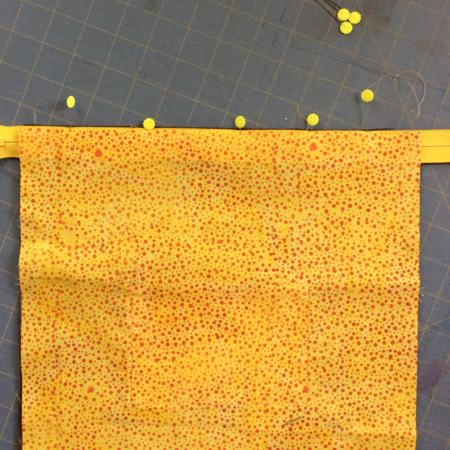
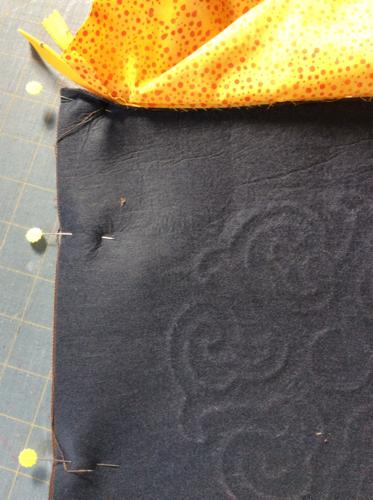
Position the second zipper , face down, along the upper edge of the back panel. Pin.
Cover with the lining piece, face down. Align the edges. Pin.
Stitch through all layers starting 1" from one edge and finishing 1" from the other edge.
Unfold the back panel and the back lining. Topstitch along the upper edge, starting and finishing 1" from both edges.
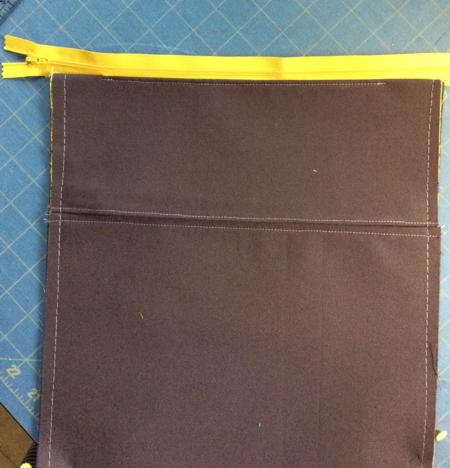

In the same way, sew the front panel and the remaining piece of the lining to the other side of the zipper.
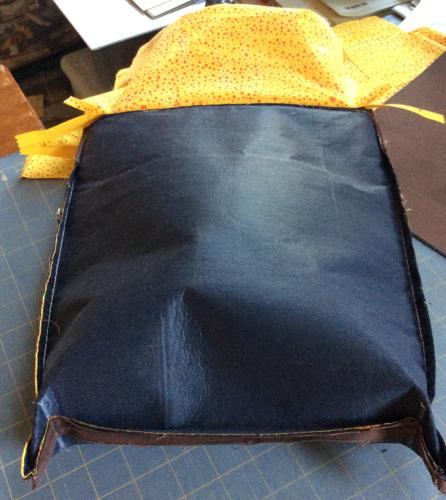
Open the zipper. Unfold the lining out of the way, fold the bag, right side inwards.
Align the edges of the back and front panels. Pin them together.
Sew them together, seam allowance about 1/2". Unfold and press the seams.
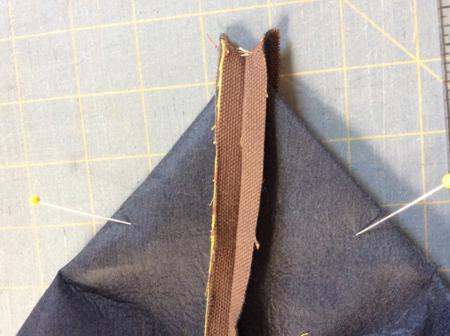
Position the loops with the D-rings on the side seams, about 2" deep (they protrude beyond the upper edge about 1".
Pin and top-stitch in place through all layers.
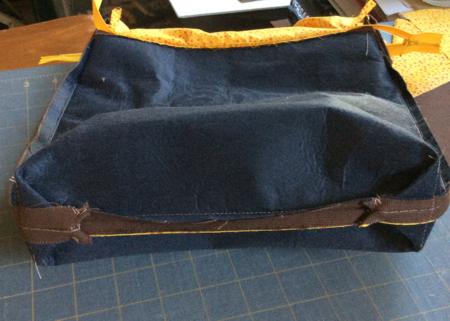
Bottom with Boxed Corners:
Sew the bottom, seam allowance 1/2". Open the seam and press.
To make boxed corners, separate the front and back sides at the corners. Center the seams on each side of the corner on top of each other.
Measure 1" along the seam from the corner and draw a line perpendicular to the seam across the corner and machine-stitch it. Do not trim the seam.

Fold the corners onto the bottom.
With several hand stitches, sew the corners to the seam allowance.
Finishing:
WIth the open zipper, align the edges of the lining. Pin. Stitch the sides. Seam allowance 1/4".
Turn the lining right side out onto the bag.
Tuck in the raw edges of the bottom and topstitch.
Topstitch the upper part of the lining near the loops.

Tuck in one end of the zipper, pin it to the side seam. Topstitch in place.
Tuck in the other end of the zipper.
Optional Embellishments:
We used 5mm cabouchons and glue them onto the applique.

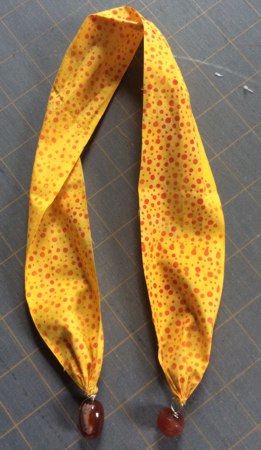
To sew the decorative bow, cut a piece of the lining fabric measuring 1 1/2" x 22".
Finish the raw edges with zig-zag.
Using a matching thread, baste the fabric near the ends, pull thread to gather the fabric. Sew large beads to the ends.
Tie the scarf to one of the loops.
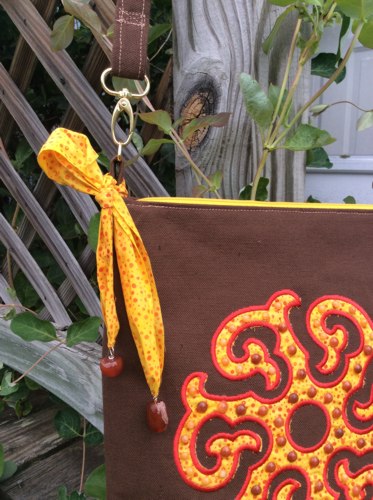
Fasten the handle. The shoulder bag is ready.
Enjoy!