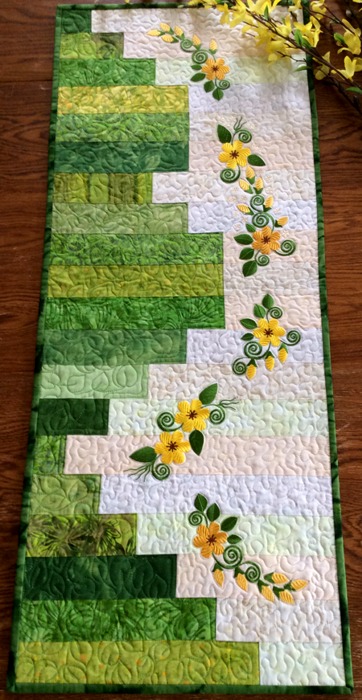
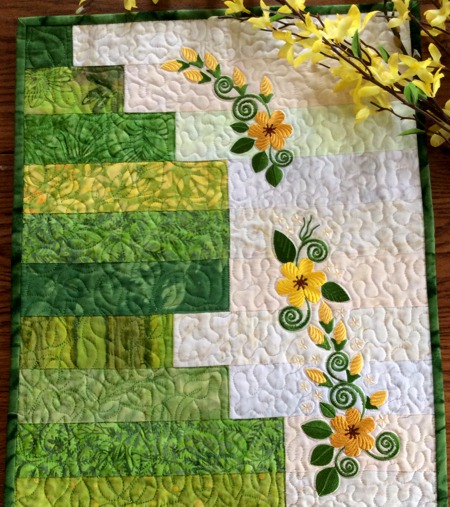
The Sunny Days Table Runner is a very easy project! It's great for Easter, Mother's Day, late spring and early summer.
We used the designs from the Transvaal Daisy Set.
The finished size of the table runner is about 16" x 40".
You will need :
Cutting and Assembly of the Top:
Note: seam allowance is 1/4", press each seam after you make it.
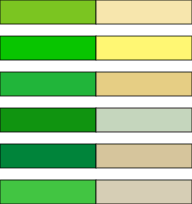
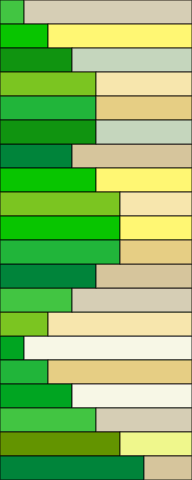
The table runner consists of 20 two-color strips 2 1/2" wide. We'll cut and sew them as we go. Pin a piece of paper with the number of the strip when you sew it so you don't get them mixed up.
1st and 15th strips: Cut a 2 1/2" x 2 1/2" green square and 14 1/2" long light-colored strip. Sew them together. Label the strips.

2nd, 14th and 16th strips: Cut a 4 1/2" long green strip and 12 1/2" long light-colored strip. Sew them together. Label the strips.
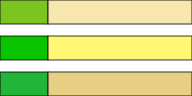
3rd, 7th, 13th and 17th strips: Cut a 6 1/2" long green strip and 10 1/2" long light-colored strip. Sew them together. Label the strips
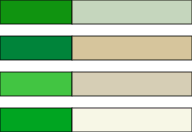
4th, 5th, 6th, 8th, 12th and 18th strips: Cut 8 1/2" long green strip and 8 1/2" light-colored strip. Sew them together. Label the strips.
9th, 10th, 11th and 19th strips: Cut a 10 1/2" long green strip and 6 1/2" light-colored strip. Sew them together. Pin the numbers.

20th strip: Cut a 12 1/2" long green strip and 4 1/2" light-colored strip. Sew them together. Pin the number.

Now sew all strips in order. Carefully press the seams.
Embroidery:
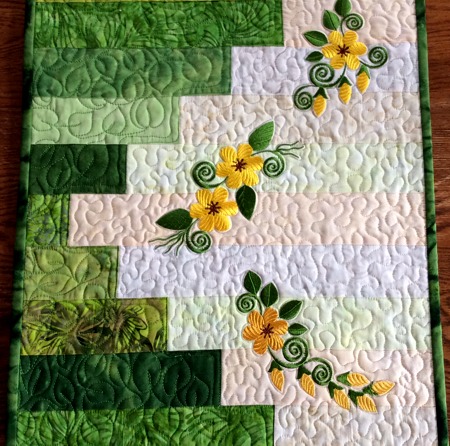
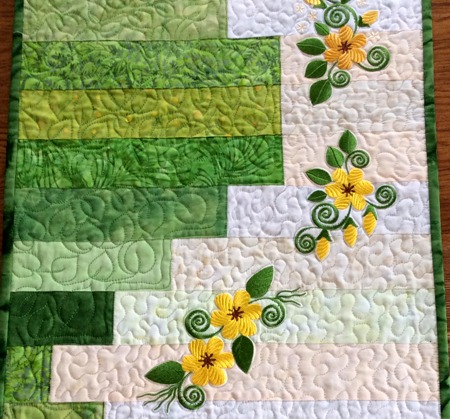
With the help of paper templates mark the position of the designs from the Transvaal Daisy Set on the light-colored part of the tablerunner. They should make a curved line. Stabilize the fabric.
Upload the files into your machine. Decide on the colors and select threads.
Embroider the designs one by one.
When embroider close to the fabric edge, you might need to baste a strip of waste fabric to the table runner.
Quilting and Finishing:
Now place the backing on a flat surface (table) face down. Cover with batting. Spread your working piece over it.
Pin all three layers together with 1" pins and start quilting. We quilted around the embroidery and all over the runner in a free motion style.
After the quilting is finished, press the work with heavy steam and square the work -- all corners should be 90 degrees and opposite sides should be of the same length.
Finish the raw edges with the binding.
Enjoy!


