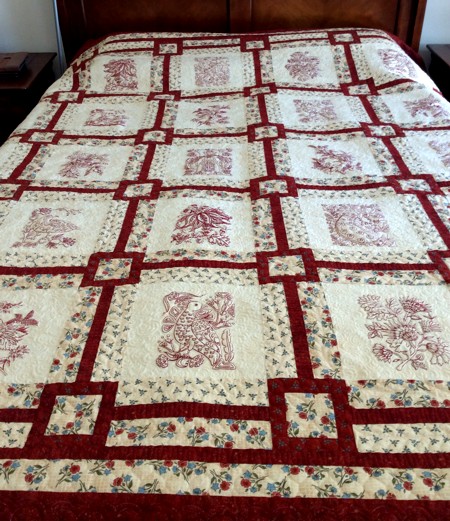
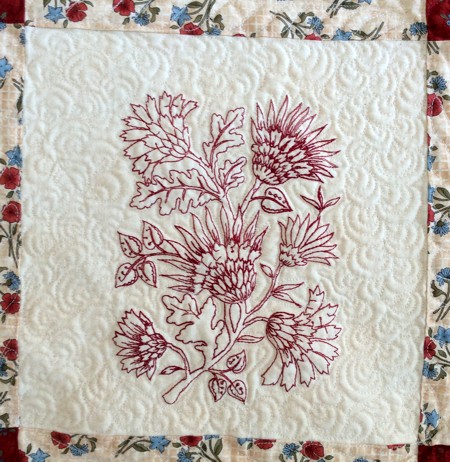
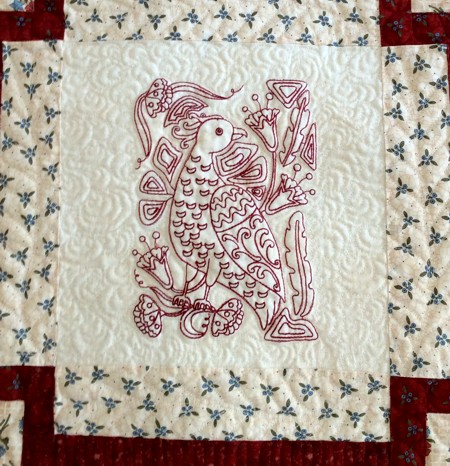
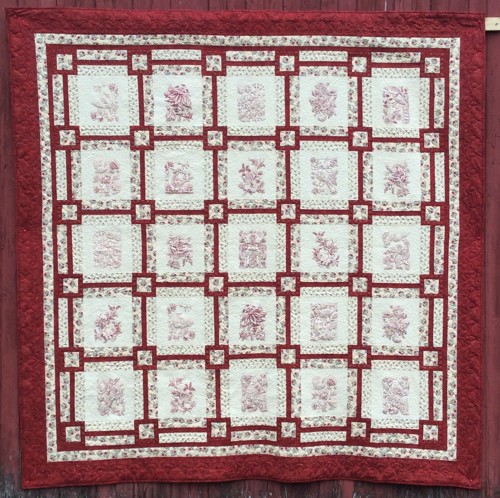
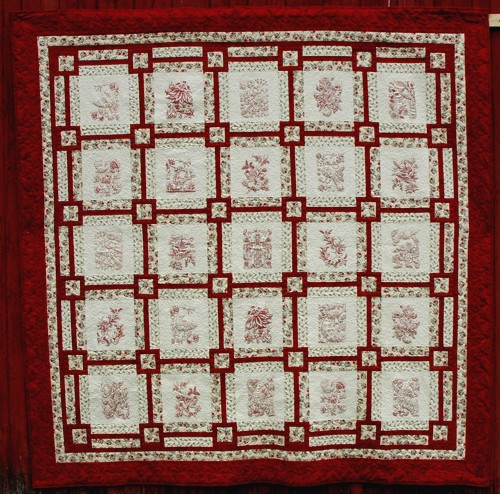
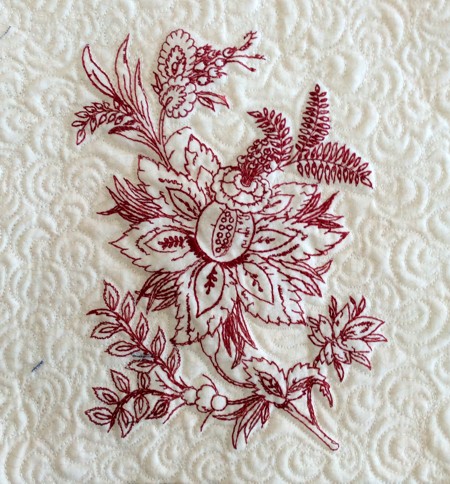
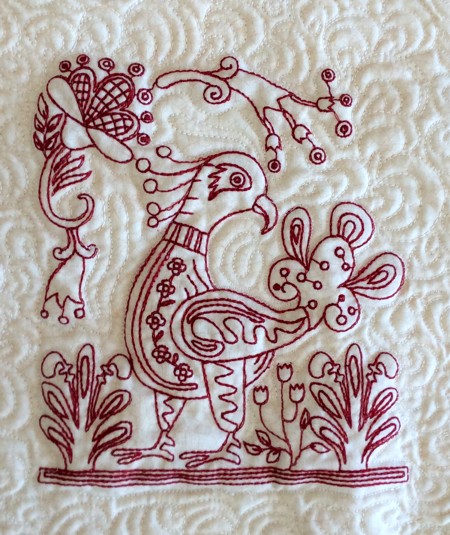
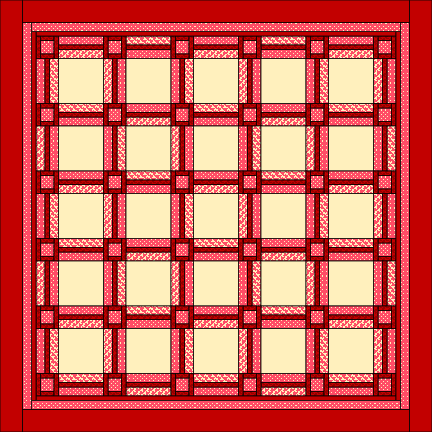
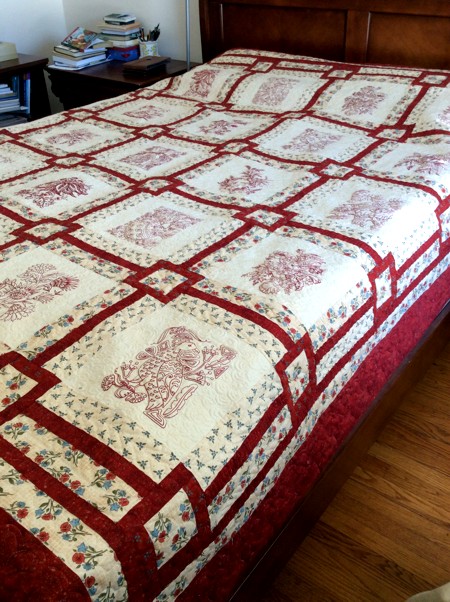
For this out-size quilt, I drew inspiration from medieval tapestries and banners. I used designs from the Folk Art Bird Set and Fancy Flowers Set for the mega size hoop (6" x 10").
The finished size of the quilt is about 95" x 95".
You will need :
Embroidery:
Because this is such a big quilt and we didn't want to worry about making mistakes in the embroidery, we did the embroidery BEFORE cutting the fabric.
On the light cream fabric, draw 25 squares measuring 10 1/2" x 10 1/2". Do not cut them out yet. Alternatively, you can cut them out and do the embroidery after you assemble the top of the quilt.
Working with one cream square at a time, stabilize it with light-weight iron-on cut-away stabilizer. Hoop it tightly.
Upload the embroidery files of the Folk Art Bird Set and Fancy Flowers Set into the machine and embroider them one by one.
After the embroidery is done, press the stitch-outs and cut out the squares.
Cutting:
Cut the embroidered light cream fabric into 10 1/2" x 10 1/2" squares.
Out of one of the light patterned fabrics, cut
Sewing the Sashing Units:
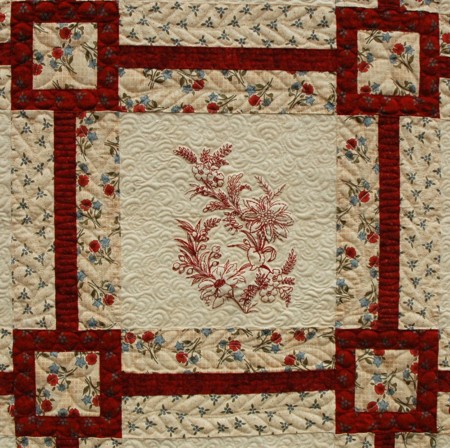
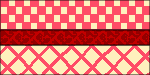
Take the light patterned 2 1/2" x 10 1/2" strips and dark 1 1/2" x 10 1/2" strips , sew them into 36 3-color strips. Each strip should consist of: strip of light fabric #1 - dark strip - strip of light fabric #2.
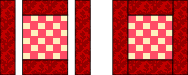
Take the light patterned 3 1/2" x 3 1/2" squares and dark patterned 1 1/2" x 3 1/2" and 1 1/2" x 5 1/2" strips, and sew them into 36 blocks:
Making the Rows:
Using five embroidered squares and six 3-color strips each, assemble 5 rows. Pay attention to the direction of the 3-color strips!

Making the Sashing:
Using five 3-color strips and six blocks each, assemble 6 rows of sashing. Pay attention to the direction of the 3-color strips!

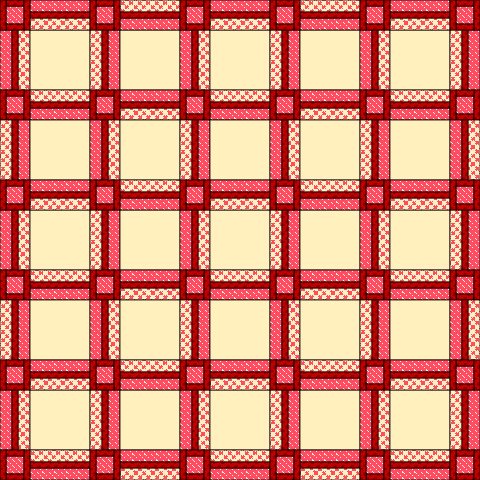
Assembly of the Top:
Sew the sashing rows and rows with embroidered squares together. Start and finish with the sashing rows.
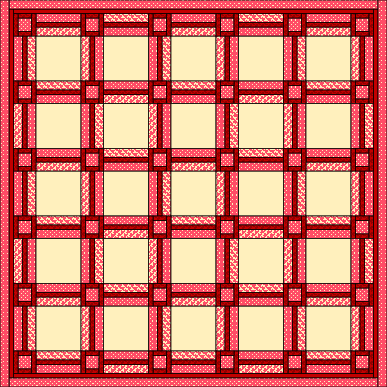
Borders:
Ideally at this stage your top should measure 80 1/2" x 80 1/2". However, it may be 1"-2" smaller due to the width of your seams. That's why we recommend measure the quilt before cutting the borders. Important: Measure through the center, not along the edges of the quilt!
For example, it measures 79 1/2" x 79 1/2".
The first border consists of 2 strips that are 1 1/2" and the same length as your quilt is wide (79 1/2") and 2 strips that are 1 1/2" and the length of your quilt + 2" (79 1/2" + 2" = 81 1/2")
Sew the first pair of strips to the upper and lower edges, the second pair to the right and left edges.

For the second border, the strips are 2 1/2" wide. Two strips should be length of quilt + 2" (in our example, 79 1/2" + 2" = 81 1/2"). Two strips should be length of quilt + 6" (in our example 79 1/2" + 6" = 85 1/2"). Sew the shorter strips to the top and bottom of the quilt. Sew the longer strips to the left and right edges of the quilt.
For the third border take the strips 5 1/2" wide. Two strips should be length of quilt + 6" (in our case, 79 1/2" + 6" = 85 1/2"). Two strips should be length of quilt + 16" (in our case, 79 1/2" + 16" = 95 1/2"). Sew the shorter strips to the top and bottom of the quilt. Sew the longer strips to the left and right edges of the quilt.
Quilting and Finishing:
To quilt a quilt of this size can be a daunting task. If you don't love quilting, consider a quilting service.
When the quilting is done, press the working piece with steam. Square it and finish the raw edges with the binding.
Enjoy!