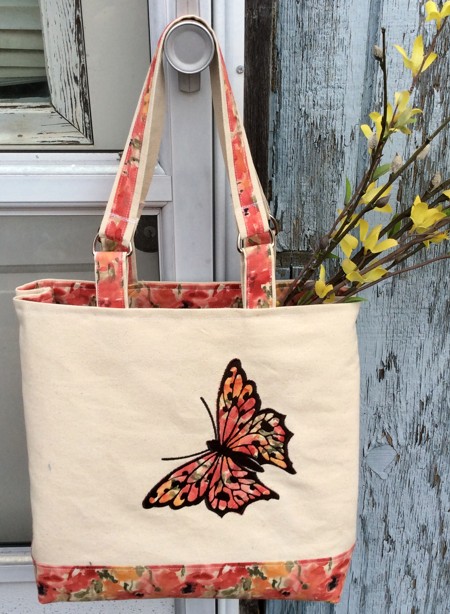
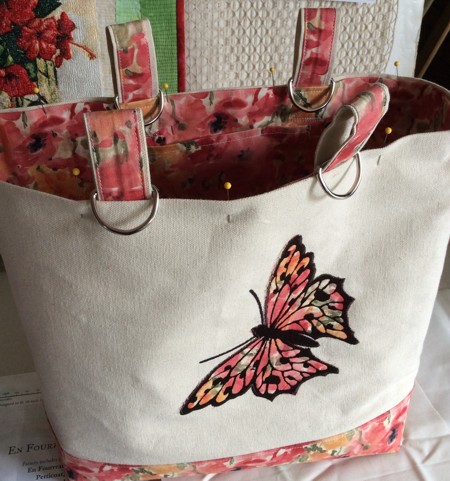
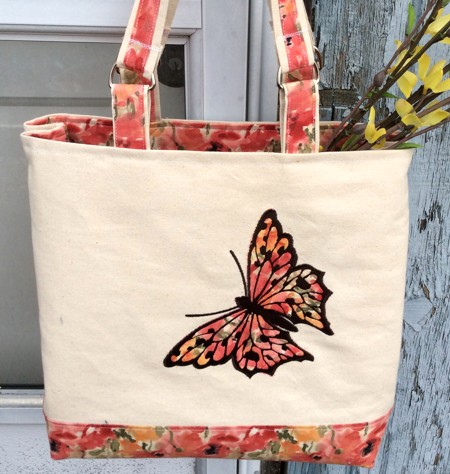
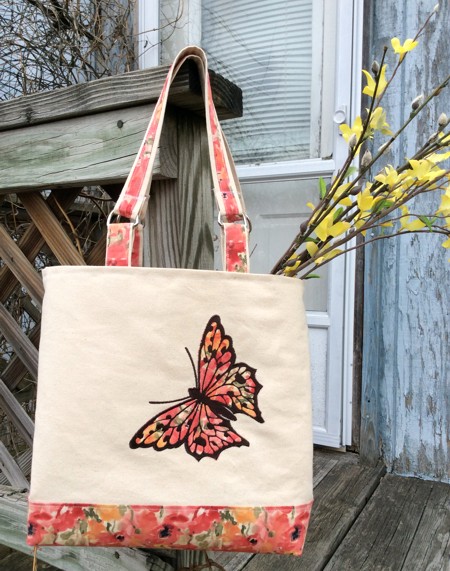
This bright and roomy bag makes a great present for Mother's Day. We used an applique design from the Butterfly Set for the mega size hoop (6" x 10"). The designs for a Full Large and Large Hoop will also work.
If using the smaller designs, you can embroider several butterflies on the front panel.
The finished size of the bag is about 13" wide x 13" high x 5" deep.
|
|
|
You will need :
- black embroidery polyester thread,
- medium-weight iron-on cut-away embroidery stabilizer and sewing interfacing,
- 1/2 yard of light-colored cotton canvas or duck cloth,
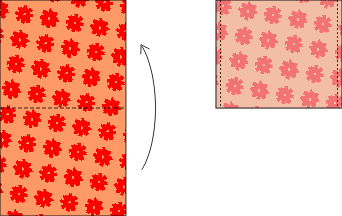
- about 1 yard of pattern cotton fabric for the applique, bottom, lining and handles of the bag; we picked a floral print
- four 1" D-rings,
- 2 magnet closures,
- Steam-A-Seam2 fusible web or similar product (optional),
- #12, #14 and #16 sewing needles
- sewing threads in matching colors,
- rotary cutter, quilter's ruler and scissors,
- iron
|
| Making the Front and Back Panels: |
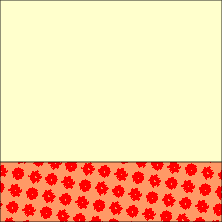
Out of canvas, cut 2 squares measuring 19" x 19"
Out of patterned fabric, cut 2 strips measuring 6" x 19". |
Fold one of the long edges of the patterned strip back 1/2". Position it on the lower edge of one of the canvas squares. Align the lower edges. Adhere with the help of fusible web. Alternatively, pin, then stitch in place along all edges with seam allowance 1/4".
Repeat with the other panel. |
|
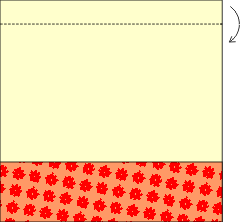
| Fold the upper edge of each panel back 2" and press it. Unfold. |
|
Embroidery:
|
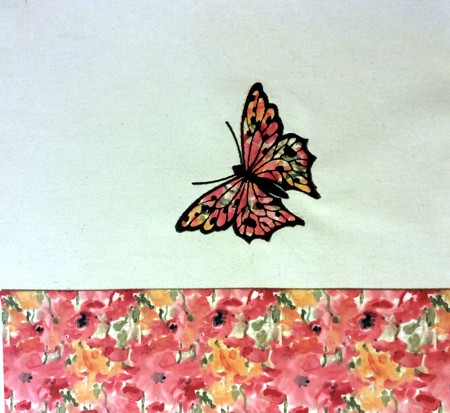
Mark the position of the embroidery. Stabilize the place with medium-weight iron-on cut-away stabilizer. Hoop it tightly.
Choose any butterfly from the Butterfly Set. Upload the embroidery file into the machine and embroider it, using for the applique the same patterned fabric.
|
|
Position both panels face to face, align all edges. Stitch the bottom with seam allowance 1/2". Press the seam open.
|
|
Topstitch on both sides of the seam, 1/4" from the bottom seam.
|
|
Sewing the Bag:
|
Fold the panels face inwards, align the edges. Stitch the sides, seam allowance 1/2", stitch again about 1/32" from the first stitch line.
Press the seams open.
|

|
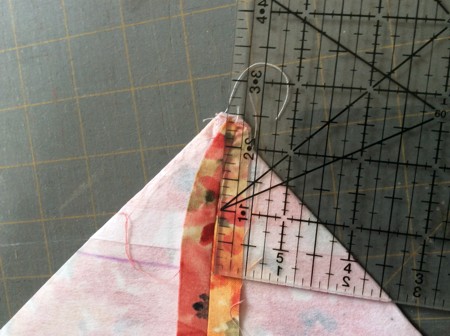
To make boxed corners, separate the front and back sides at the corners. Center the seam on the side with the bottom seam.
Measure 2 1/2" along the seam from the corner. |
|
| Draw a line perpendicular to the seam across the corner and machine-stitch it several times. |
|
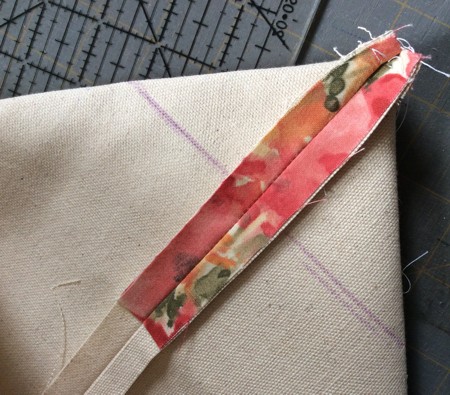
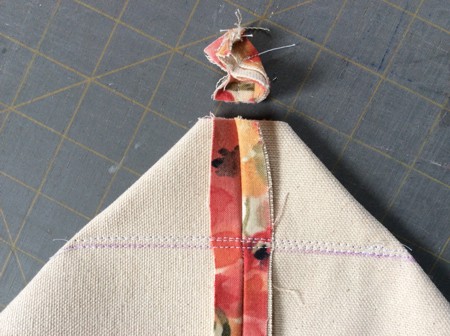
Trim the tip. Fold the corner towards the side and topstitch it in place.
Repeat for the other corner. |
|
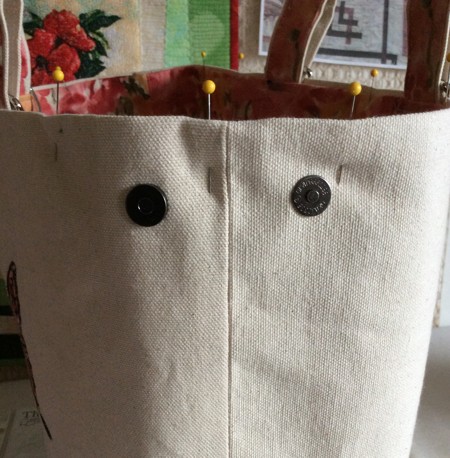
Turn the bag right side out. Fold the upper edge back along the pressed line.
Attach the magnetic closures about 1 1/2" from the upper edge and 1 1/2" from the side seam. |
|
| Making the Lining: |
| Note: for the lining use a #12 sewing needle. |
| Out of patterned fabric, cut 2 pieces 18" x 19" and a piece for the pocket measuring 7" x 12". Stabilize the lining panels with medium-weight iron-on sewing interfacing. |
| Fold the piece for the pocket (7" x 12") widthwise, face inwards. Stitch along the long sides. Seam allowance for the pocket is 1/4". |
|
| Turn right side out. Press. Tuck the raw edges 1/2" inside, press and topstitch. |
|
| Position the pocket on one of the lining panels, about 3" from the upper edge and an equal distance from the sides. Pin. |
|
Fold the upper edge of both panels 1" back and press. Unfold.
Position the panels face to face. Stitch the bottom, seam allowance 1/2". Press the seam open.
Stitch the side seams with seam allowance slightly less than 1/2". Press the seams open.
Fold the upper edge back along the pressed line. |
|
|
| Handles |
For the handles, out of canvas, cut
- 2 strips measuring 2 1/2" x 22" and
- 2 strips measuring 2 1/2" x 18"
Out of patterned fabric, cut
- 2 strips measuring 1 1/2" x 22" and
- 2 strips measuring 1 1/2" x 18".
|
Fold all the canvas strips in half lengthwise and lightly press to mark the center. Unfold. Fold the edges to the central line. Press.
Fold the long edges of the patterned fabric strips 1/4" back and press. |
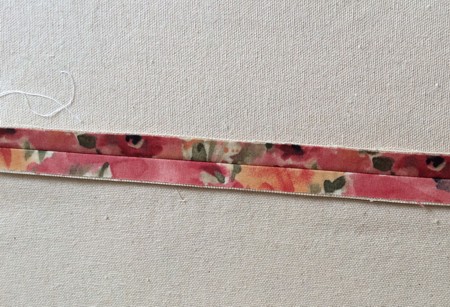
| Position the colored strips over the canvas strips, wrong side to wrong side. Pin. Topstitch them together. |
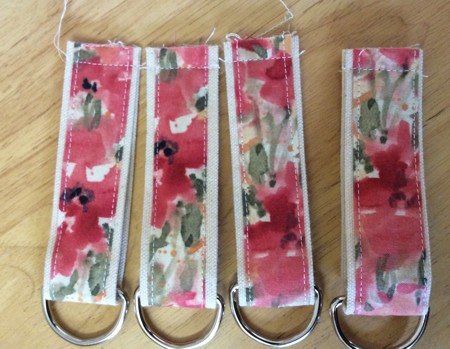
| Cut the 18" long strips in half. Insert them into the D-rings. Align the short ends and sew them together. |
|
| Pin the D-ring parts to the back of the lining, 5 1/2" from the side seams. Stitch them in place. |
| Insert the lining into the bag, align and pin the upper edges. |
|
| Topstitch along the upper edge about 1/4" from the edge. |
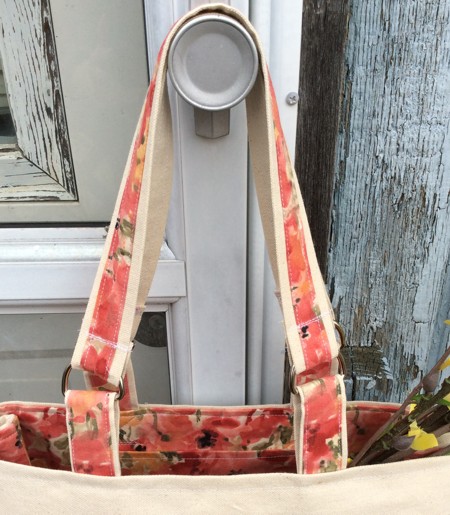
| Insert the ends of the 22" long strips into the D-rings, fold them about 1 1/2" and topstitch several times. |
|
| Close the magnetic closures on the sides. |
|
| Enjoy! |
|
|
Back to Butterfly Set
|
Back to Projects Page
|


