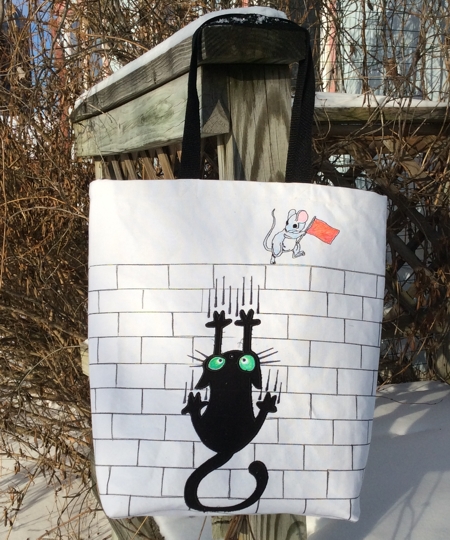
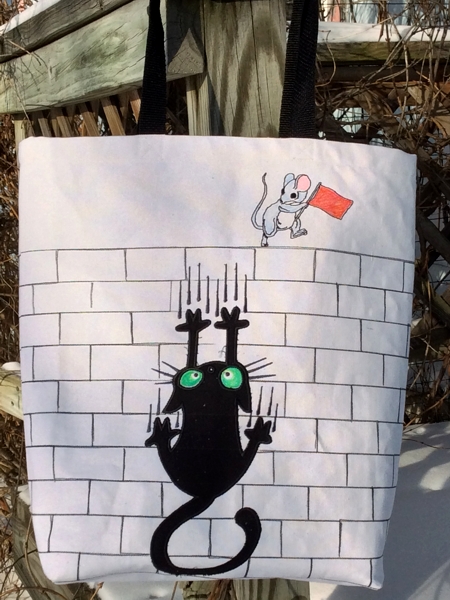
For this cute roomy tote bag we used the applique design Falling Cat for a commercial size hoop (8" x 12") and a redwork design from the Merry Mice Set for the small hoop (4" x 4").
|
|
| The finished size is about 16" high, 16" wide and 4" deep. |
You will need :
- embroidery threads (either rayon or polyester),
- light-weight cut-away embroidery stabilizer,
- about 3/4 yard of cotton duck fabric,
- about 3/4 yard of cotton fabric for the lining,
- 1 yard of Pellon Peltex 71 one-side fusible heavy-duty sewing interfacing (or similar product),
- 52" of 1" wide poly webbing for the handles,
- fabric colored markers,
- #12 and #16 sewing needles, and dual-duty sewing thread of matching color,
- scissors, quilter's ruler, roller cutter.
|
| Cutting: |
Out of duck fabric, cut 2 panels measuring 18 1/2" x 21 1/2".
Out of the interfacing, cut 2 panels measuring 18 1/2" x 20".
Out of fabric for the lining, cut
- 2 panels measuring 18 1/2" x 20" and
- a piece measuring 8 1/2" x 14".
|
Embroidery:
|
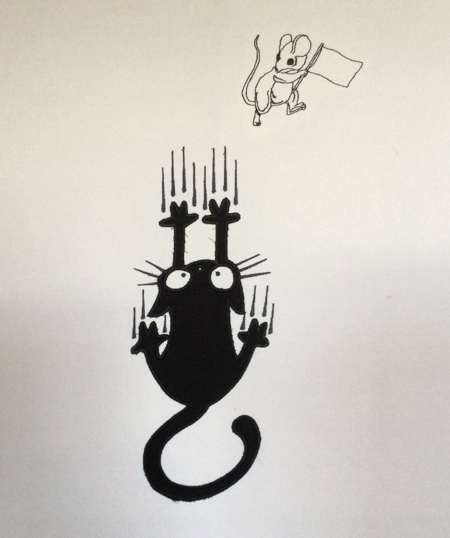
Mark the position of the embroidery on one of the outer bag panels. Paper print-outs of the designs can be very helpful. If you cannot print out the images, make templates: a rectangle measuring 3" x 4" for the mouse and a rectangle measuring 5" x 12" for the cat. Position them on the panels. The mouse should be about 3" from the upper edge, and the cat about 4" from the upper edge.
Upload the embroidery files into the machine and embroider them one by one.
|
|
Painting and Top-Stitching
|
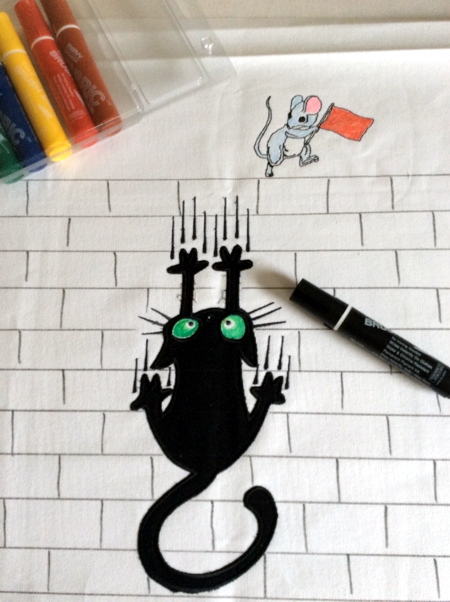
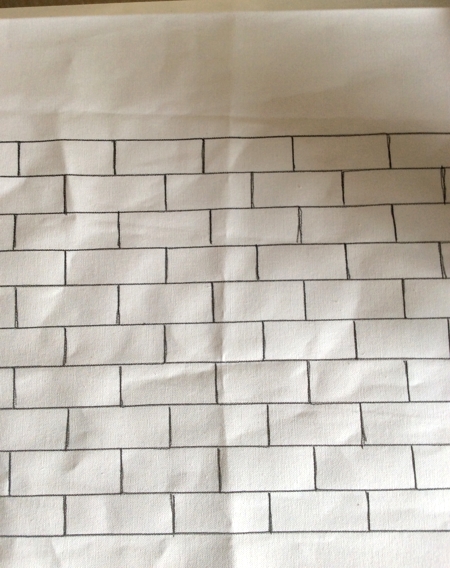
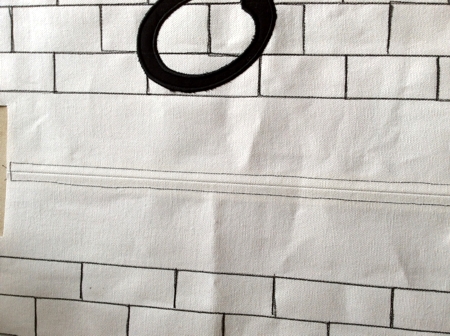
Using fabric markers, color the mouse. Using a ruler and a marker (we used black), draw horizontal lines 1" apart. Then add vertical lines to imitate bricks.
|
|
| In the same way, draw bricks on the back panel. |
|
Sewing the Outer Bag
|
Note: Use a #16 sewing needle.
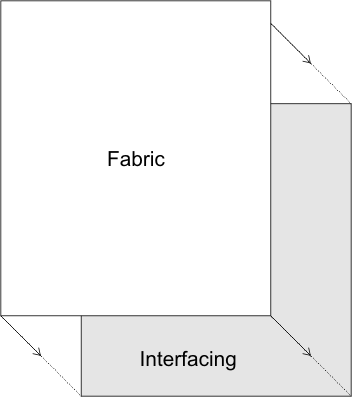
Place the front and back panels over the interfacing panels. Align the lower and side edges. Note that the upper edges of the bag panels will protrude 1 1/2" over the interfacing panels. |
|
| Following the manufacturer's instructions, fuse the outer panels with the interfacing. In our case, if you use Pellon Peltex 71, press the panels with a hot iron. |
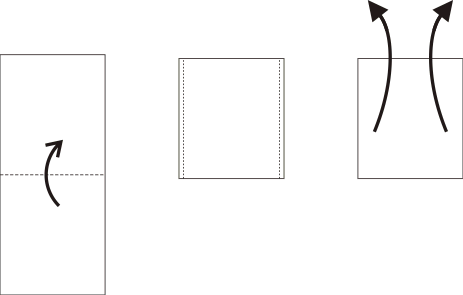
| Fold the upper edges of the outer panels 1/2" back and press. Fold the upper edges again, now about 1" over the interfacing and press again. Unfold. |

|
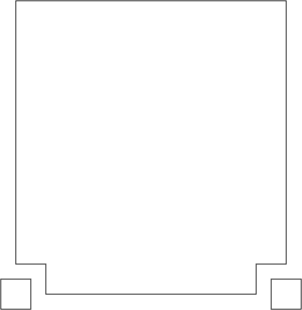
| Cut 2 1/2" x 2 1/2" squares from the bottom corners of both panels. |
|
| Position the panels face to face, align all edges. Sew the bottoms of the panels together. Seam allowance is 1/2". Cut away the interfacing from under the seam allowance. Unfold the seam, press, topstitch on both sides 1/4" from the seam. |
|
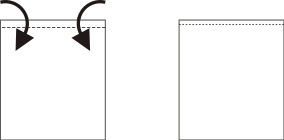
Fold the working piece face inwards. Align the sides. Stitch the sides of the panels together, seam allowance 1/2". Cut away the interfacing from under the seam allowance. Open the seam and press. Topstitch 1/4" on both side of the seam.
Repeat for the other side. |
|
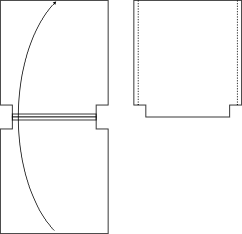
| To shape the bottom, pinch the corners as shown in the diagram below. Pin. Stitch them closed. Seam allowance 1/2". |
|
| The Pocket and the Lining: |
Note: for the lining use a #12 sewing needle.
|
| Fold the piece for the pocket 8 1/2" x 14" widthwise, face inwards. Stitch along the long sides. Seam allowance 1/4". |
|
Turn right side out. Press. Tuck the raw edges 1/2" inside and topstitch.
Topstitch along one of the long sides of the pockect 1/4" from the edge. |
|
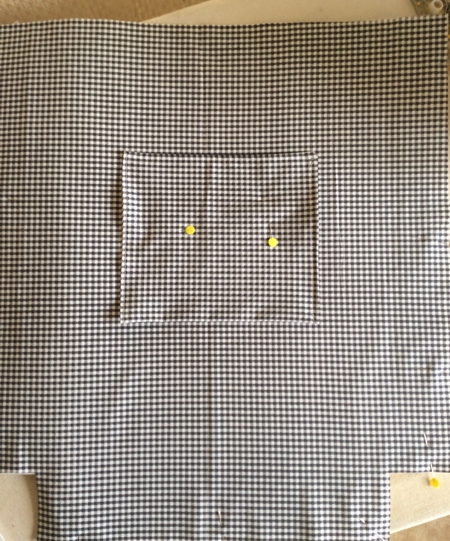
| Position the pocket on one of the lining panels, about 5 1/2" from the upper edge and an equal distance from the sides. Pin. |
| Topstitch the pocket in place. |
|
Sew the lining in the same way as the outer bag. Seam allowance 1/2".
Position the lining pieces face to face. Cut 2 1/2" x 2 1/2" squares in the lower coners.
Sew the bottom, unfold the seam and press.
Sew the sides, unfold the seams and press.
Sew the bottom corners. |
| Insert the lining into the bag. Align bottom and side seams. Align the upper edge of the lining with the upper edge of the interfacing. |
| Fold the the upper edge of the outer bag by the creased lines. Pin. Topstitch in place close to the folded edge of the outer bag. |
|
|
Attaching the Handles.
|
| Out of webbing, cut 2 pieces 24" - 26" long. It depends how long you want the handles. Melt the short/cut edges of the polypropylene webbing with .... Be careful with flame! |
Work with one handle at a time. Position the short ends of the handle inside the bag over the folded edge. Pin. Check that the ends are on the same distance from the sides.
Topstitch them in place.
Repeat with the second handle.
|
|
|
| That's it! Enjoy! |
|
|
Back to Falling Cat or Merry Mice Set
|
Back to Projects Page
|


