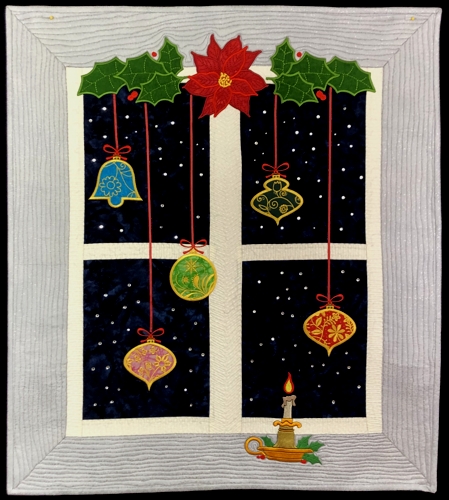
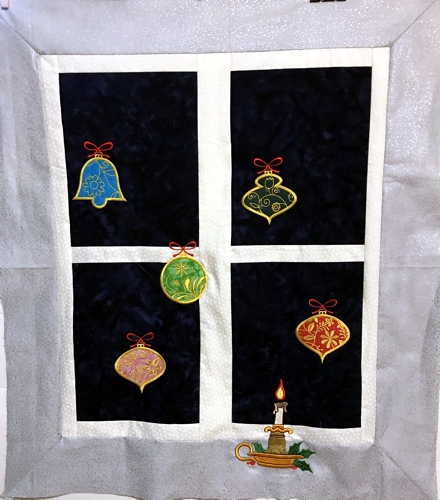
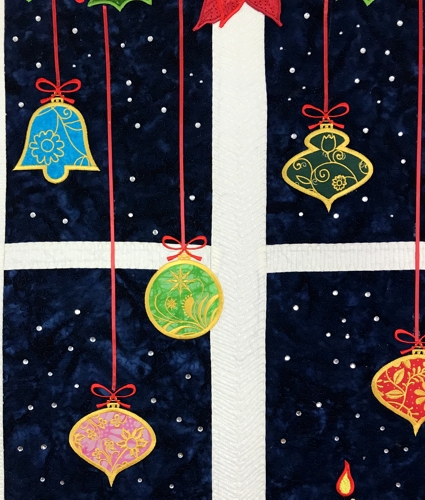
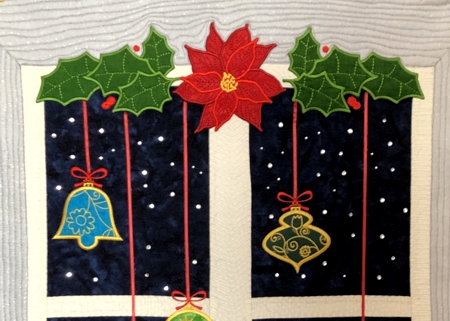
For this quilt we used designs from the Christmas Garland Applique Set, Applique Christmas Ornaments and Christmas Candle.
The top is pieced first, then the embroidery is made over the top.
The finished size of the quilt is about 26" x 29".
|
|
You will need :
- embroidery threads (for the candle, use the color card enclosed with the design, for the applique feel free to choose the colors you like, we used gold, red and green),
- light-weight cut-away stabilizer,
- 1 fat quarter of dark blue batik,
- about 1/4 yard of white fabric,
- about 1/2 yard of light gray fabric,
- scraps of fabrics for the applique,
- fabric for the backing and binding,
- batting,
- #12 universal sewing and quilting needles,
- quilting threads of matching colors,
- 1/8" wide satin ribbons to match the bows on the embroidery (we used red),
- rotary cutter,
- quilter's ruler,
- iron,
- permanent fabric adhesive,
- Swarovski crystals or rhinestones (optional)
|
| Cutting: |
Out of dark blue fabric, cut 4 rectangles measuring 8 1/2" x 10 1/2"
Out of white fabric, cut
- 6 strips measuring 1 1/2" x 8 1/2",
- 2 strips measuring 1 1/2" x 23 1/2" and
- 1 strip measuring 2 1/2" x 23 1/2".
Out of gray fabric, for mitered corners, cut
- 2 strips measuring 3 1/2" x 34" and
- 2 strips measuring 3 1/2" x 36",
OR if you prefer box corners, you will need:
- 2 strips measuring 3 1/2" x 23 1/2" and
- 2 strips measuring 3 1/2" x 26 1/2".
|
Assembly of the Top:
|
| Note: Seam allowance is 1/4", press each seam as soon as you make it. |
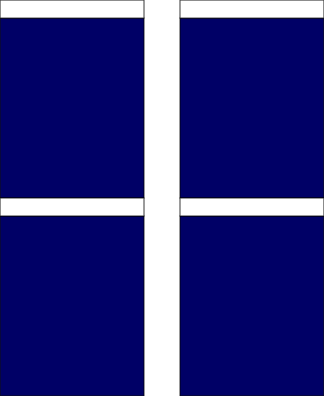
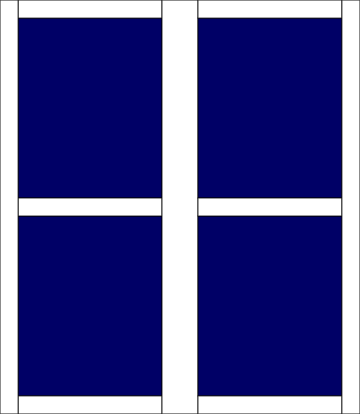
Sew the white 1 1/2" x 8 1/2" strips to the upper edge of each of the 4 dark rectangles.
|

|
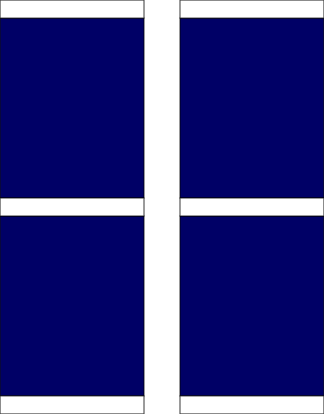
| Sew the rectangles in 2 strips: |
|
| Sew the remaining 1 1/2" x 8 1/2" white strips to the bottom of each strip. |
|
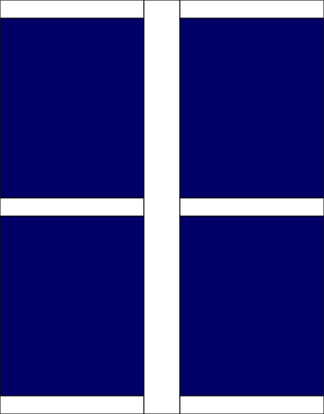
| Sew the 2 1/2" x 23 1/2" white strip between the 2 strips. |
|
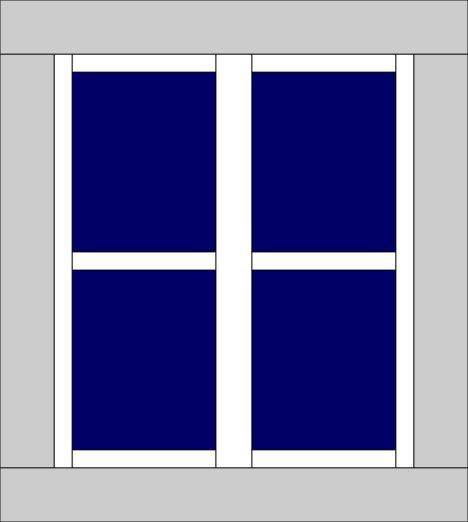
| Sew the 1 1/2" x 23 1/2" white strips to the left and right edges of the working piece. |
|
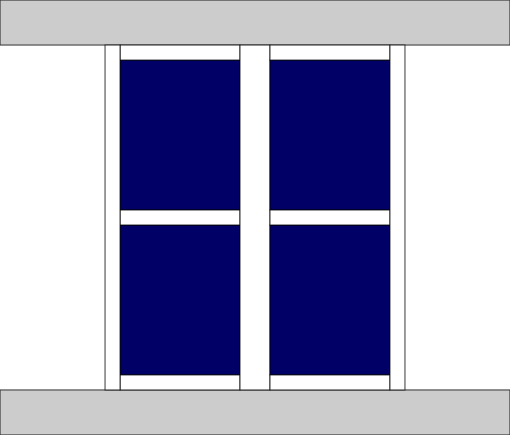
| If you are making box corners, sew the 3 1/2" x 23 1/2" gray borders to the left and right edges of the working piece. Then sew the 3 1/2" x 26 1/2" gray borders to the upper and lower edges. |
|
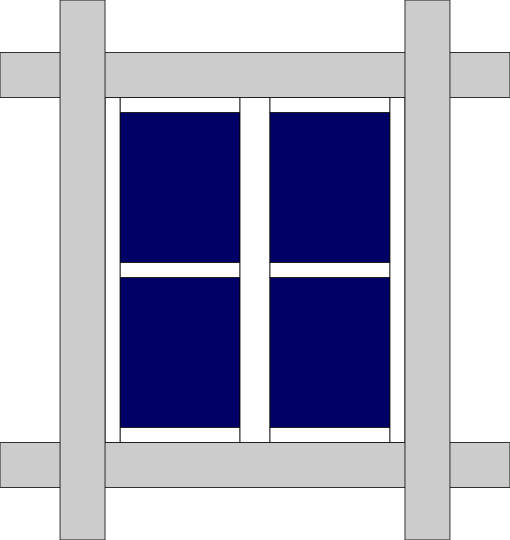
| If you want mitered corners, mark the center of each side of the top, and the center of each of the border strips. Align the center of the 3 1/2" x 34" strips with the center of the upper and lower edges. Pin in place. Sew the border to the quilt top, starting and stopping 1/4″ away from the edge of the quilt top. Don’t forget to backstitch at each end! |
|
| Repeat with the left and right borders. |
|
| Fold the quilt top in half diagonally with the right side inside, creating a triangle. Line up two neighboring borders.
|
| Place a ruler along a 45-degree angle from the corner and over the borders. Draw a line onto the borders, and pin firmly place. |
Sew along the drawn line from the stitch line out toward the edge of the border.
Unfold your quilt top and make sure there are no gaps in the inner corner and that the border lies flat. |
| Trim the excess border to 1/2″, open the seam and press flat. Repeat for all corners. |
|
|
Embroidery:
|
| Some of the embroidery is made very close to the borders. In order to hoop the quilt top properly we recommend to baste pieces of waste fabric to the borders. |
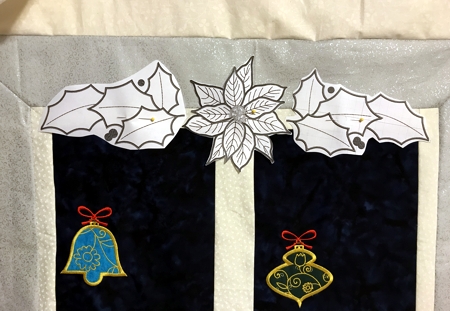
If you have embroidery software and a printer, print out templates of the designs. If not, you can make the template from the pieces of paper.
With the help of the templates arrange the designs on the top. |
|
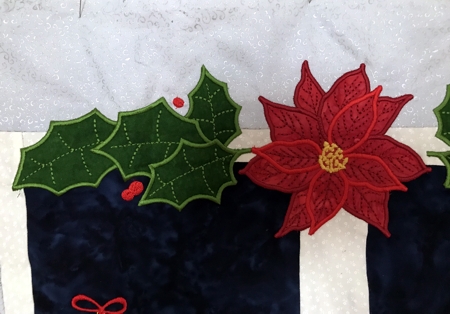
Working with one design at a time, stabilize the fabric with light-weight cut-away stabilizer. Hoop it tightly.
Upload the files into the machine and embroider them one by one. For the applique, follow the instructions.
It doesn't matter where to start, but we usually prefer to start with the designs closer to the center of the quilt. |
|
|
| Quilting and Finishing: |
Now place the backing on a flat surface (table) face down. Cover with batting. Spread your working piece over it.
Pin all layers together with 1" pins and start quilting. We quilted with a free motion meandering pattern all over the quilt.
|
|
| After the quilting is finished, press the work with heavy steam and square the work -- all corners should be 90 degrees and opposite sides should be of the same length |
| Finish the raw edges with the binding. |
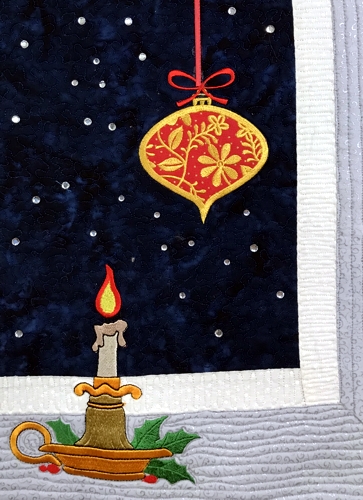
| Working with one ribbon at a time, use a small amount of adhesive to attach the ribbons. Press the ribbons with your fingers. Give the glue some time to dry. |
| Add some crystals (optional). |
|
|
| Enjoy! |
|
|
Back to Christmas Garland Applique Set, Applique Christmas Ornaments, Christmas Candle.
|
Back to Projects Page
|


