This charming Valentine's Day project is super-quick to put together. All you need is a ready-made picture frame, some ribbon and, of course, your embroidery machine. We used the design Spanish Garden Rose for a large size hoop (5" x 7").
You will need:
Embroidery:
Stabilize your piece of fabric with medium-weight iron-on cut-away stabilizer. Hoop it tightly.
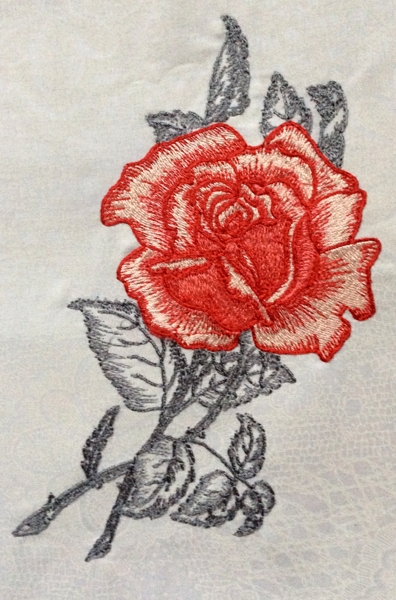
Print out the JPG color card and select your threads based on it (not by the screen of your machine!) Note: in this design you can change the colors to your taste. You can make the leaves, the first color, green. The petals are embroidered with 3 shades of pink in the following order: light pink - medium pink - red. You can substitute these for other colors.
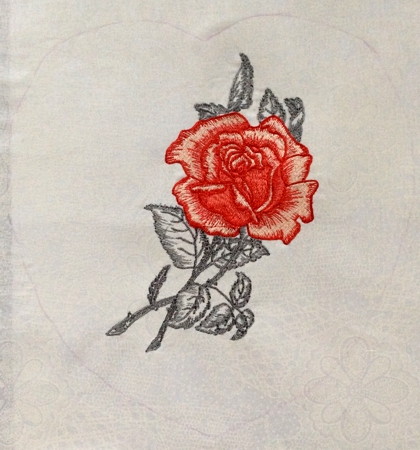
Upload the embroidery file Spanish Garden Rose into the machine and embroider it.
After the embroidery is done, press the stitch-out and the fabric around it.
Frame:
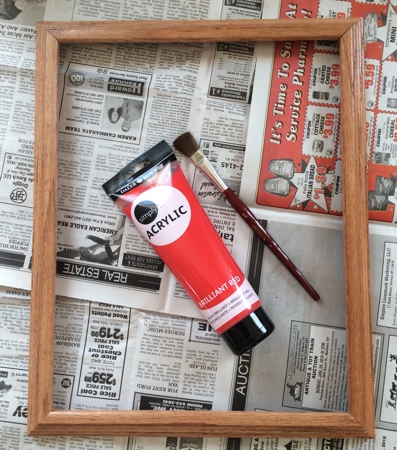
(If your frame is not red.) Cover your working table with plastic or old newspapers and prepare the frame, brush and paint.
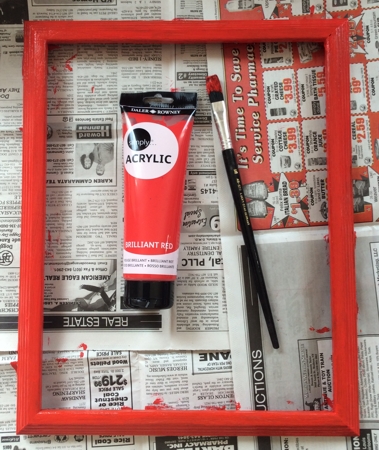
While the machine embroiders the rose, paint the frame. Acrylic paint dries quickly, but depending on the initial color of the frame you might need 2-3 coats.
Making the "Heart":
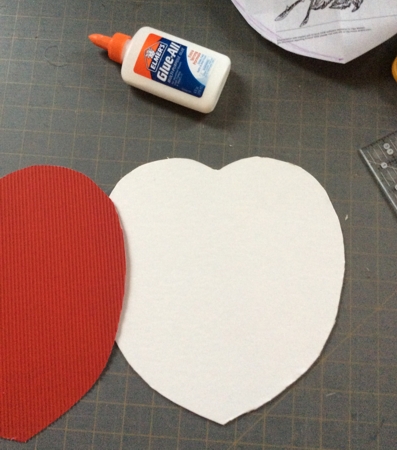
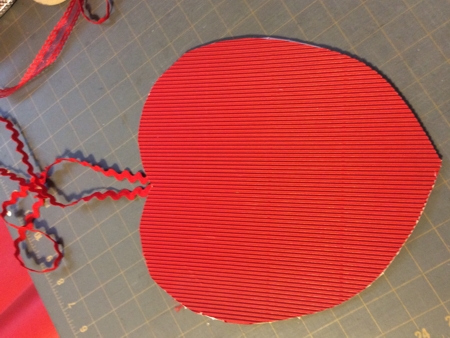
Print out the template of the rose and draw a heart shape around it. Cut it out.
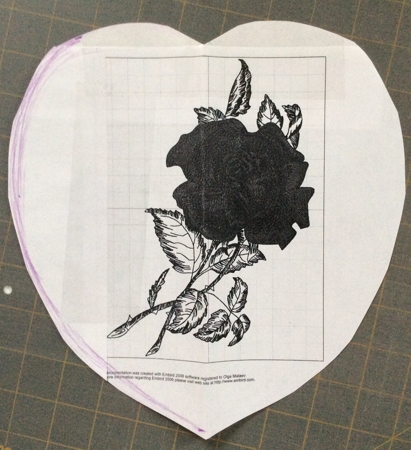
Position the shape over the stitch-out and trace it with a removable pencil.
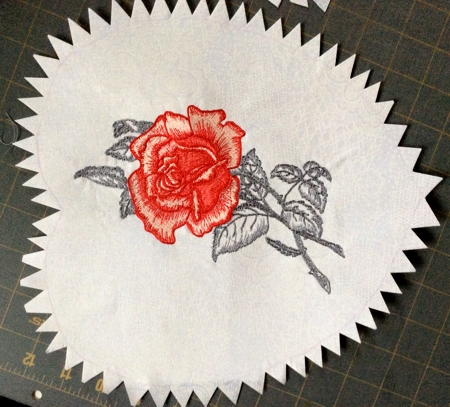
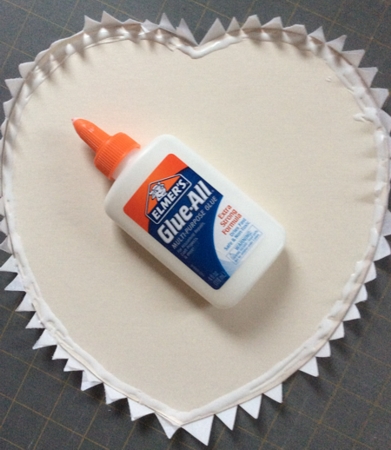
Cut it out with seam allowance 1/2". Then make notches to the traced line.
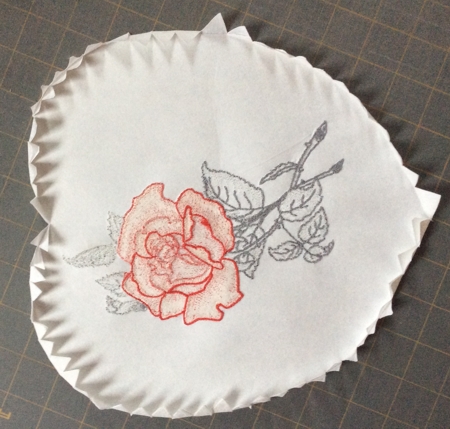
Fold the notches back and press.
Using the same template, cut heart shapes from cardboard (this will be the "batting") and decorative red paper (this will be the backing).
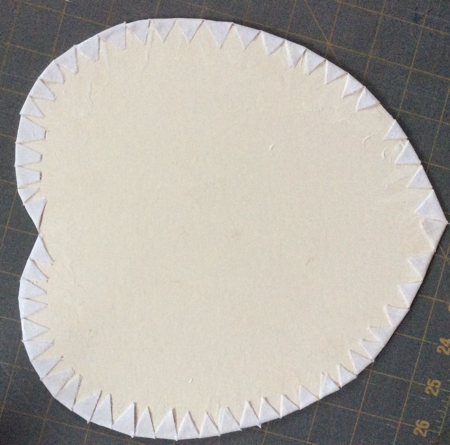
Now place the cardboard shape on the back of the stitch-out. Fold the notches over the cardboard and adhere them.
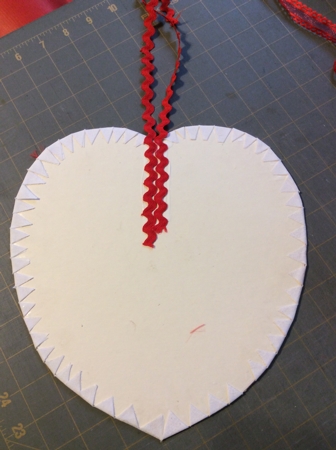
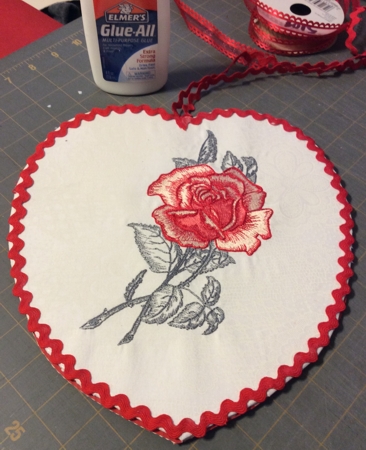
Cut 2 pieces of ric-rac about 12"-14" long. Adhere them to the back of the working piece.
Adhere the "backing":
Turn the working piece face up and adhere more ric-rac along the outer edge of the heart shape.
Let the glue dry.
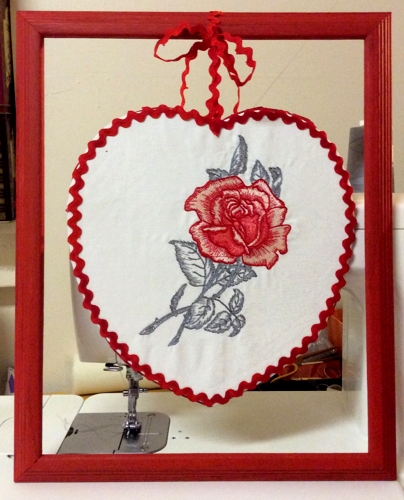
Hang the "heart" in the frame using the ric-rac.
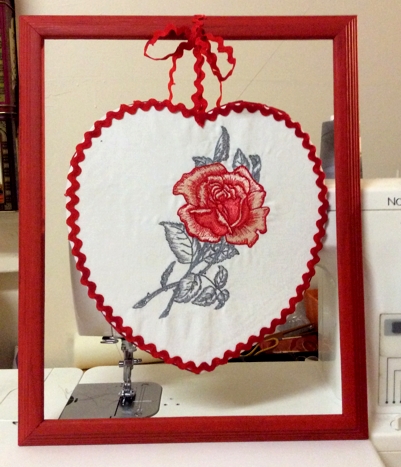
Enjoy!


