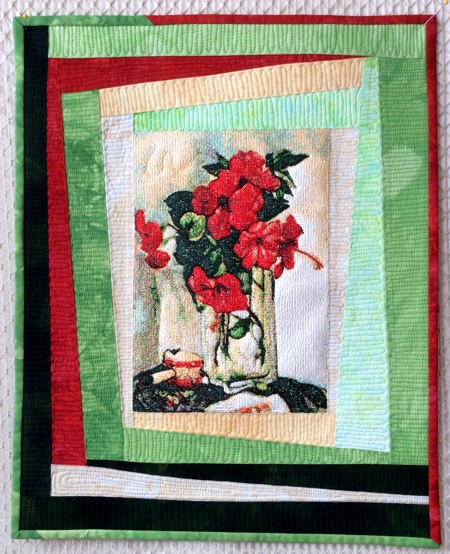
This Hibiscus Art Quilt is a fun and easy quilting project. It uses the design of Hibiscus in a Vase for a commercial size hoop (8" x 12"). You can easily make the same quilt with the stitch-out for a mega hoop (6" x 10").
The finished size of the quilt is about 16" x 20".
|
|
You will need :
- embroidery threads according to the color card of the design,
- medium- to heavy-weight iron-on cut-away stabilizer,
- piece of white cotton fabric for the emroidery, big enough to be well hooped,
- pieces of 7-8 fabrics from your stash (you will select them after you made a stitch-out),
- a piece of batting and fabric for the backing,
- quilting needle #14 (or #16)
- quilting threads of matching colors, invisible (polyamide) thread,
- sewing needle (we used a universal #12 needle)
- thread for piecing (we used quilting thread),
- rotary cutter, quilter's ruler or pencil and scissors,
- iron
|
Embroidery:
|
Stabilize the white piece of fabric with medium-or heavy-weight iron-on cut-away stabilizer. Hoop it tightly.
Print out the JPG color card and select threads based on it (not by the screen of your machine!)
Upload the embroidery file of Hibiscus in a Vase into the machine and embroider it.
|
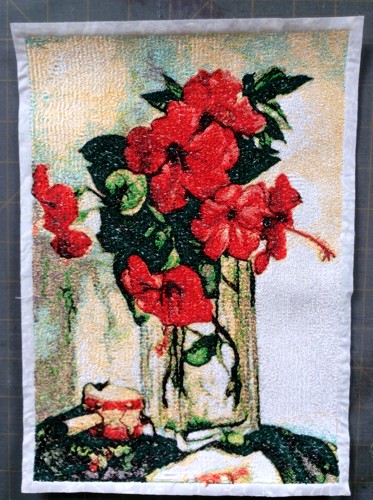
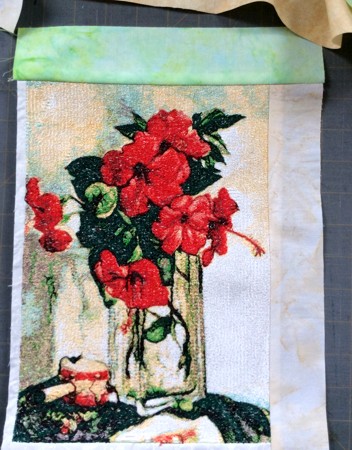
After the embroidery is done, press the stitch-out and the fabric around it. Trim the stitch-out leaving 1/4" margins around the embroidery.
|
| Here is a stitch-out of the design, made with Floriani threads. |
|
Making the Top:
|
| Note: Seam allowance is 1/4". Press the seam immediately after you make it. |
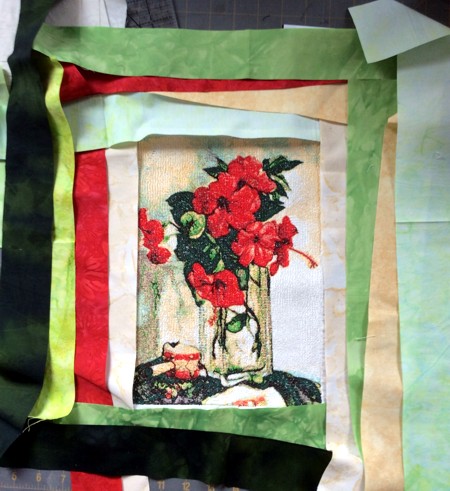
Out of your stash, select fabrics matching the colors of the embroidery.
|

|
Cut several strips 1 1/2"- 2" wide and the length of the width of the fabric.
|
| "Play" with the strips by arranging them around the stitch-out. |
|
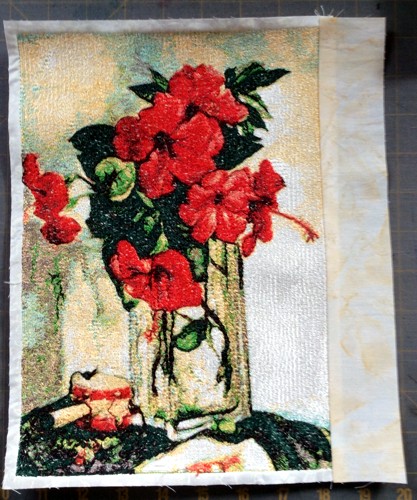
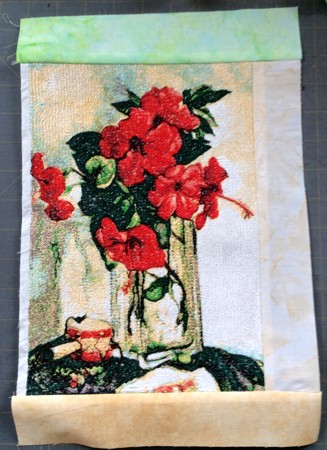
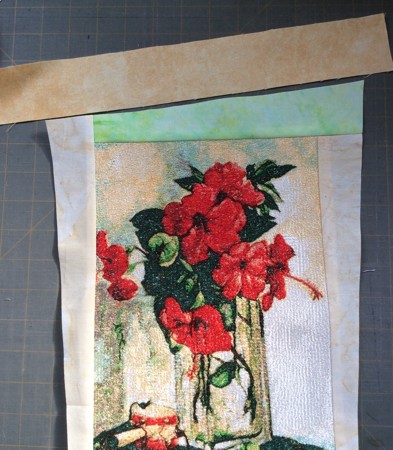
When you are satisfied with the color arrangement, measure the length of the first side of the stitch-out. Note that you can start with any side you wish. Cut the first strip as long as this side. Then sew it to the stitch-out. Press the seam.
|
|
Sew the next strip to the adjoining side of the stitch-out. Note that the width of the strip does not matter.
|
|
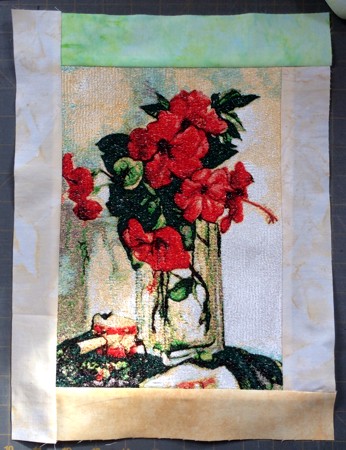
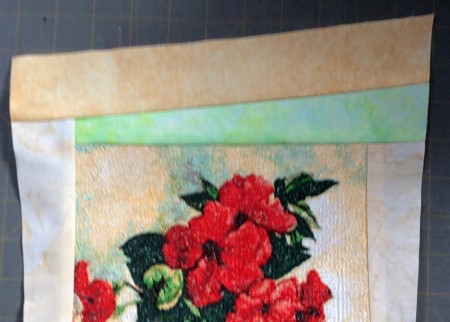
| Measure the length of the next strip, cut, then sew to the next side. |
|
| Measure the length of the fourth side, cut and sew the strip. |
|
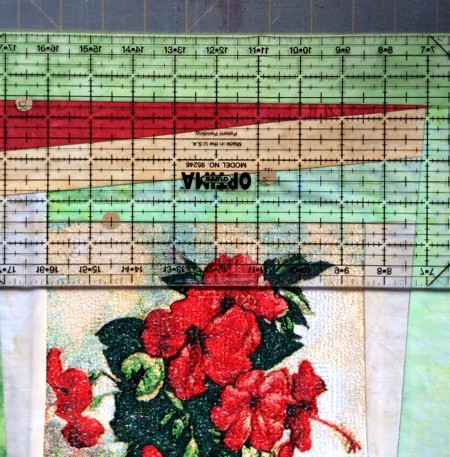
| Now, with the help of the quilter's ruler and rotary cutter, cut the outer edges diagonally as shown on the photo. |
|
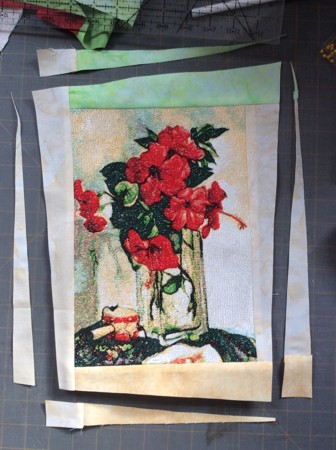
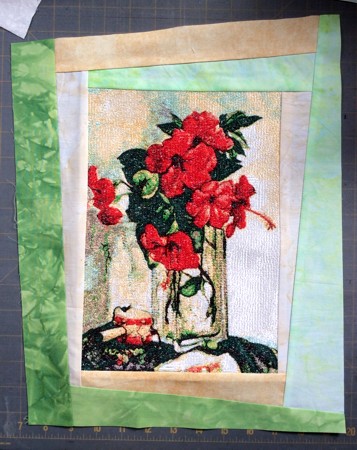
| Start sewing the second round of strips. Again, you can start with any side. Just note that the ends of the new strips should protrude 1" beyond the ends of the side. |
|
Sew the strip, press the seam, trim the protruding edges level with the sides.
|
|
| After you attach the strips of the second round, cut them at different angles. |
|
| Add 1-3 more rounds. After the last round, trim the top of the quilt so that all corners are 90 degrees and all opposite sides are the same length. |
|
| Quilting and Finishing: |
Now place the backing on a flat surface (table) face down. Cover with batting. Spread your working piece over it.
Pin all layers together with 1" pins and start quilting. To quilt through all the embroidery, you'll need a #16 quilting needle and invisible (polyamide) thread. We quilted each strip with a matching thread in a freemotion style. |
|
| After the quilting is finished, press the work with heavy steam and square the work -- all corners should be 90 degrees and opposite sides should be of the same length. |
| Finish the raw edges with the binding. We made the binding out of the 2 1/2" wide strips of different colors. |
|
| Enjoy! |
|
|
Back to Hibiscus in a Vase
|
Back to Projects Page
|


