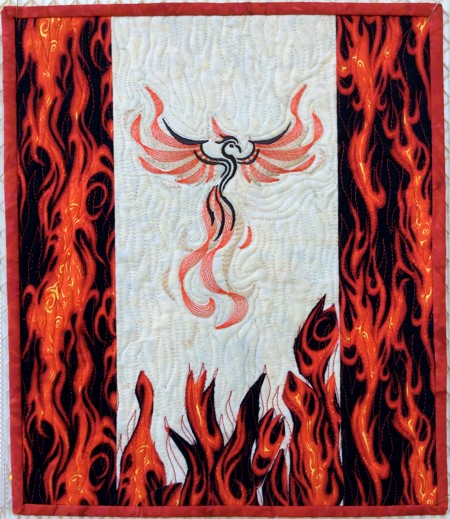
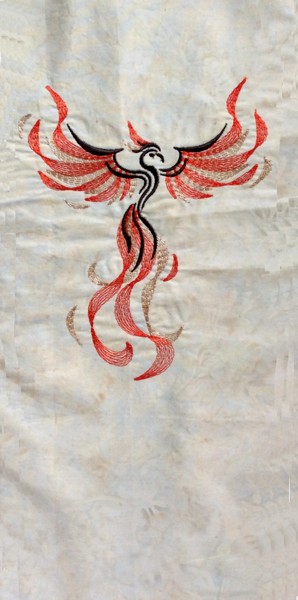
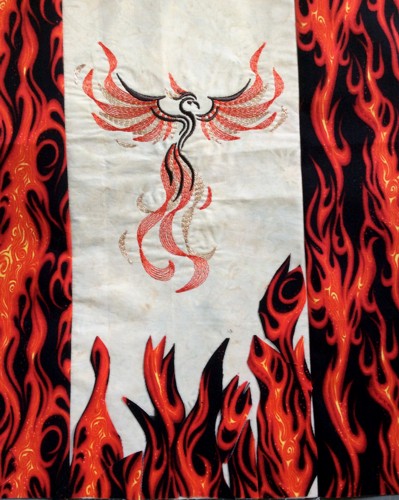
This small fantasy-themed quilt, the finished size of which is only 12" x 15", uses the embroidery design Phoenix for the mega size hoop (6" x 7").
You can also use the smaller design.
You will need :
Embroidery:
Stabilize the light-colored piece of fabric with light-weight cut-away stabilizer. Hoop it tightly so that the embroidery stays closer to the upper edge.
Print out the color card, select threads by the color card, (not by the screen of your machine!)
Upload the embroidery file of the Phoenix into the machine and embroider it.
After the embroidery is done, trim the embroidered piece to 7" x 15", leaving about 2 1/2"-3" over the embroidery and about 5 1/2" x 6" under the embroidery.
Sewing the Top:
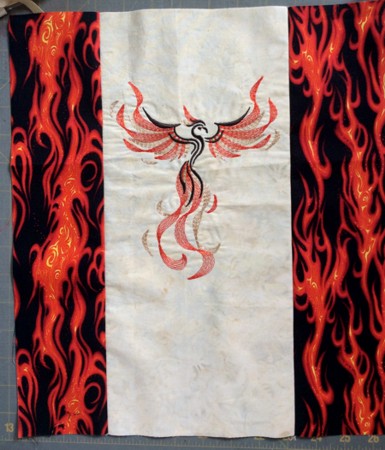
Out of flame patterned fabric, cut 2 strips measuring 3" x 15". Sew them to the left and right edges of the trimmed stitch-out.
Take 2 small pieces of the flame patterned fabric and a piece of Steam-a-Seam fusible net. Remove the protective paper from one side and apply the fabric to it.
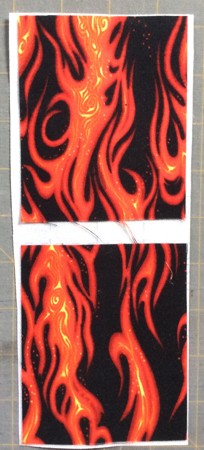
Uning scissors or a rotary cutter, cut out several images of flames and apply them to the bottom of the quilt under the bird.
Press with iron to adhere the applique to the quilt.
Quilting and Finishing:
Now place the backing on a flat surface (table) face down. We used the remaining "flame" fabric. Cover with batting. Spread your working piece over it.
Pin all layers together with 1" pins and start quilting. We quilted in a free motion "flame" pattern.
After the quilting is finished, press the work with heavy steam and square the work -- all corners should be 90 degrees and opposite sides should be of the same length.
Finish the raw edges with the binding.
Enjoy!


