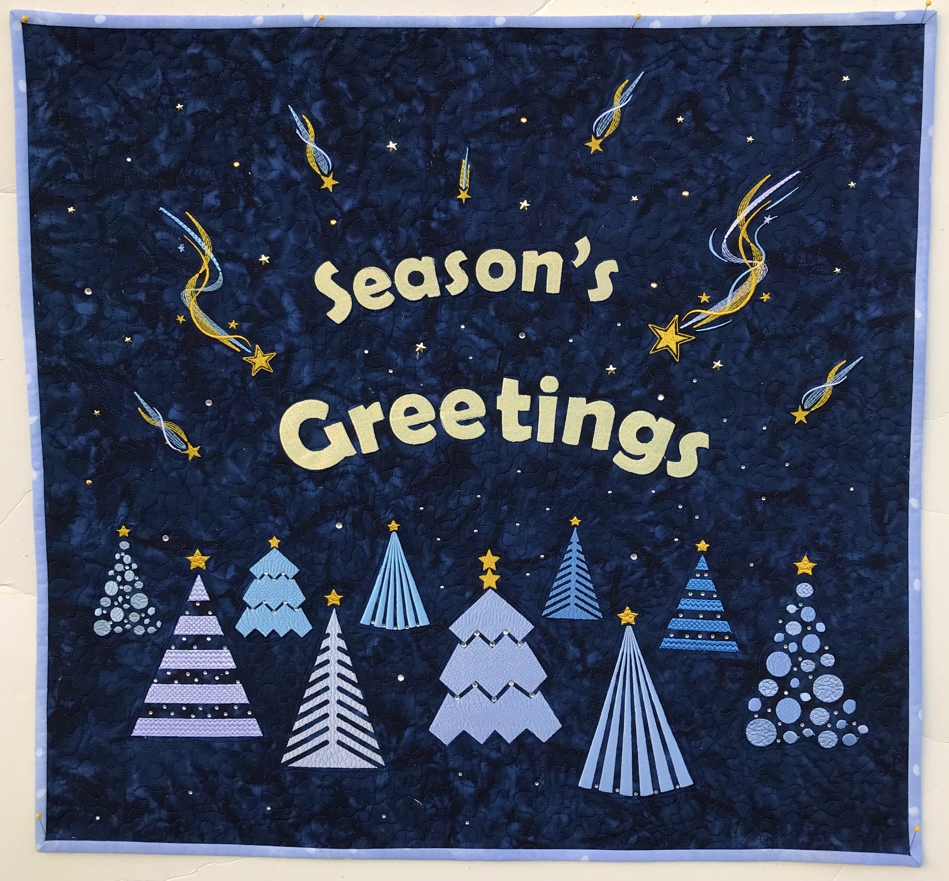
This whole cloth quilt is super easy to make!
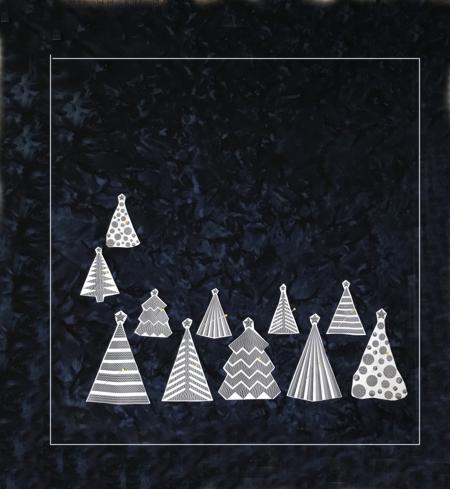
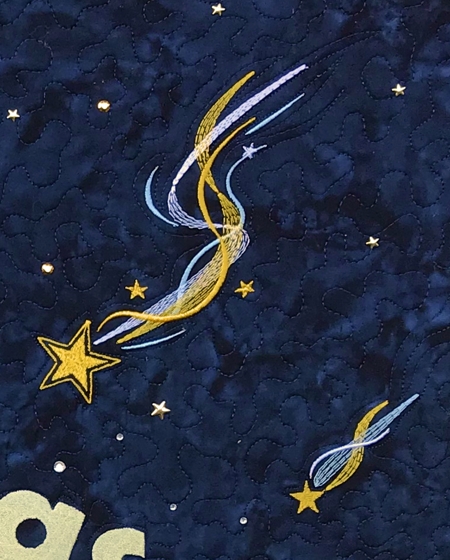
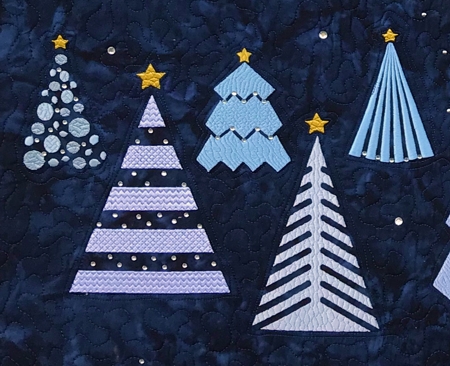
We used designs from the Shooting Star Set and from the Christmas Tree Set II, in two sizes.
The finished size of the quilt is about 25" x 27", but feel free to adjust the size as you like.
|
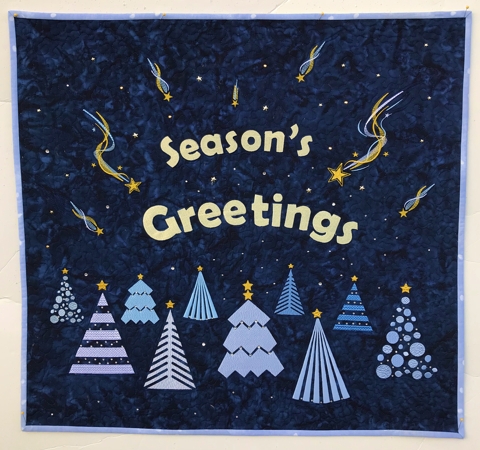
Click to enlarge
|
|
You will need :
- embroidery threads (we chose several shades of blue for the trees; pale gold for the words; and gold and silver for the stars),
- light-weight cut-away stabilizer,
- about 1 yard of dark blue batik for the quilt,
- fabric for the backing and binding,
- batting,
- #12 universal sewing and quilting needles,
- quilting threads of matching colors,
- rotary cutter,
- quilter's ruler,
- iron,
- Swarovski crystals (optional)
|
| Preparing the Top: |
| On the dark blue fabric mark the borders of the future top. Please note that to make hooping easier, the working piece of fabric should be larger than the planned size of the quilt. If the piece of fabric is too small to hoop the edges properly, you can attach margins from any waste fabric. |
If you have embroidery software and a printer, print out templates of the designs. If not, you can make the template from the pieces of paper.
With the help of the templates arrange the designs on the top. |
|
Embroidery:
|
We recommend to start with the words "Season's Greetings". You can compose the greeting with the built-in lettering of your machine or download the embroidery files here. There are 4 files, each one is for the 5" x 7" hoop.
|
|
|
Stabilize the center of the fabric with light-weight cut-away stabilizer. Hoop it tightly.
Upload the files into the machine and embroider them. We used pale gold threads for the words. |

|
Then embroider the trees and stars. For the trees we used different shades of blue, for the stars - gold and silver threads. Please don't forget to cut away the excess stabilizr after every stitch-out.
|
After you are done with embroidery, press the working piece.
|
| Quilting and Finishing: |
Now place the backing on a flat surface (table) face down. Cover with batting. Spread your working piece over it.
Pin all layers together with 1" pins and start quilting. We quilted with a free motion meandering pattern.
|
|
| After the quilting is finished, press the work with heavy steam and square the work -- all corners should be 90 degrees and opposite sides should be of the same length |
| Finish the raw edges with the binding. |
|
| Enjoy! |
|
|
Back to Shooting Star Set and Christmas Tree Set II.
|
Back to Projects Page
|