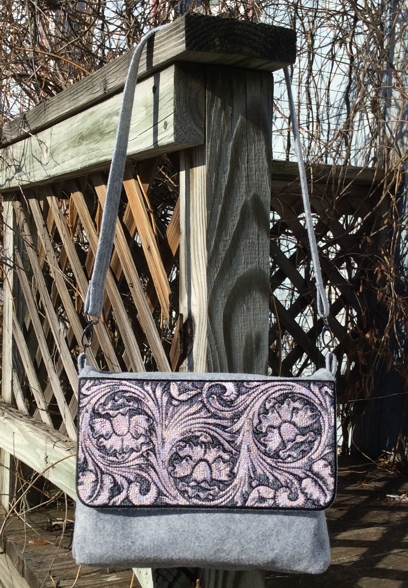
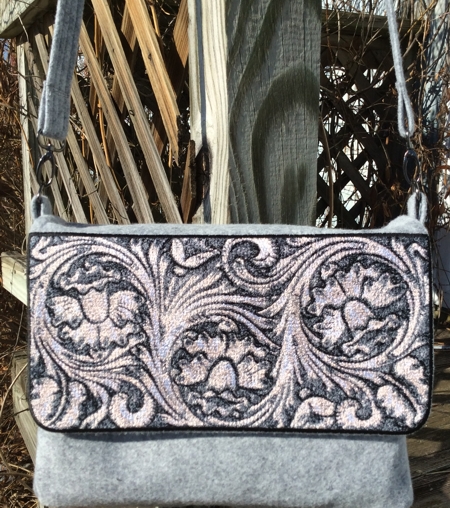
This cute shoulder bag is easy to put together. We used the design Decorative Bag Flap or Pocket for a commercial size hoop (8" x 12").
The finished size of the bag is about 11 1/2" wide, 8 1/2" high and 2" deep. |
|
|
You will need :
- embroidery threads according to the JPG color card included with the design,
- medium-weight iron-on cut-away stabilizer,
- medium-weight iron-on interfacing (we used Craft-Fuse by Pellon),
- 1 yard of wool/rayon blend felt in a silver gray color,
- 1/2 yard of cotton fabric for the lining,
- 2 D-rings 1" wide,
- 2 swivels with 1" wide rings,
- magnetic closure,
- #14 or #16 sewing needle,
- sewing threads in matching colors,
- rotary cutter, quilter's ruler and scissors,
- iron
|
Embroidery:
|
Stabilize a piece of felt with medium-weight iron-on cut-away stabilizer. Hoop it tightly.
Print out the JPG color card and select threads according to the color card (not according to the screen of your machine!)
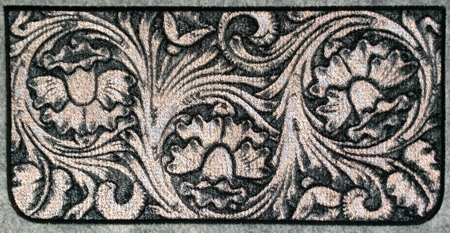
Upload the embroidery file of the Decorative Bag Flap or Pocket into the machine and embroider it.
|
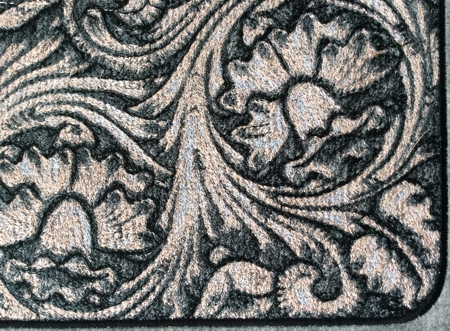
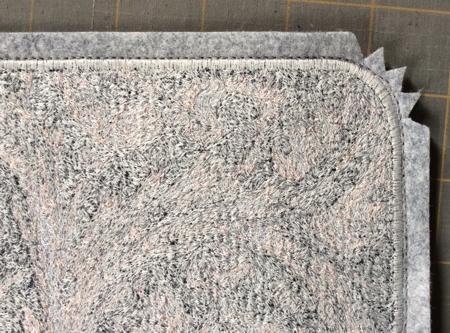
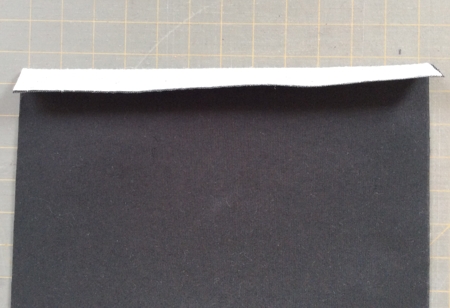
After the embroidery is done, press the stitch-out and the fabric around it.
|
|
|
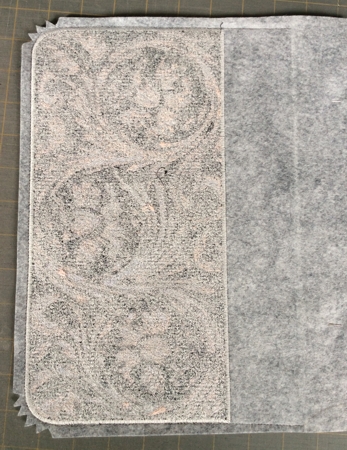
Cut out the stitch-out leaving 1"-wide margins around the bottom and side edges and a 3" margin above the straight upper edge.
|

|
Making the Flap:
|
Out of felt, cut a piece measuring 11" x 13". Reinforce the piece with intefacing.
|
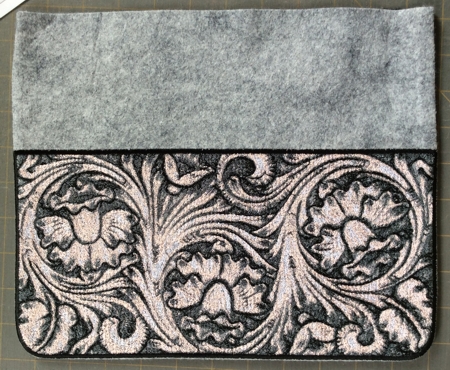
Position the embroidered piece and the felt piece face to face. Pin.
|
Position the working piece on the table with the embroidered part on top. With a pencil or chalk, draw lines continuing the short sides of the embroidery. Topstitch the parts together: start 1 1/2" from the edge (marked in red), stitch along the drawn line, continue along the perimeter of the embroidery, continue along the second drawn line, stop 1 1/2" from the edge (marked in red).
|

|
| Trim the fabric, leaving 1/4" seam allowance. Notch the fabric on the curves. |
|
|
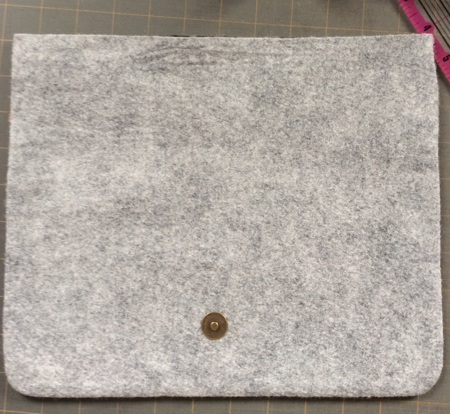
| Turn the work right side out. Press. |
|
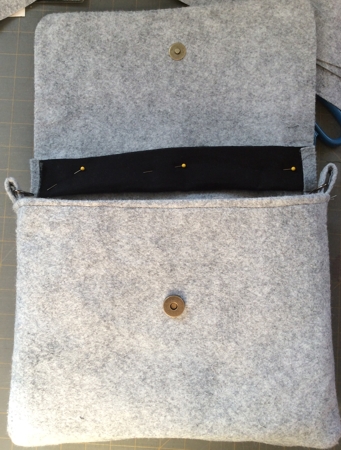
Attach the male part of the magnetic closure to the back of the flap, about 1"-1 1/2" from the lower edge and equidistant from the short sides.
|

|
|
Making Loops for the D-rings:
|
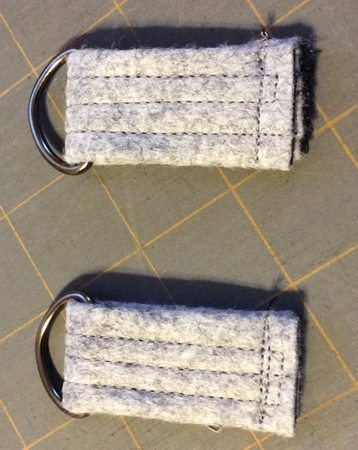
Out of felt, cut a strip measuring 2 1/2" x 9". Reinforce the strip with the interfacing. Fold the long edges of the strip towards the center, overlapping them to get a strip 1" wide. Press.
Topstitch 1/4" from each edge, then 1/2" from each edge. Cut the strip in half to get 2 strips, each 4 1/2" long.
Put on the D-rings.
Fold the strips in half to form loops. Align the ends and topstitch 1/4" from the edges. |
|
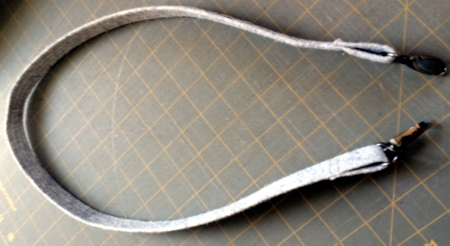
Making the Handle:
|
Out of felt, cut a strip measuring 2 1/2" x 39". If you want a longer or shorter handle, adjust the length to your taste. Reinforce the strip with the interfacing. Fold the long edges of the strip towards the center, overlapping them to get a strip 1" wide. Press.
Topstitch 1/4" from each edge, then 1/2" from each edge.
Put the ends through swivel ringss, fold them about 1 1/2" back and topstitch several times. |
|
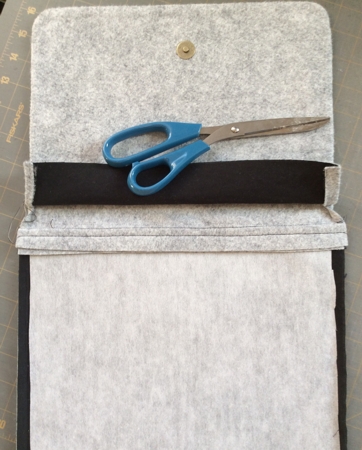
| Sewing the Bag: |
| Note: Seam allowance is 1/2" unless otherwise recommended. |
Out of felt, cut a back panel measuring 9 1/2" x 12 1/2", a front panel measuring 10" x 12 1/2", and bottom and side strip measuring 3" x 32 1/2". Reinforce all parts with interfacing.
|
| Fold the upper edge of the front panel 1" back and press. Unfold. |
|
| Fold the upper edge of the back panel 1/2" back and press. Unfold. |
Take the flap, fold the edge on the wrong side back and pin or temporarily baste it, so it's not in your way. Position the back panel and the flap face to face, align the edges. Pin. Sew the parts together.
Turn the seam allowance towards the back panel and topstitch. |
|
|
Fold the short edges of the bottom and sides strip 1" back and press. Unfold.
|
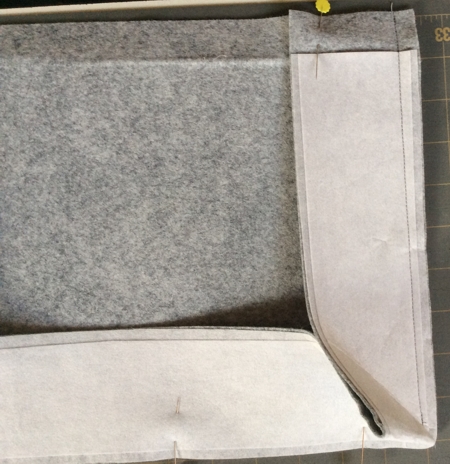
| Place the front panel, face up, on the table. Position the bottom and sides strip, face down, over the panel along the right edge. Align the upper and right edges. Pin together. Stitch together, stopping 1/2" from the lower edge. |
|
Turn the strip and align its edge with the bottom edge of the panel. Pin in place.
Stitch together. Start and finish stitching 1/2" from the panel's side edges. |
|
| Turn the strip and align with the left edge of the panel. Pin together. Stitch together from the side of the bottom and sides part, starting 1/2" from the lower edge. |
|
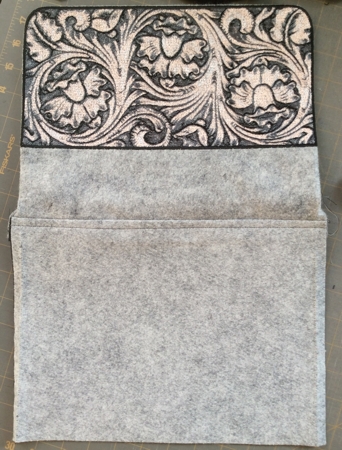
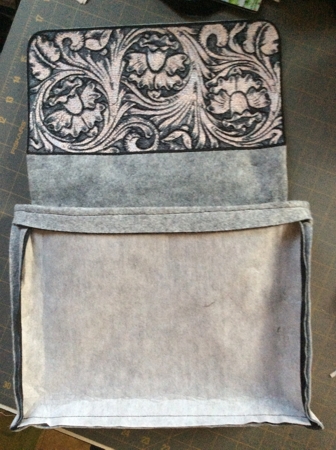
| In the same way, attach the back panel to the flap. |
|
| Fold the upper edge of the front panel and sides 1" back along the creased line, topstitch 1/4" from the edge. |
|
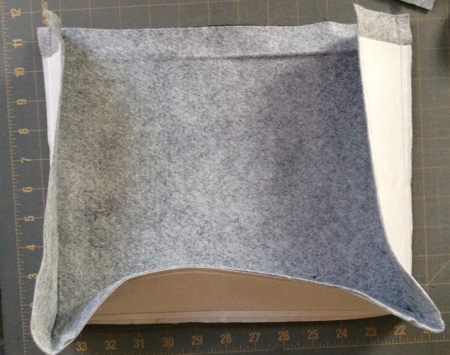
| Turn the work right side out. |
| Pin the D-ring loops to the sides of the bag. Topstitch in place. |
| Mark the position of the female part of the magnetic closure, attach it. |
|
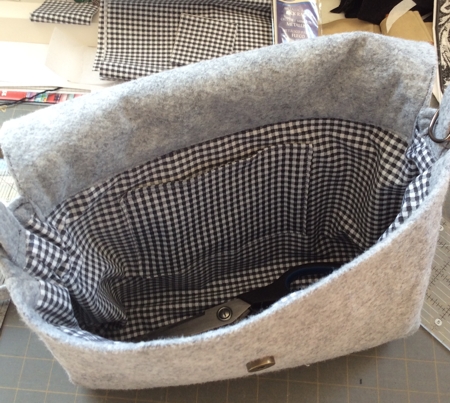
| The Lining: |
| Note: for the lining seam allowance is 1/4". |
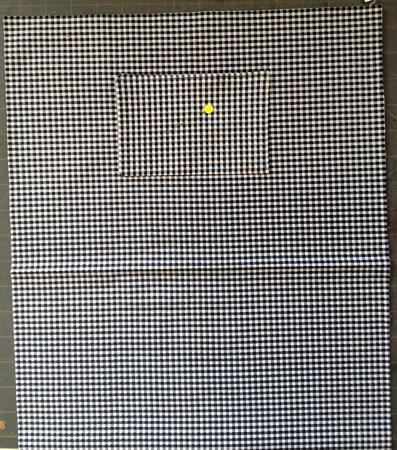
| Out of the fabric for the lining, cut a piece measuring 6 1/2" x 8 1/2" for the pocket and 14 1/2" x 20" for the lining. |
Fold the pocket piece 6 1/2" x 8 1/2" strip in half widthwise, align the edges.
Stitch the sides together, seam allowance 1/4".
Turn right side out.
Tuck in the top edges 1/2" inside, press. Topstitch. |
Fold the lining in half widthwise, wrong side to wrong side. Press to make a creased line on the bottom.
Fold the upper edges 1/2" back and press. Unfold. |
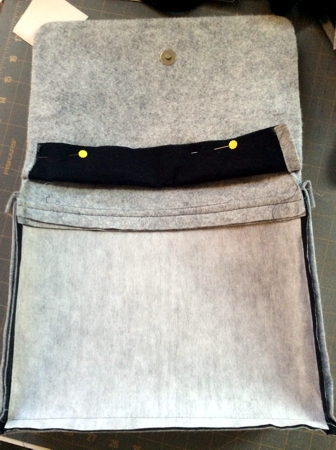
| Position the pocket on the "back" part of the lining about 3" from the upper edge. Pin. Topstitch to the lining along 3 sides. The opening should point towards the "flap" part. |
|
| Fold the lining widthwise, right side inwards. Align the edges. Stitch the sides together. |
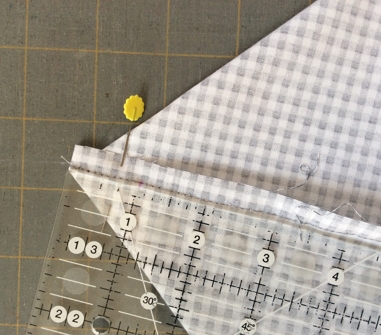
| Make box corners at the bottom. For this separate the front and back sides at the corners. Center the side seam with the creased line on the bottom. |
|
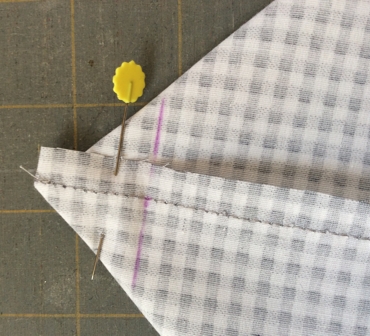
Measure 1" along the seam from the corner and draw a line perpendicular to the seam across the corner.
Topstitch along the line. Do not trim the seam. |
|
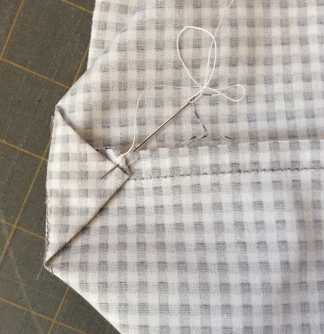
| Fold the corners onto the sides. With several hand stitches, attach the corners to the seam allowance. |
|
Insert the lining into the bag. Align the bottom corners.
Pin the upper edge of the lining to seam allowance of the upper edge of the bag. The lining is approximately 1/2" shorter than the upper edge of the bag. |

|
Hand-stitch the upper edge of the lining to the bag with a slip-stitch.
Unfold the back edge of the flap onto the lining and topstitch it in place. |
|
| Your shoulder bag is done. |
|
| Enjoy! |
|
|
Back to Decorative Bag Flap or Pocket
|
Back to Projects Page
|


