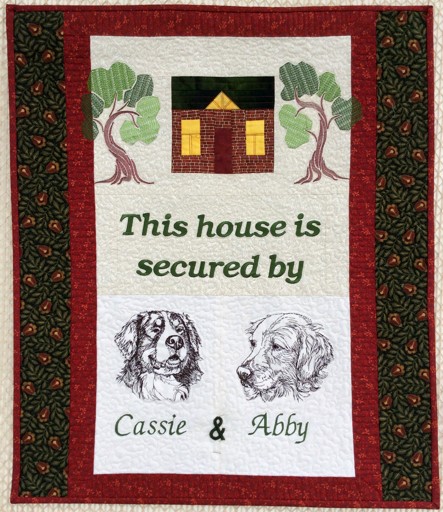
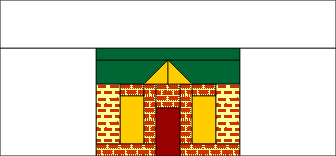
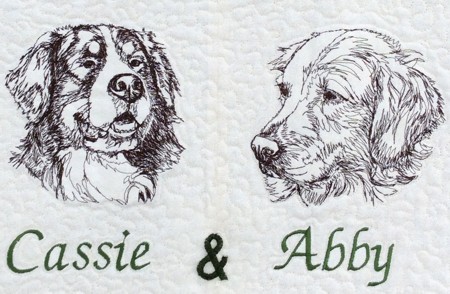
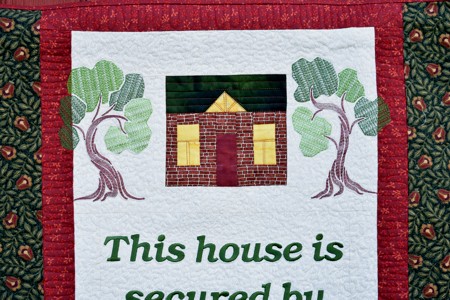
We made this rustic-style wall quilt for a family that has two dogs -- a Golden Retriever named Abby and a Bernese Mountain dog named Cassie. It's pretty easy and quick to put together, even for a novice quilter.
We picked designs of these two breeds from the One Color Dog Section of our catalog and the designs from the Art Deco Tree Set. The inscription can be downloaded here or you can make it yourself using your embroidery machine's lettering function.
The finished size of the quilt is about 24" x 27".
You will need :
The House Block:
Out of the fabrics for the house walls, cut:
Assembly of the House Block:
Note: Seam allowance is 1/4" (6 mm) throughout the project. Press every seam after you make it.
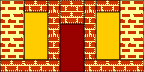
First, we are going to make the two sides of the house with the windows. Sew each strip B to each strip J. Repeat with the second pair.

Sew one of the C strips to the right edge of one of the new strips. Sew the other C strip to the left edge of the second new strip.
Sew each strip E to the other edge of each new part.
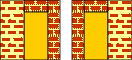
Sew D strips to the bottom of each part.
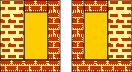
To make the central part, with the door, sew square A to strip F.

Sew the wings of the house to the left and right edges of the door strip.
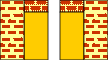
To make the attic window, position one of the I squares on the right edge of a G strip, face down.

Draw a diagonal from the upper right corner to the lower left corner. Stitch over the diagonal. Cut with 1/4" seam allowance. Open and press.
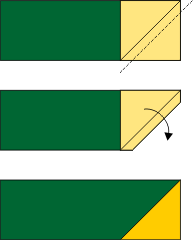
Take the second I square and G strip and repeat for the left edge.

Sew both strips together with the triangles in the center.

Sew strip H to the upper edge of the "attic window" strip.

Sew the "roof" to the "house". The final block measures 5 1/2" x 6 1/2".
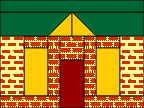
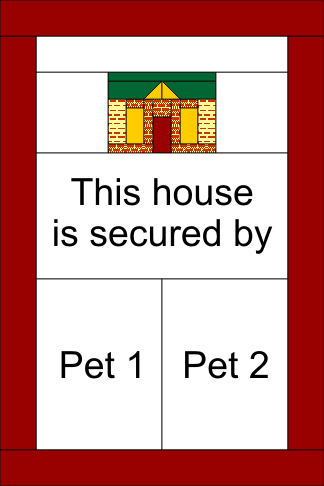
Sew the 4 1/2" x 5 1/2" background blocks to the left and right edges of the house block.
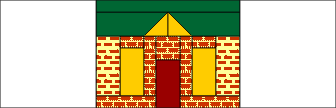
Sew the background 2 1/2" x 14 1/2" strip to the top edge of the working piece.
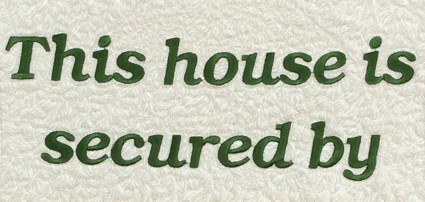
Embroidery:
Download the file with the inscription. You can also use a font from your machine to make this inscription.
There are 2-3 files in each zip package, in different sizes. Unzip and use the file that your machine can read.
| PES | ART | DST | EXP | HUS | JEF | JEF+ | VIP | VP3 | XXX |
Stabilize the center of the white piece of fabric with medium-weight iron-on cut-away stabilizer. Hoop it tightly. Upload the file into the machine and embroider the words.
After the embroidery is done, press the stitch-out and the fabric around it.
Trim the piece to 14 1/2" x 7 1/2".
Choose the pet, or pets, you want to be on your quilt. Upload the files and embroider them. Re-hoop and embroider the pet's name.
If you embroidered one pet, take a large piece of fabric. After the embroidery is done trim the stitch-out to 14 1/2" x 10".
If you embroider 2 pets, it's easier to embroider on 2 pieces of fabric and stitch them together later. After the embroidery is done, trim the stitch-outs to 7 3/4" x 10" and sew them together.
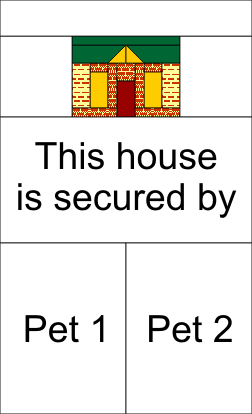
Making the Wall Hanging:
Sew the stitch-outs with the words to the house part, and sew the stitch-out with pets to the bottom of the working piece.
Out of the fabric for the first border and binding, cut
Sew the first 2 strips to the left and right edges of the working piece.
Sew the remaining 2 strips to the upper and lower edges of the working piece.
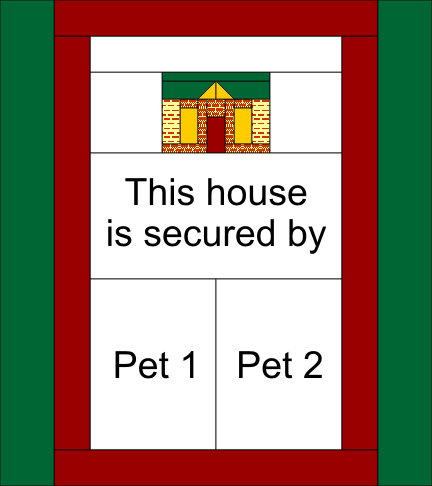
Out of the fabric for the second border, cut 2 strips measuring 3 1/2" x 27". Sew them to the left and right edges.
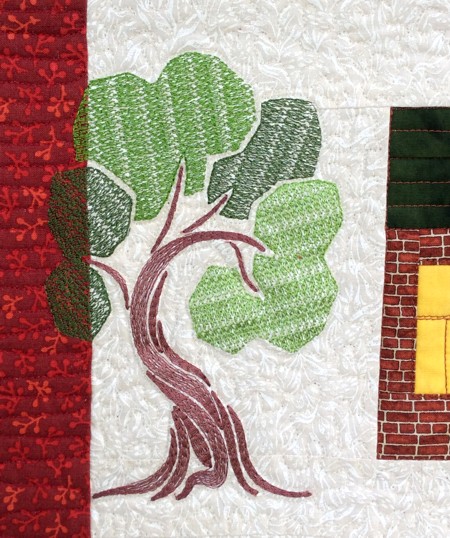
Embroidering the Trees
Stabilize the light background to either side of the house with medium-weight iron-on cut-away stabilizer. Hoop it tightly. Upload a tree file into the machine and embroider it.
If you have only one pet on the quilt, you can also embroider trees on either side of the pet.
Quilting and Finishing:
Now place the backing on a flat surface (table) face down. Cover with batting. Spread your working piece over it.
Pin all layers together with 1" pins and start quilting. We quilted in a freemotion style. Then we with a free motion stippling pattern all over the quilt.
After the quilting is finished, press the work with heavy steam and square the work -- all corners should be 90 degrees and opposite sides should be of the same length.
Finish the raw edges with the binding.
Have fun!


