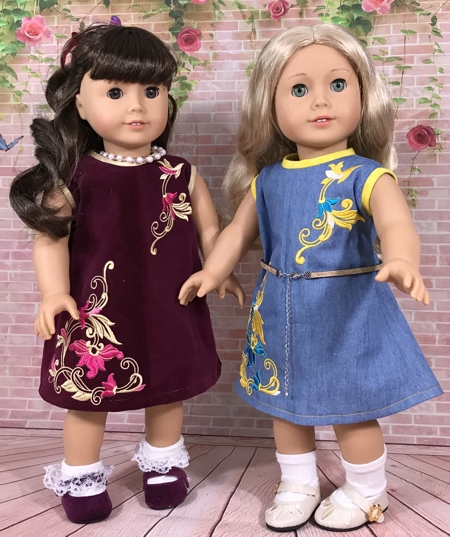
These are instructions on how to embroider and assemble the designs from the 18-inch Doll Dress. The dress will fit dolls such as American Girl, Our Generation, My Life As. The designs are for a commercial size hoop, 6" x 12".
|
|
|
You will need :
- embroidery threads, either rayon or polyester, colors of your choice,
- heat-away stabilizer;
- if you cannot find heat-away stabilizer, you can use the finest cut-away/or tear-away stabilizer, but be aware that it will add weightbulk to the seams;
- about 1/2 yard of fabric (we used 3 types of fabric light-weight denim, cotton velvet and stretch polyester velvet);
- fabric for the bias binding or a ready-made binding 1 1/2" wide, cotton, polyester or silk, depending on the fabric of the dress;
- #12 universal sewing needle;
- dress zipper or thin and soft one-wrap Velcro tape 1/4" wide;
- scissors;
- iron.
|
Embroidery:
|
There are 4 files in the set: Back1, Back 2, Front1 and Frond2. Upload the files into the machine and embroider them one by one.
If you are planning to use a zipper, cut out the stitch-outs close to the stitches.
Heat away the stabilizer, use the manufacturer's directions.
|
| Assembly: |

|
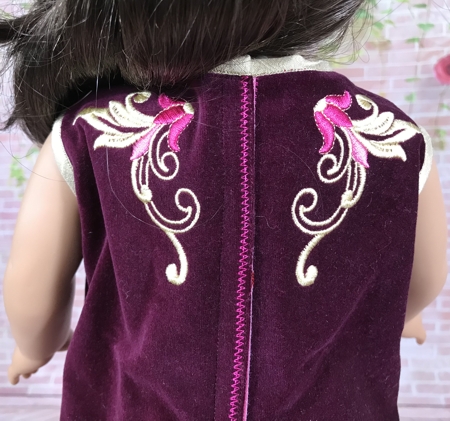
| If you are planing to use Velcro, cut out the back parts leaving 1/2" margin beyond the central back opening. |
|
| Finish the raw edges with zig-zag stitch on your sewing machine or serger. |
|
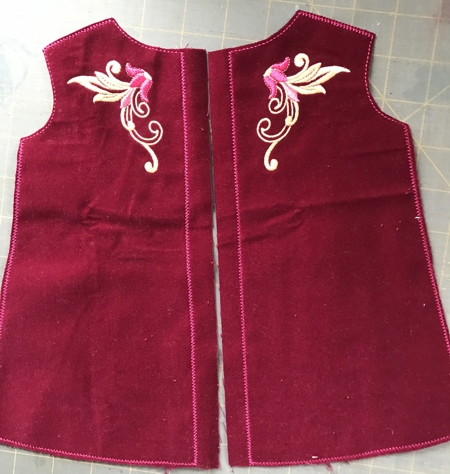
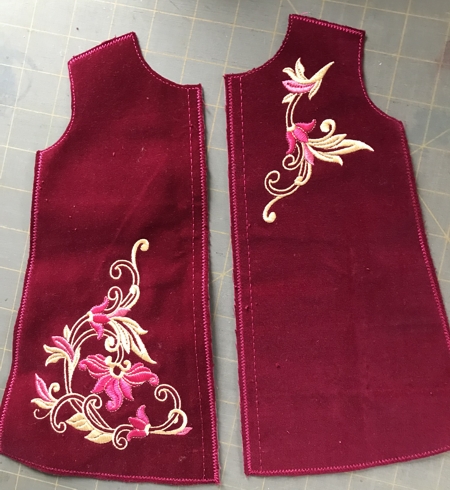
These are the front parts of the dress. There's a baste stitch running on each front panel. This baste stitch shows the placement of the front stitch.
Place the front parts face to face, align the edges and sew along the baste stitch line. Remove the baste stitch.
Press the seam open. |
|
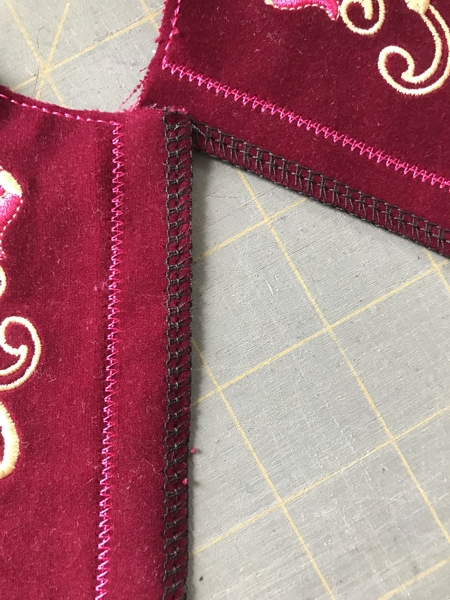
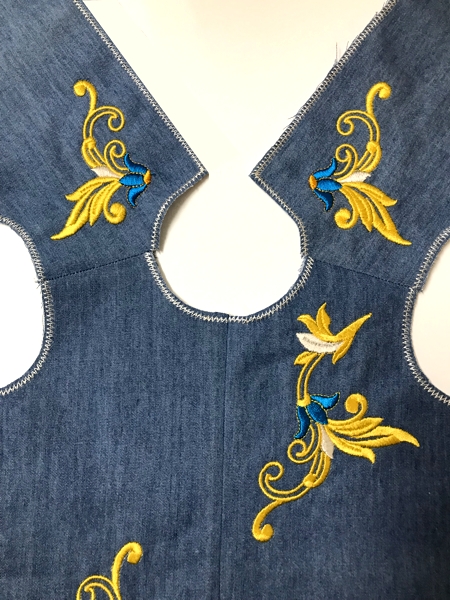
| With right sides together, pin the back parts to the front at the shoulders. Sew with seam allowance 1/4". |
|
| Press the seams open. |
|
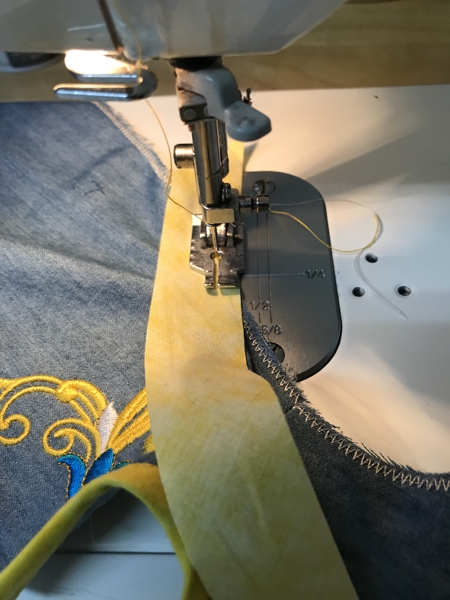
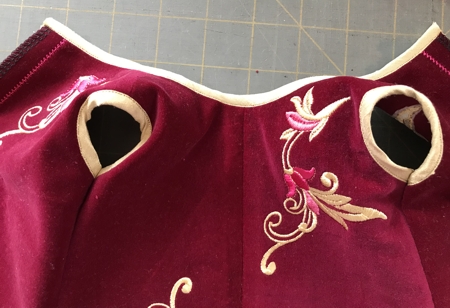
Finish the neckline and armholes with bias binding.
With right side of the dress facing, pin the binding, right side down, along the edge and sew with 1mm long stitch, seam allowance 1/4".
|
|
Open the binding and press it away from the seam edge. Iron settings depend on the type of your fabric.
Fold the binding back onto the wrong side of the dress. Pin or baste-stitch in place.
Working from the RIGHT side, stitch directly into the bias seam line to secure the bias edging to the wrong side. (This is a technique called “Stitching in the Ditch.”) Use thread that natches the color of the bias binding.
You can also stitch slightly below the seam line if you prefer. In this case be sure to use thread that matches the dress color.
|
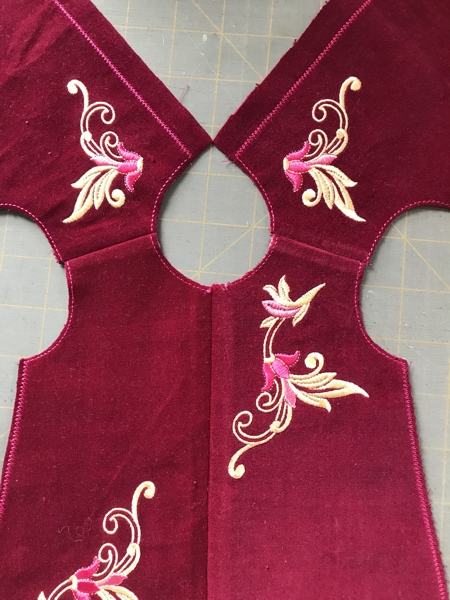
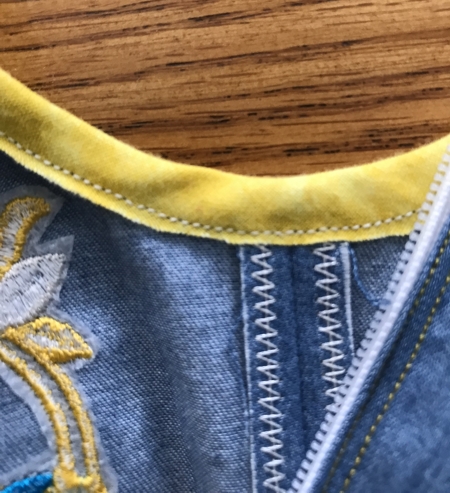
| Working from the WRONG side, trim the bias edging very close to the stitching with small, sharp scissors. (No worries - The bias edging has minimal fraying.) |
| The photo below shows trimmed bias binding around a neckline edge. Note how closely the binding is trimmed to the stitching. |
|

|
| Now fold the dress along the shoulder lines, right side inside, align and pin the side edges. Sew the sides together. Seam allowance 1/4". Press them open. |
|
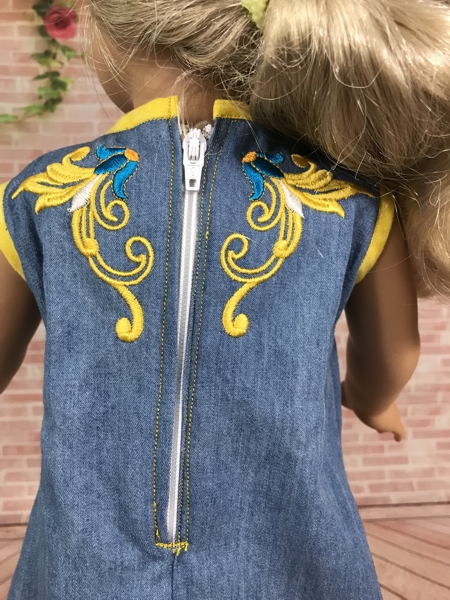
Align the back opening edges. Stitch them together from hem up about 3 1/2" x 4".
Open and press seam.
Install the zipper. |
|
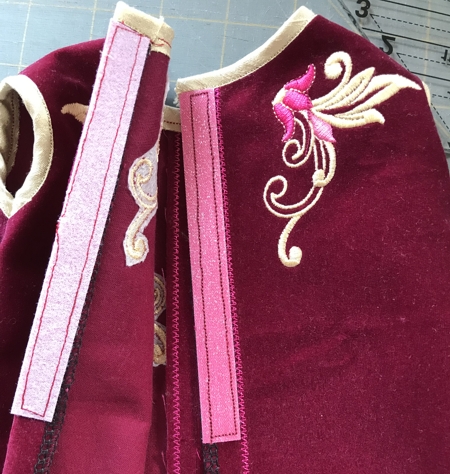
If you prefer the Velcro tape, cut the needed length. Stitch the back opening from hem up 3 1/2" - 4", on the right from the embroidered zig-zag. Press the seam on the left.
Sew the Velcro, rough side on the right side, facing up, and soft side on the left side, facing down. |
|
|
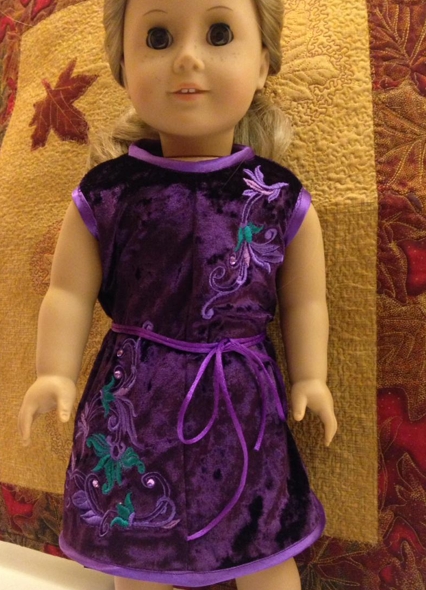
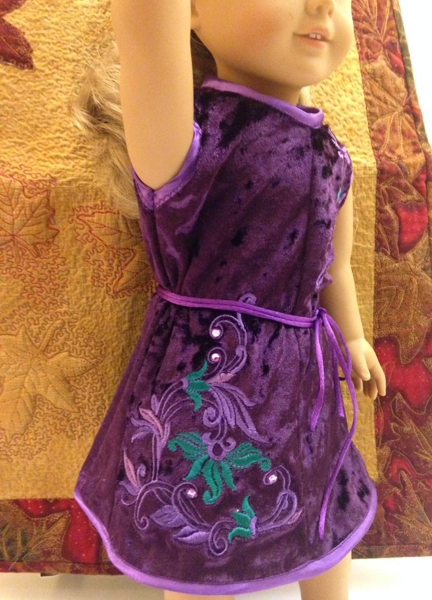
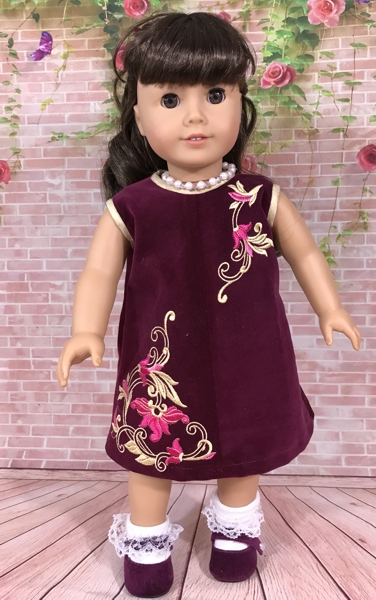
| Finish the hem. You can either finish it with a bias binding as on the purple dress below... |
|
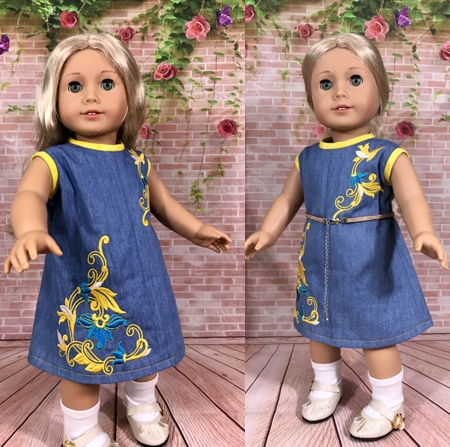
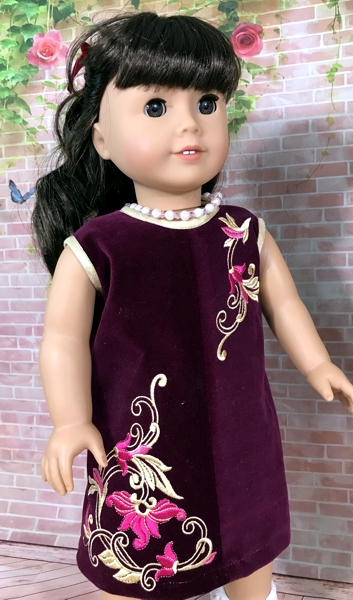
| ... or you can turn the hem 1/2" inside, press and topstitch it in place, as on the denim and burgundy dresses. |
|
|
|
|
|
Back to 18-inch Doll Dress
|
|


