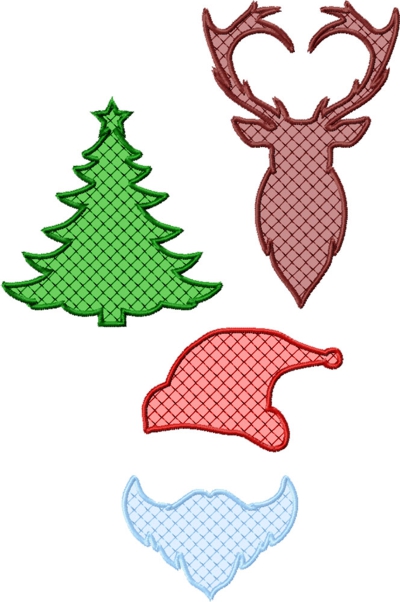
These are instructions on how to embroider the designs from the Applique Christmas Silhouette Set.
|
|
You will need:
- embroidery threads, either polyester or rayon, feel free to chose your own colors,
- base fabric,
- fabric for the applique, (we recommend home-spun plaids),
- light-to-medium-weight cut-away embroidery stabilizer,
- applique scissors.
|
Embroidery
|
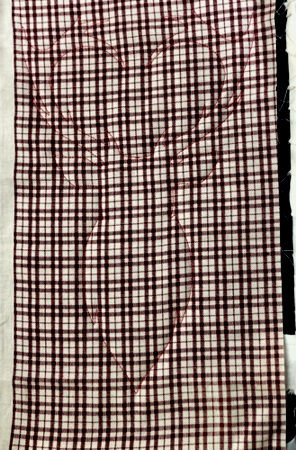
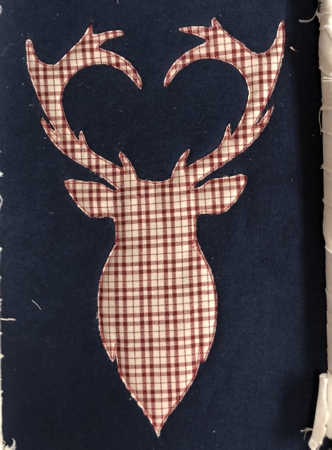
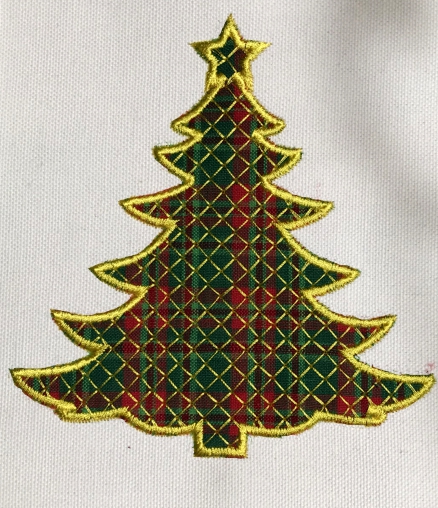
| The files of the deer and tree are embroidered in the same way. |
| Step 1: Hoop your base fabric stabilized with cut-away stabilizer. Upload either tree or deer file from the set into the machine. Start the machine. The first color will embroider the outline of the applique fabric placement and stop. |
Step 2: Cover the outline with applique fabric. Start the machine. It will embroider the same outline over the fabric and stop.
|
|
| Step 3: With a pair of sharp scissors, cut away the excess applique fabric around the outline. Cut as close to the stitches as possible, take care not to cut through the stitches. |
|
Step 4: The last color will finish the raw edges of the embroidery.
|

|
The Christmas tree file is embroidered in the same way.
|
|
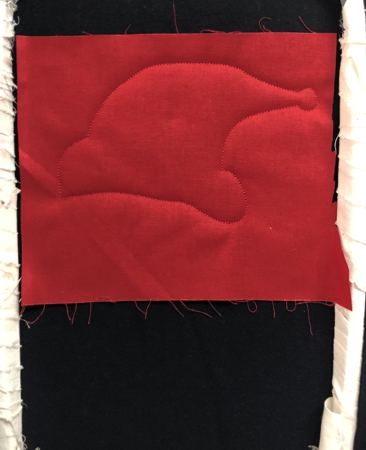
The file of Santa has 2 parts. You will need 2 fabrics - red for the hat and white for the beard.
|
| Step 1: Hoop your base fabric stabilized with cut-away stabilizer. Upload the Santa file from the set into the machine. Start the machine. The first color will embroider the outline of the hat placement and stop. |
| Step 2: Cover the outline with applique fabric. Start the machine. It will embroider the same outline over the fabric and stop. |
|
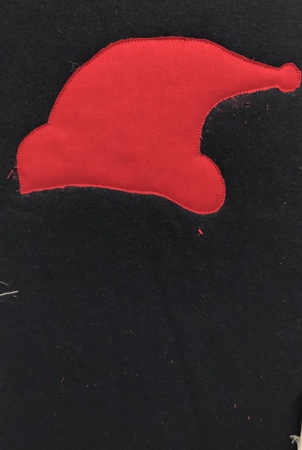
| Step 3: With a pair of sharp scissors, cut away the excess applique fabric around the outline. Cut as close to the stitches as possible, take care not to cut through the stitches. |
|
| Step 4: The next color will finish the raw edges of the hat. |

|
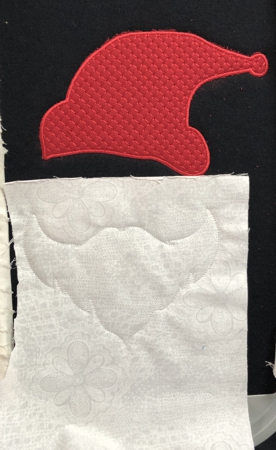
| Step 5: The next color will embroider the outline of the beard placement and stop. |
| Step 6: Cover the outline with applique fabric. Start the machine. It will embroider the same outline over the fabric and stop. |
|
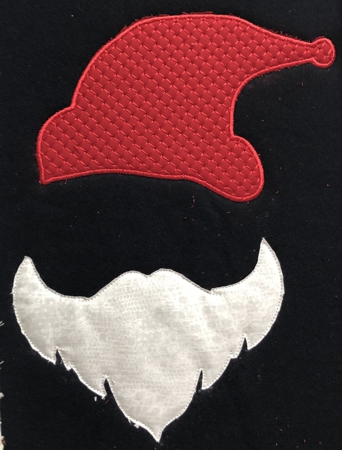
| Step 7: With a pair of sharp scissors, cut away the excess applique fabric around the outline. Cut as close to the stitches as possible, take care not to cut through the stitches. |
|
| Step 8: The last color will finish the raw edges of the beard. |

|
Have fun!
|
|
|
Back to Applique Christmas Tree Set
|
Back to Projects Page
|


