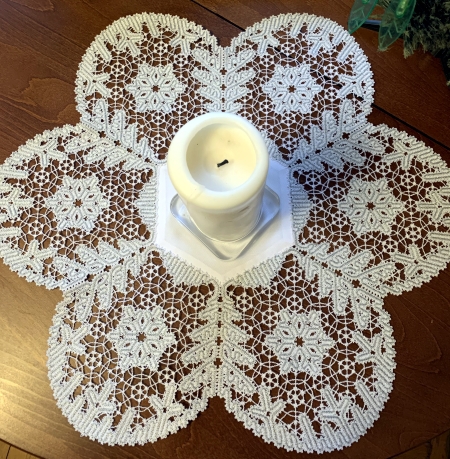
These are instructions on how to embroider and assemble the Freestanding Battenberg Lace Snowflake Doily.
The design should be embroidered 6 times to be assembled into a large doily/tabletopper about 21" across (54 cm). Hand-stitching is used for assembly of the lace. Machine stitching is used for the fabric center.
|
|

|
Stitches: 53566
Size: 199 x 201 mm
Colors: 2/2
|
You will need: water-soluble stabilizer, cotton embroidery threads, a piece of fabric, a fat quatrer, for the center; embroidery machine, sewing machine, needle for hand-stitching, graph pencil, a sheet of paper, scissors.
|
| Stabilizers: We recommend to use water-soluble mesh, such as Vilene. Vilene D0102 is a non-woven dissolvable stabilizer which is imported into the US, is sold in large rolls and is sometimes packaged under different brand names. Some of these brand names are Fabri-Solvy by Sulky, Avalon Plus by Madeira, Wash-Away, and Aqua Magic. Film-like water soluble stabilizers, such as Solvy by Sulky, Avalon by Madeira and Badge Master are not suitable for Free-Standing Lace embroidery.
|
| Threads: The thinner the thread, the finer the final product will be. That is why for this project we recommend machine quilting cotton thread, which gives bulk to the lace and makes it look hand-made. Embroidery polyester thread will make very fine web-like lace.
Embroidery rayon thread is too soft, it does not keep its shape and often its color will fade under the influence of chemicals from the water-soluble mesh.
You can use 40-, 50- or even 60-weight cotton, and you can use it both in the bobbin and in the needle. If you use 40-weight cotton thread for the needle, you shoul use 50- or 60-weight cotton in the bobbin.
We used Signature machine quilting cotton thread both in the needle and in the bobbin, but similar threads from other companies should work just as well.
The drawback of cotton thread is lint. Please don't forget to clean the machine with a soft brush or compressed air after each embroidery.
To get two-sided embroidery, use threads of the same color in the needle and in the bobbin.
|
|
| Needles: We use size 80/12 embroidery needles and 80/12 metallic needles. Our experience shows that cotton thread used with metallic needles gives less lint. The needles should be sharp, so it's advisable to change them often. |
| Most Importantly: ALWAYS make a test stitch-out and wash away the stabilizer. This helps you to select the threads, needles, stabilizers and settings of your machine correctly. It's very important to select the correct thread tension! |
| You can read more about how to embroider Battenberg lace in our tutorial. |
|
|
Washing out the Stabilizer:
|
| Rinsing away the stabilizer is also an important step, because the lace can be stretched or distorted if this is done incorrectly. We recommend to use a foam board and stainless pins. Cut away the excess stabilizer close to the stitches. Take your time and carefully pin every single loop on the lace's outer edge to the board.
Now place the board into a bowl with luke-warm water. Leave the board in the water for at least half an hour. Change the water a couple of times.
Take the board out of the water and leave to air dry. Do not unpin the lace until it's completely dry.
|
|
This stitch-out is used for demonstation purposes only.
|
Making the Doily
|
Embroider the design 6 times. Wash out the stabilizer, leave the stitch-outs to air-dry.
Lay the stitch-outs in a circle.
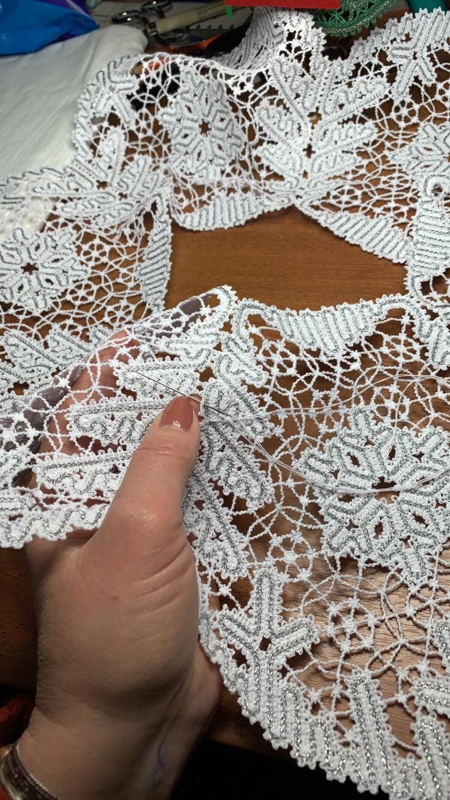
Using the same thread with which you made the embroidery, connect the loops of the neighboring stitch-outs.
|
|
Position the lace on a sheet of paper and trace the inner hexagon with a graph pencil. Add 3/8" on each side for seam alowance. Cut out the paper template.
If you are using medium-weight fabric for the center, position the template over the fabric, trace and cut out once. If you are using light-weight fabric, cut twice.
|
For medium-weight fabric: zig-zag or serge the raw edges.
For light-weight fabric: position the pieces face to face, align all edges and machine-stitch along 5 sides, seam allowance a little bit less than 1/4".
Cut the corners.
Turn right side out through the unstitched sixth side. Press. Tuck in the edges of the opening and press.
|
Position the lace frame over the hexagon, pin the edges. On the sewing machine, topstitch the lace in place along the lace edge.
|
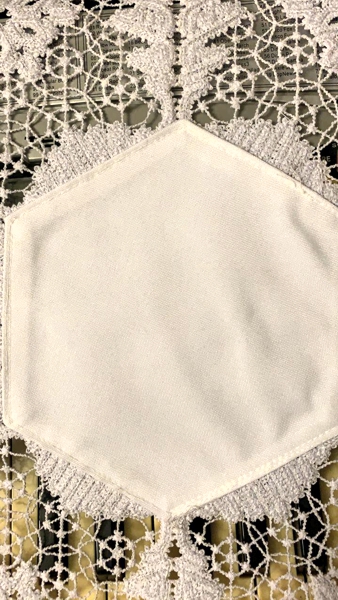
This is what the attached fabric center looks like from the back.
|
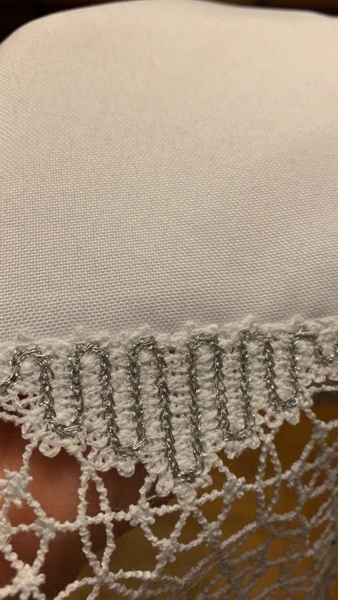
This is what the attached fabric center looks like from the right side.
|
You are done!
|
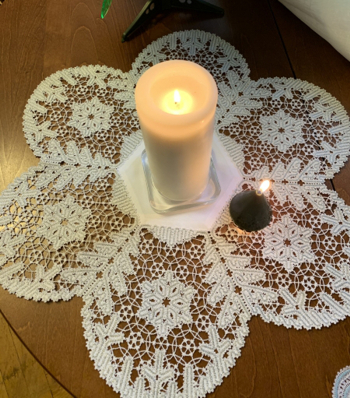
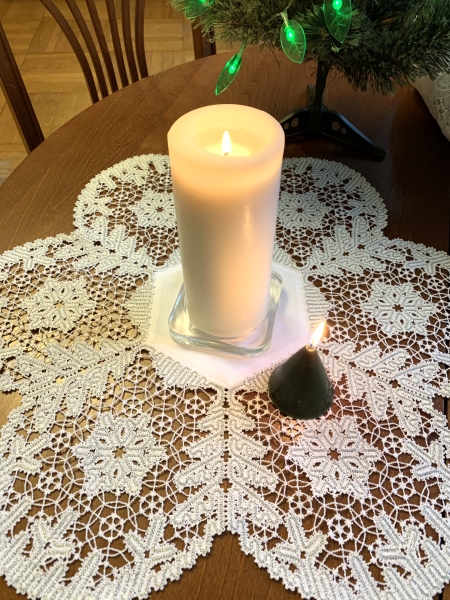
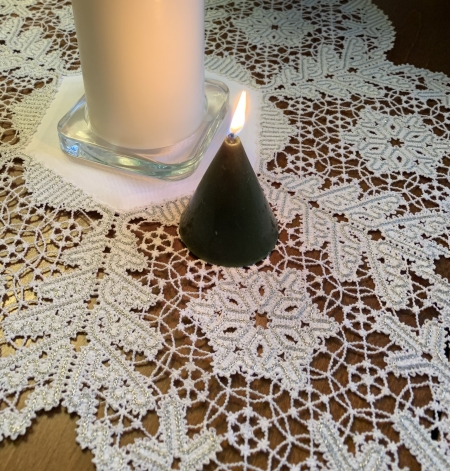
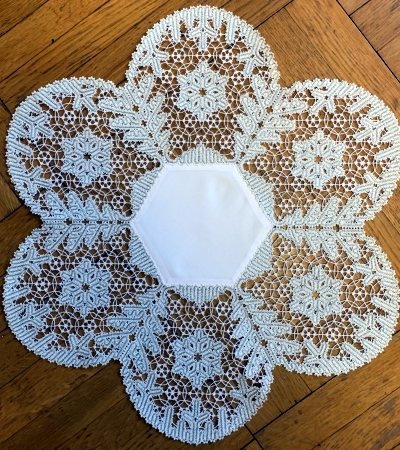
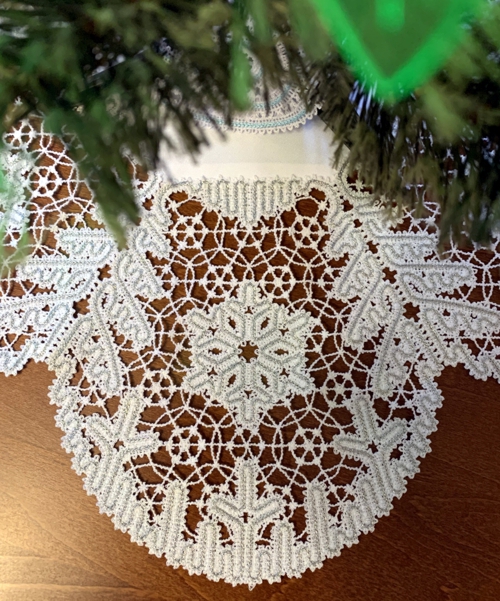
Here are more pictures of the finished doily.
|
|
|
|
|
| Have fun! |
|
Back to Freestanding Battenberg Lace Snowflake Doily
|
|
|
