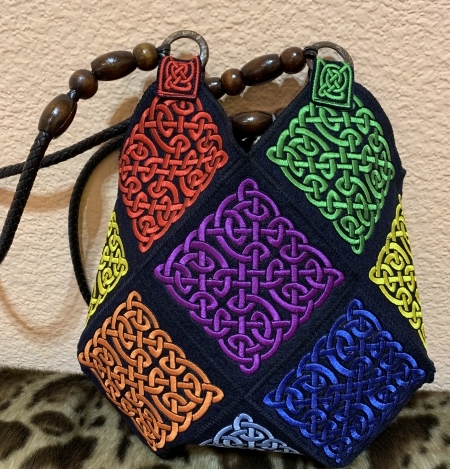
This unique purse uses the designs from the Celtic Purse Set.
The designs are for the small hoop (4" x 4").
The finished size of the purse is about 11" x 11".
|
|
You will need
- embroidery threads, either polyester or rayon; the choice of colors is up to you,
- thin faux suede or thin faux leather (choose a material with a non-fraying base),
- fabric for the lining (we recommend cotton or non-fraying polyester),
- light-weight embroidery stabilizer,
- #14 embroidery needle,
- #12 and #14 sewing needles,
- sewing thread of matching color,
- purse handles with rings on the ends,
- quilter's ruler and rotary cutter or scissors,
- chalk pencil.
|
Embroidery
|
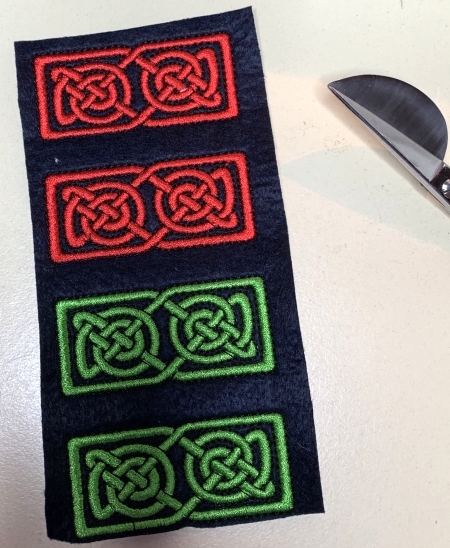
| Stabilize your material, faux leather or suede, hoop tightly. Upload the design with the square into the machine and embroider it. For the bag, you'll need 13 squares. You can make them in any colors you like. |

|
After the embroidery is done, trim the squares, leaving 1/2" margins around the embroidery.
|
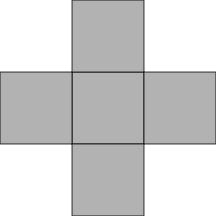
| Assembly: |
| Using 5 squares, sew a cross shape, seam allowance 1/4". |
|
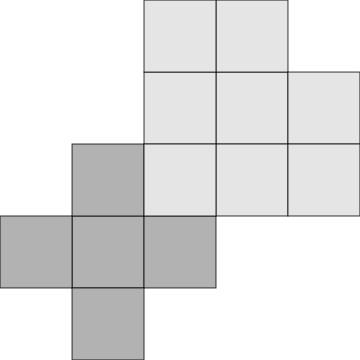
| Using the remaining 8 squares, sew the following shape as shown below: |

|
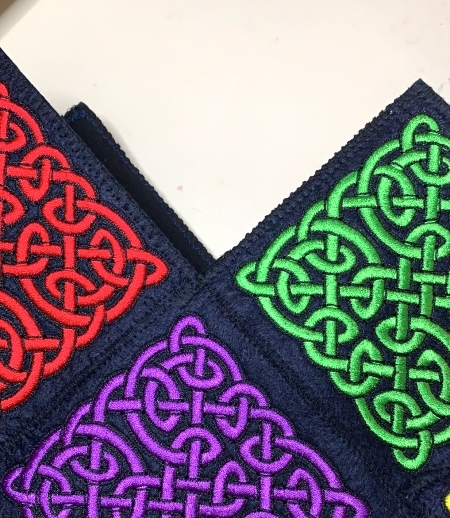
| Sew both parts together, as shown: |
|
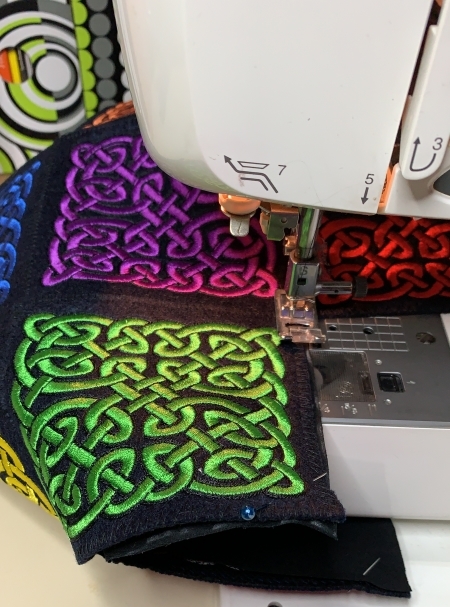
| Open the seams and top-stitch with zig-zag. |
|
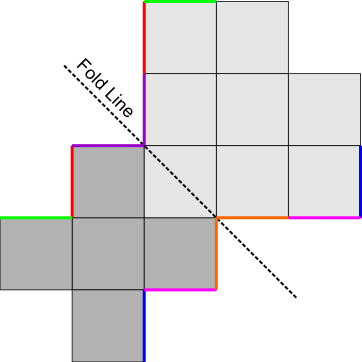
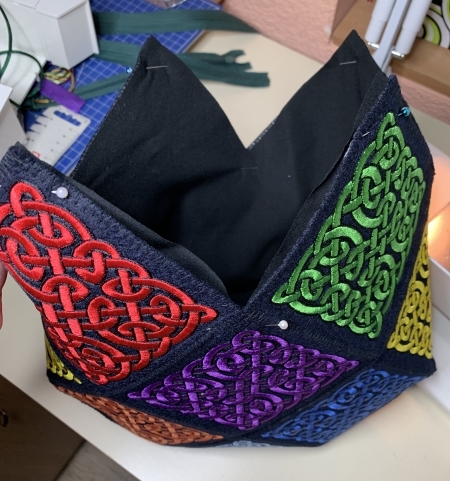
Fold the working piece in half, and pin together the edges color-coded in the diagram. Sew the parts together. Open the seams and top-stitch with zig-zag.
|
|
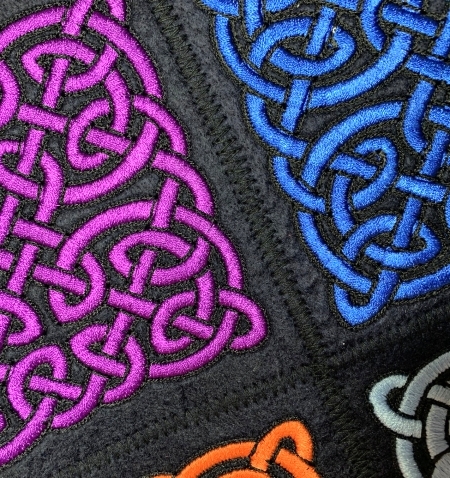
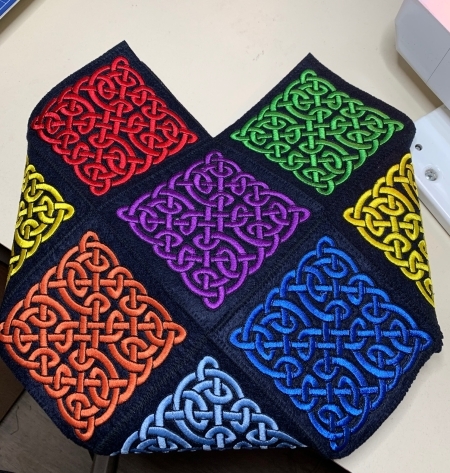
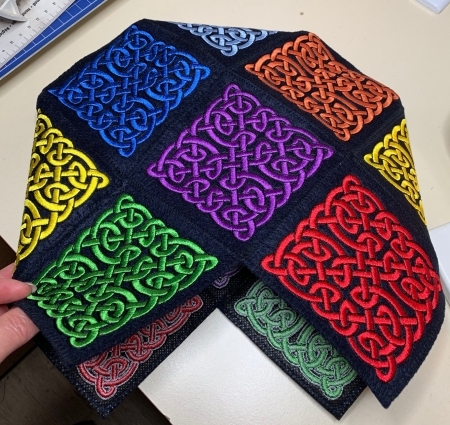
| The bag will look like the pictures below: |
|
|
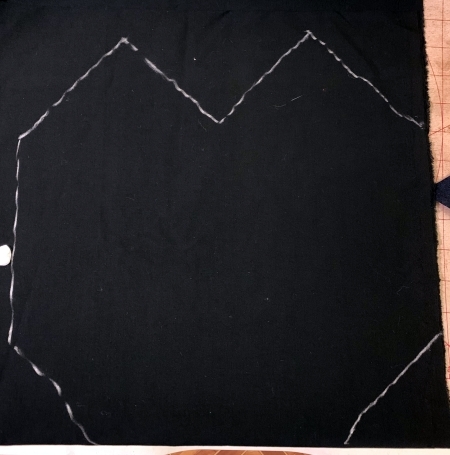
| Lining: |
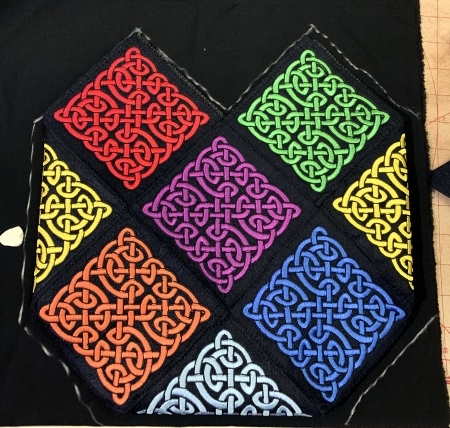
| Fold the fabric for the lining in half, face inside. Position the bag over the fabric, aligning the bottom of the bag with the fold. Trace the outline of the bag with chalk. |
|
Cut out the lining adding 1/2" seam allowance.
|
|
Sew the sides of the lining together, seam allowance 1/4".
Fold the upper edges 1/4" back and press.
|
| Insert the lining into the bag, pin along the upper edge. |
|
| Topstitch the lining in place. |
|
| Then finish the upper edge with a wide zig-zag. |
|
Handles:
|
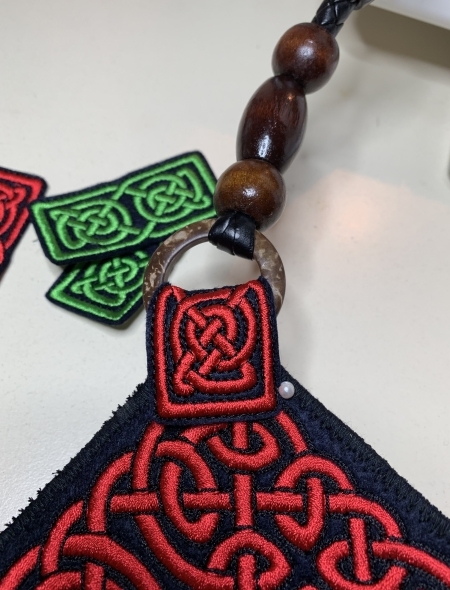
| Embroider the second design from the set. You will need 4 stitch-outs. |
|
Cut them out, leaving about 1/8" seam allowance.
Thread the parts through rings on the handle, fold in half and pin the ends to the protruding corners of the upper edge.
|
|
Topstitch the part in place.
|

|
|
Back to Celtic Purse Set
|
Back to Projects Page
|


