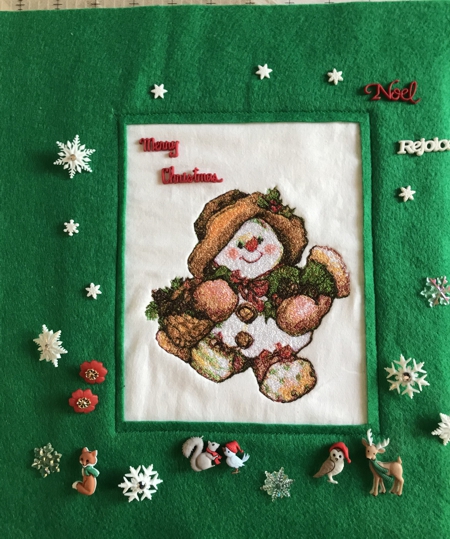
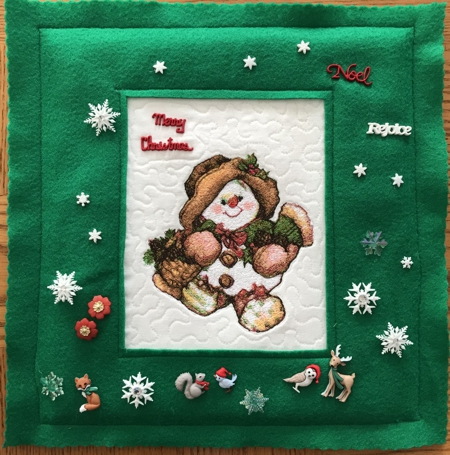
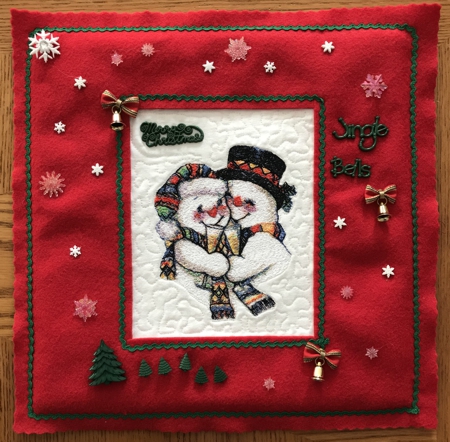
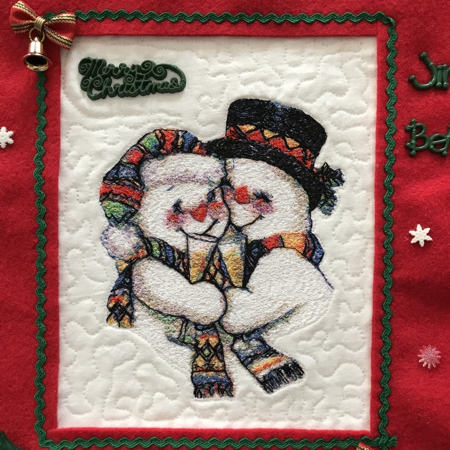
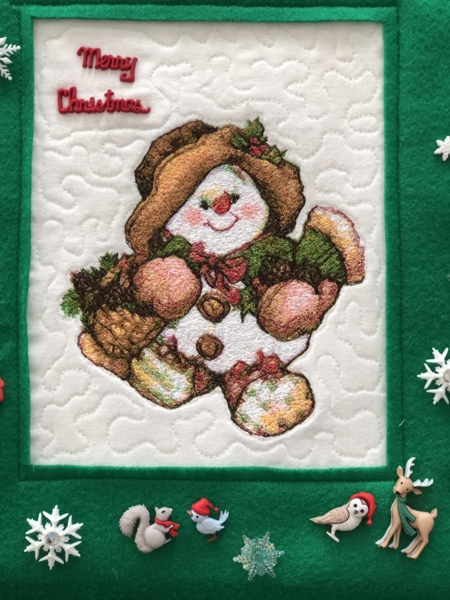
These simple projects make great gifts. We used the designs Snowman with Gifts and Snowman Couple. Both designs are for the large hoop (5"x7").
The finished size of the framed pictures is about 13" x 13".
|
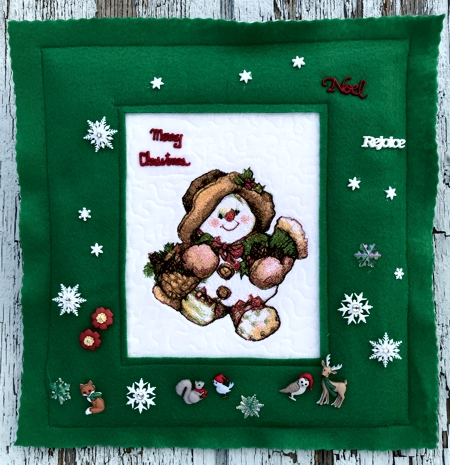
Snowman with Gifts
|
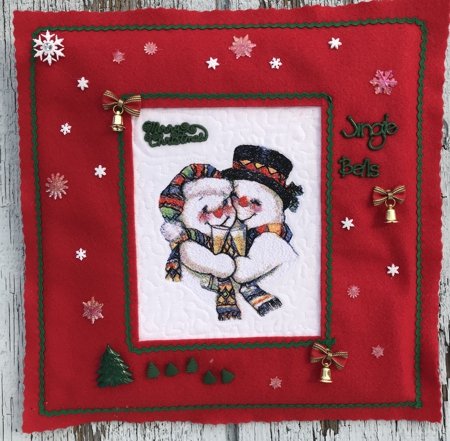
Snowman Couple
|
You will need :
- embroidery threads according to the color cards of the designs,
- fabric for the background,
- medium-weight iron-on embroidery stabilizer,
- 1/2 yard each of green and red polyester felt,
- decorative Christmas-themed buttons,
- green and red ric-rack (optional),
- scissors,
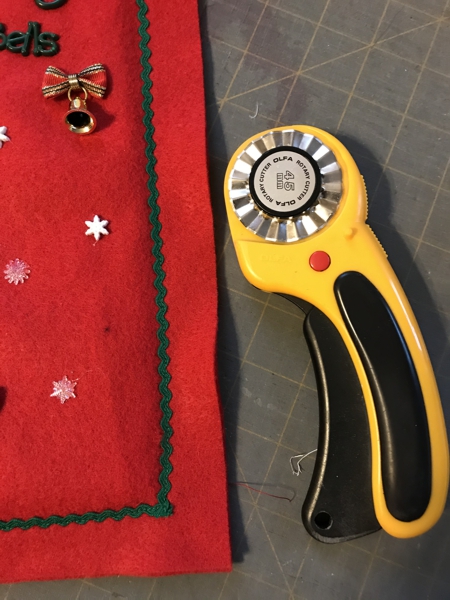
- quilter's ruler and rotary cutter,
- chalk pencil or fabric marker,
- 2 pieces of cardboad, 12" x 12" each.
|
Embroidery
|
Open the color card on the computer. If you have a color printer you can print out the color card.
Select threads according to the color card.
Upload the embroidery file into the machine.
Stabilize the fabric with medium-weight embroidery stabilizer. Hoop it tightly.
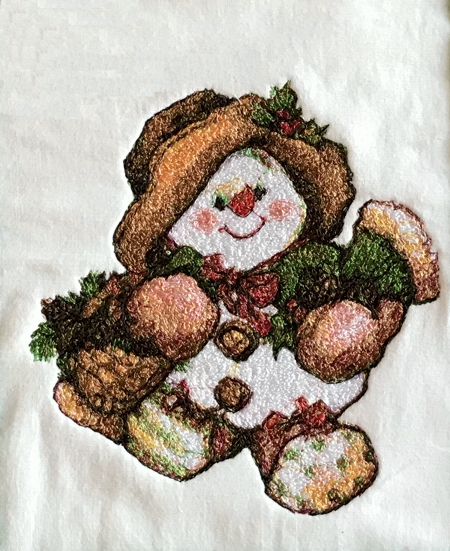
Embroider the design.
|
|
Press if needed.
|
Making the Frame
|
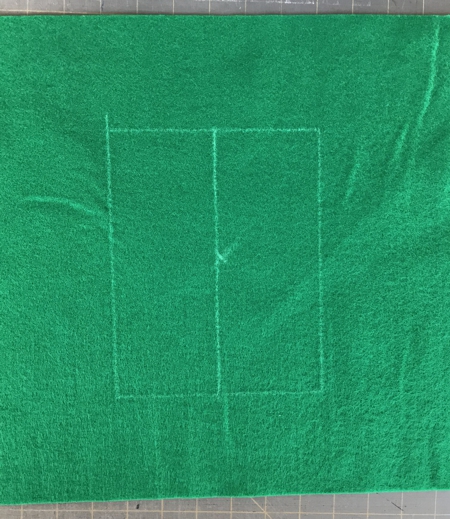
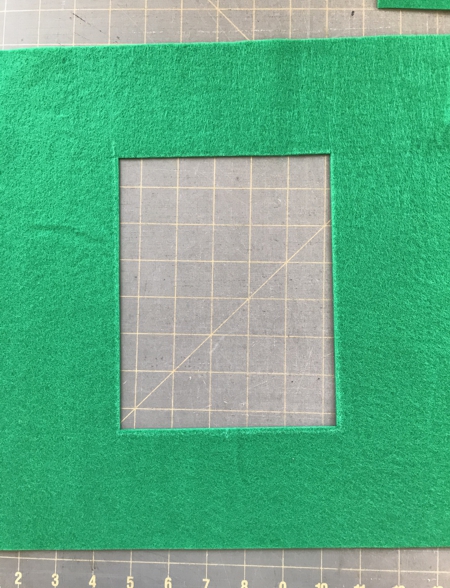
Out of felt, cut 2 squares measuring 13" x 13" each - one piece for the front and another for the back.The back piece may be of the same or of a different color. In the center of the front piece draw a rectangle measuring 6" x 7 1/2".
|
|
Cut out the rectangle.
|
|
Position the felt over the embroidery so that the embroidery looks through the central opening. Pin. Then stitch along the opening, seam allowance 1/4". You can also stitch rick-rack over the felt opening.
|
Sew on all embellishments.
|
|
Place the front on the back piece of felt, align and pin all sides.
|

|
You can also baste the front and back together with seam allowance 1/2" - 3/4".
|

|
On your sewing mahine, topstitch 3 sides along the baste stitches, 1/2" - 3/4" from the edge.
|
Measure the size of the square you stitched. Cut a piece of cardboard measuring 1/4" less than your measurements on each side.
Insert the cardboard square through the opening.
Topstitch the opening closed with the same seam allowance. A zipper foot might be helpful in this operation.
|
|
Rick-rack will add a ecorative element to the frame.
|
|
If you have a "wavy" blade for your rotary cutter, you can use it to cut the outer edges of the frame.
|
|
Have fun!
|
|
|
Back to Snowman with Gifts
or Snowman Couple
|
Back to Projects Page
|


