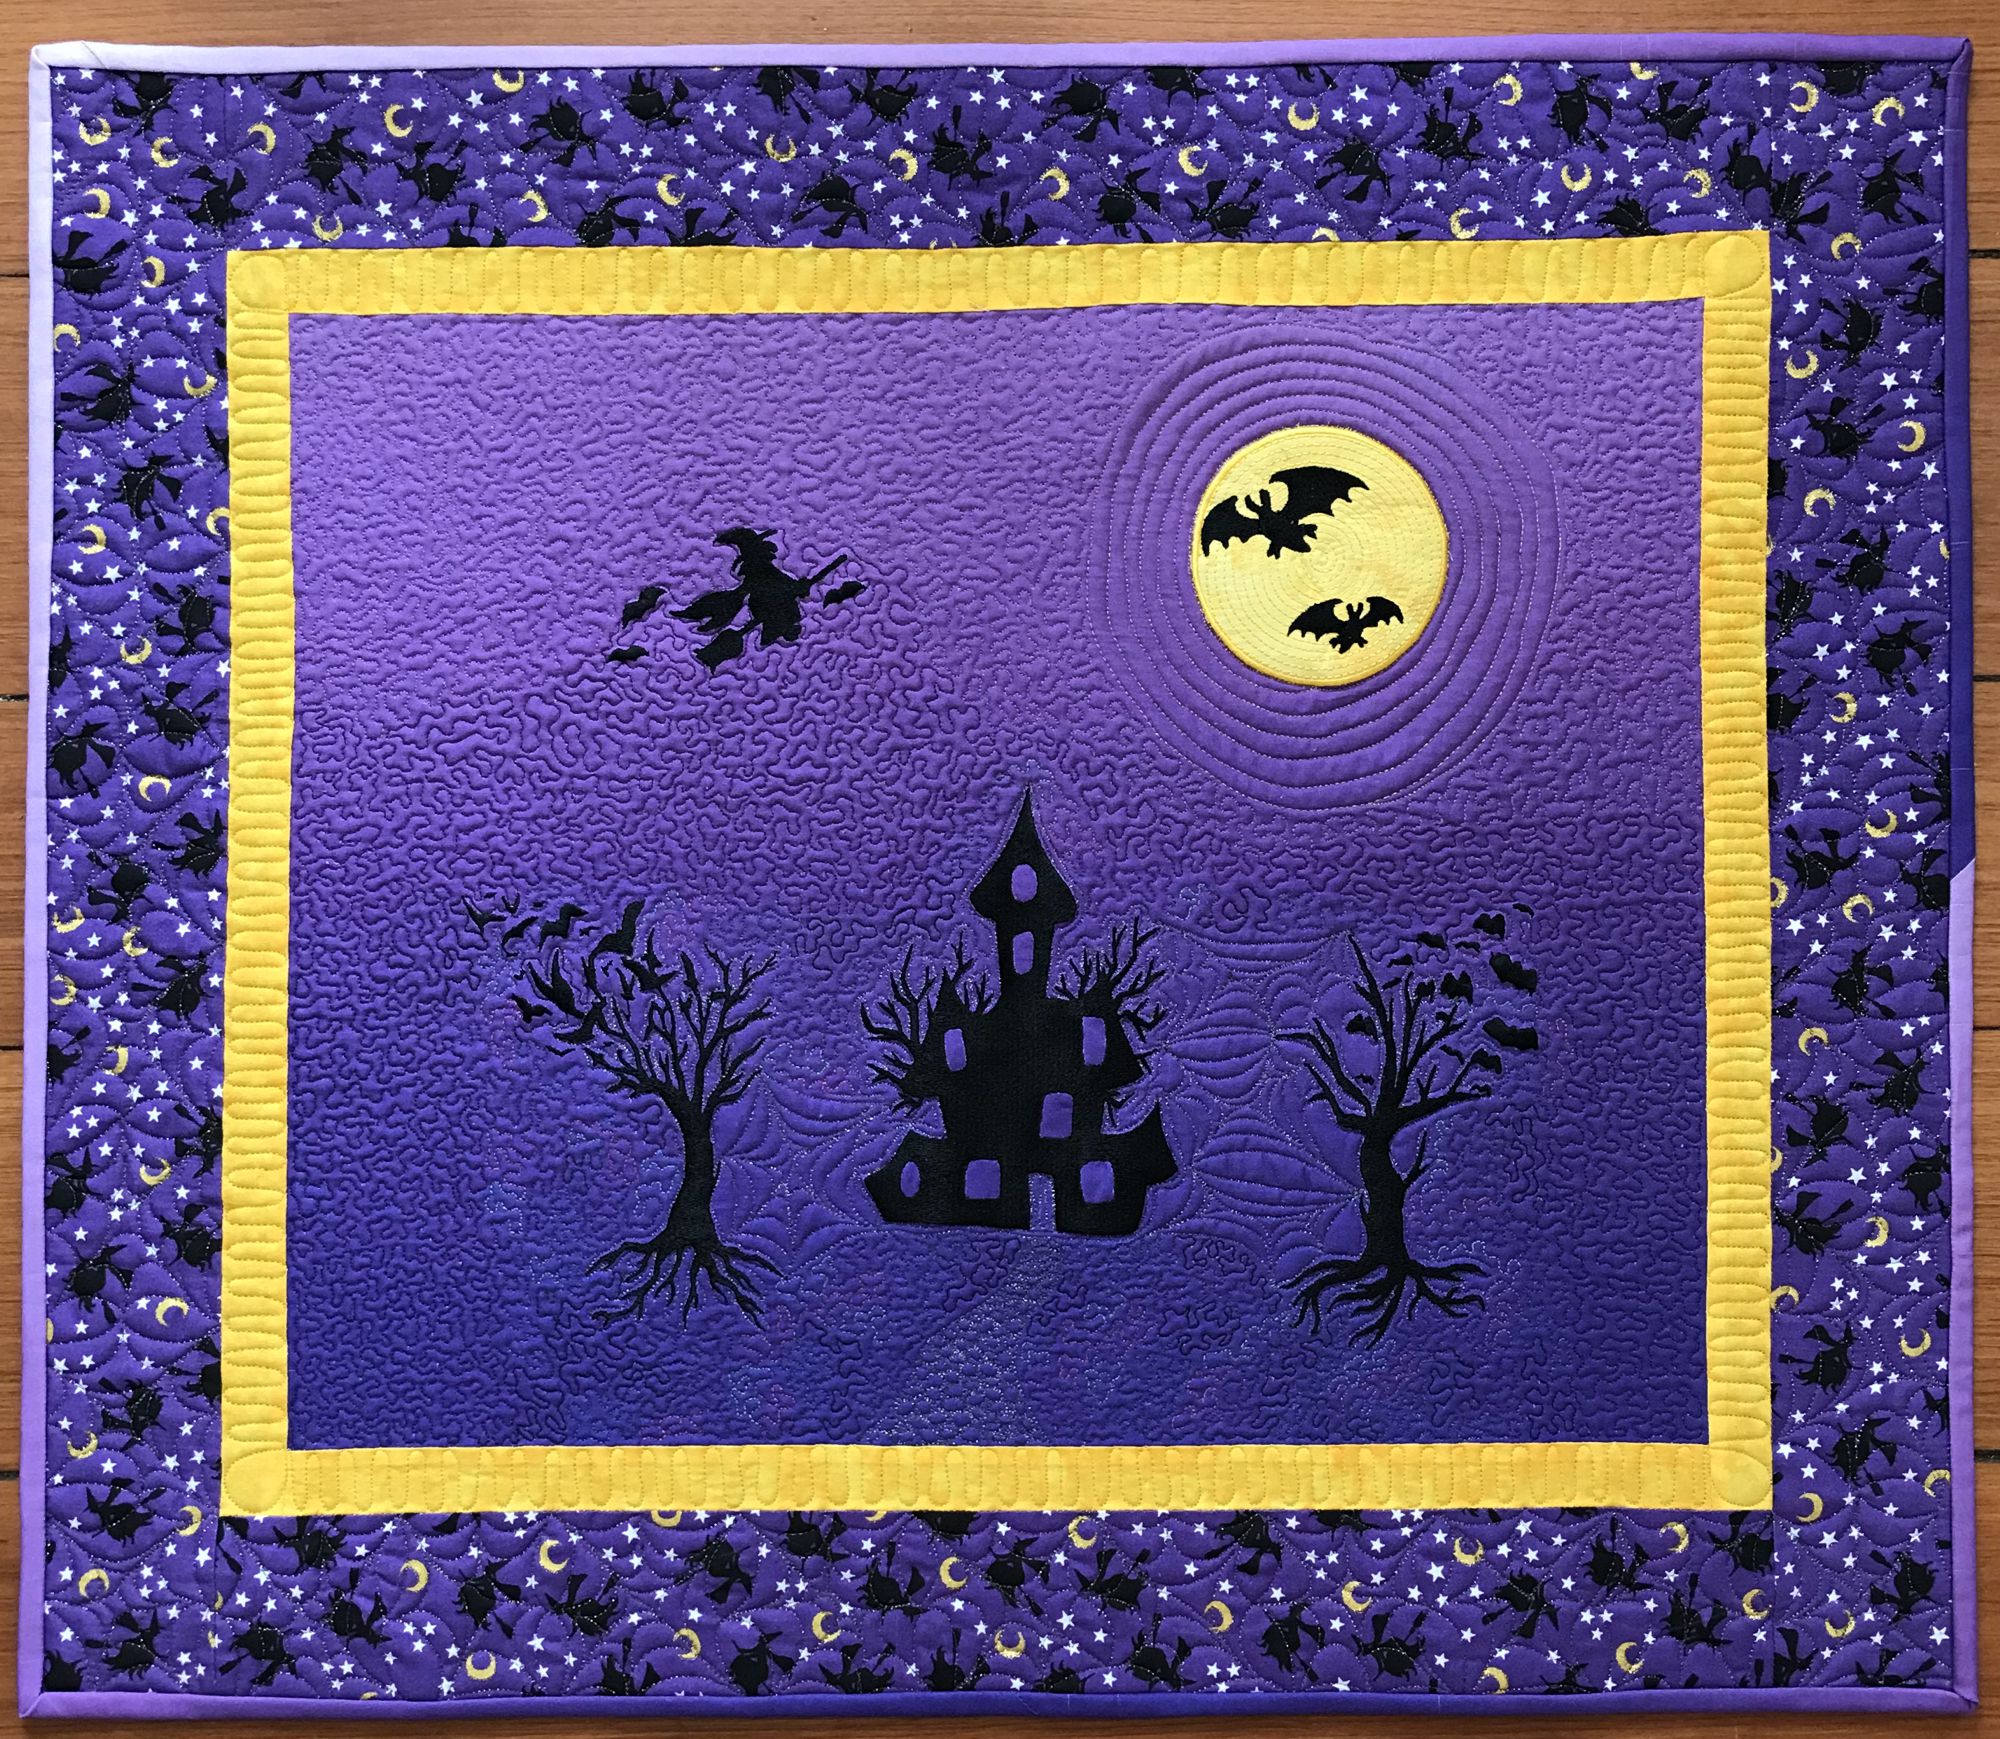
Halloween Night Quilt
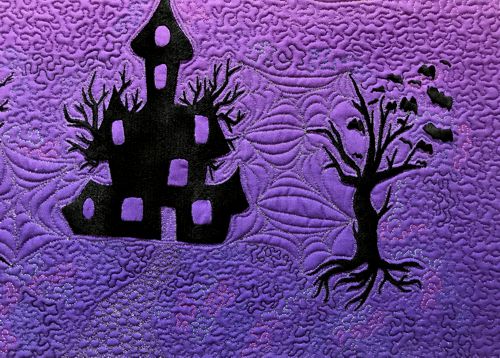
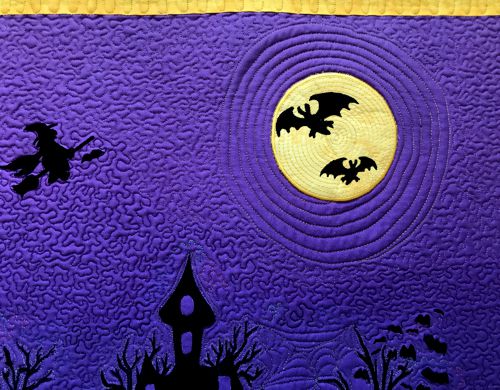
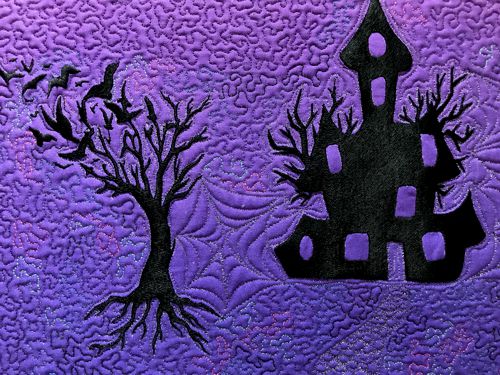
For this easy-to-make Halloween-themed quilt, we used the designs from the Halloween Silhouette Set and Halloween Moon Applique.
The finished size of the quilt is about 29" W x 25" H.
|

Click to enlarge
|
You will need :
- embroidery threads, either polyester or rayon,
- about of 1 yard of purple fabric (not too dark) for the background and binding (we used a gradient cotton that changes from lilac to dark purple),
- 1/2 yard of Halloween-themed fabric for the border (we used a purple fabric with witch silhouettes on it),
- small amount of yellow fabric for the first border and applique,
- light- to medium-weight cut-away embroidery stabilizer,
- applique scissors,
- batting,
- fabric for backing,
- quilting threads (we used variegated and metallic threads by Sulky),
- rotary cutter or scissors, and quilter's ruler,
- iron,
- additional embellishments, such as small beads or rhinestones, are welcome, but not necessary.
|
Note: You can make the quilt smaller, if you wish, by reducing the size of the central, embroidered, part. We assemble the top first, then make the embroidery. But you can do the embroidery first, then trim the panel to your required size and add borders. You'll have to recalculate the length of the borders, but it's not difficult for this quilt.
|
Cutting:
|
Out of the fabric for the central part, cut a piece measuring 21 1/2" x 17 1/2".
Use the remaining fabric for the binding.
Out of yellow fabric, cut
- 2 strips measuring 1 1/2" x 19 1/2"
- 2 strips measuring 1 1/2" x 21 1/2"
Use the remaining fabric for the moon applique.
Out of the fabric for the second border, cut
- 2 strips measuring 3 1/2" x 23 1/2" and
- 2 strips measuring 3 1/2" x 25 1/2".
|
Assembly:
|
Note: Seam allowance is 1/4", press every seam immediately after you make it. If you use a gradient colored fabric for the central part, make the lighter part be the upper, sky, edge and the darker part be the lower, earth, edge.
|
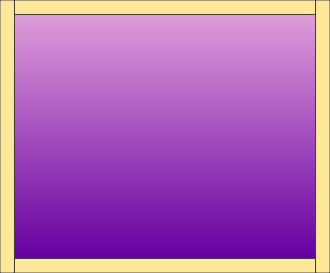
Sew the yellow 1 1/2" x 21 1/2" strips to the upper and lower edges of the central part.
Sew the yellow 1 1/2" x 19 1/2" strips to the left and right edges of the central part.
|
|
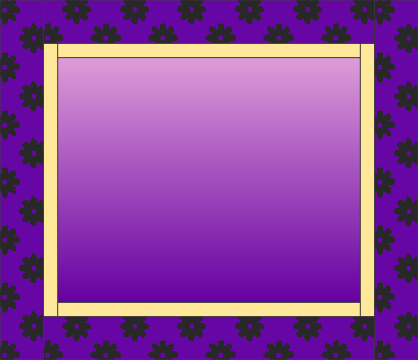
Sew the patterned strips 3 1/2" x 23 1/2" strips to the upper and lower edges of the top.
Sew the patterned strips 3 1/2" x 25 1/2" strips to the left and right edges of the top.
|
|
Embroidery:
|
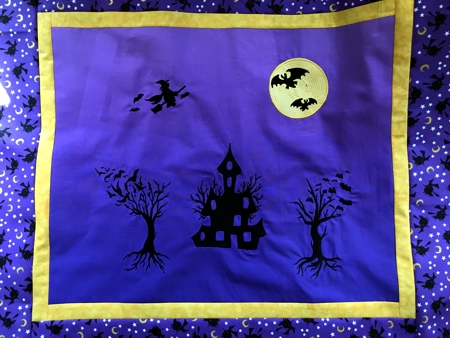
If you have a printer and embroidery software, they can be very useful: open the designs in the software and make print-outs. Position the paper templates on the top as you'd like to see them on the quilt. Pin. Then embroider the designs one by one.
If printing is a problem, look up the exact size of the designs, then make paper shapes of these size and use them as templates instead.
Cut away the excess stabilizer around each design close to the stitches. Do not try to remove the stabilizer between the tree roots and branches.
|
|
|
Quilting and Finishing:
|
Now place the backing on a flat surface (table) face down. Cover with batting. Spread your working piece over it.
Pin all layers together.
We quilted in a free-motion style all over the quilt using variegated and metallic threads. |
|
|
|

|
| Press with heavy steam. Square the quilt. Finish the raw edges with the binding. |

|
|
Back to Halloween Silhouette Set or Halloween Moon Applique.
|
Back to Projects Page
|
|