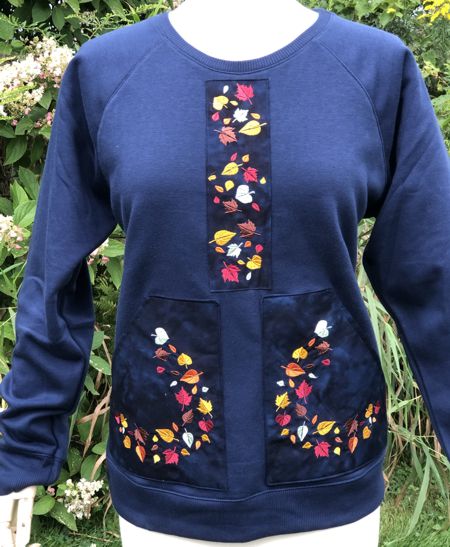
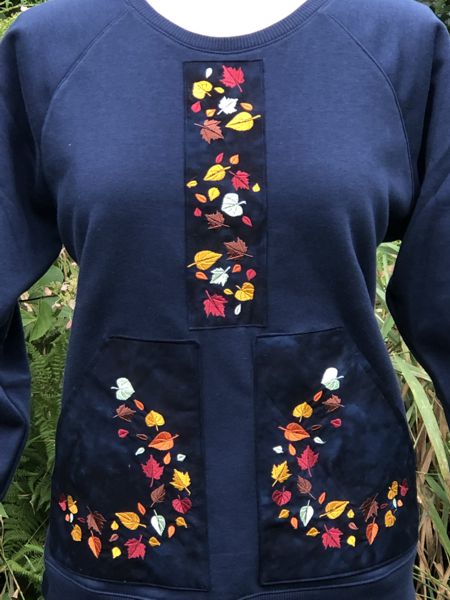
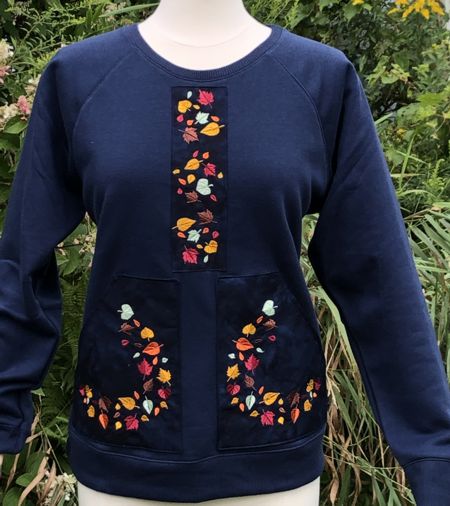
It's time to get ready for cool weather. Here is an idea on how to transform a plain sweat-shirt into this fancy custom top, featuring pockets. We used the designs from the Leaf Flurry Set.
|

|
You will need :
- embroidery threads either polyester or rayon; you can follow the color card or choose your own colors,
- a plain sweat-shirt,
- fabric for the embroidery, preferably the color of the fabric should match the sweat-shirt,
- medium-weight cut-away embroidery stabilizer (it's important to use cut-away stabilizer because it will stay inside the pocket and work as a sewing interfacing as well),
- quilter's ruler,
- chalk pencil,
- rotary cutter or scissors,
- iron,
- printer.
|
|
Embroidery
|
|
Download the template file for the pocket. To open and print the template, which is a PDF file, you will need Adobe Reader or a similar program. Adobe Reader is free to download and install.
Template Download (PDF file)
Print out the template.
|
Choose the embroidery file you'd like to embroider. We used file #5.
Open the file in your embroidery software on the computer and make a print-out.
Pick the position of the embroidery on the pocket template, then glue the print-out in place.
|
Mark the central vertical axis on the sweater's front with pins.
|

|
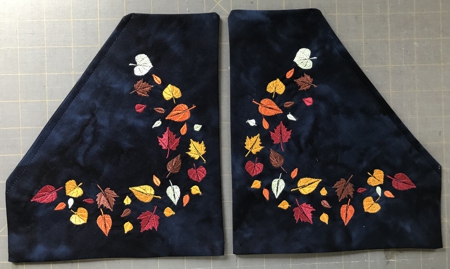
Embroider the chosen file twice - once as it is, then its mirror image for the second pocket. Do not remove the stabilizer.
|

|
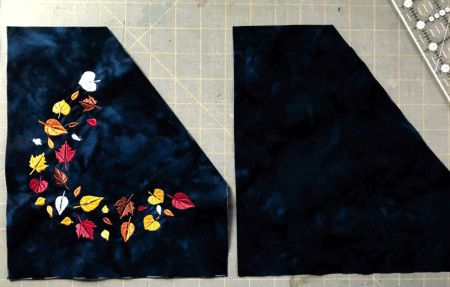
Position the pocket template over the stitch-out, align the image on the template with the stitch-out.
Trace the outline of the template with the chalk pencil. Double check that the embroidery is in the right spot, then cut out the pocket.
Using the same template, cut out the lining.
|
|
Turn the lower edge of the top pocket (with embroidery) and its lining 1/2" back and press. Unfold.
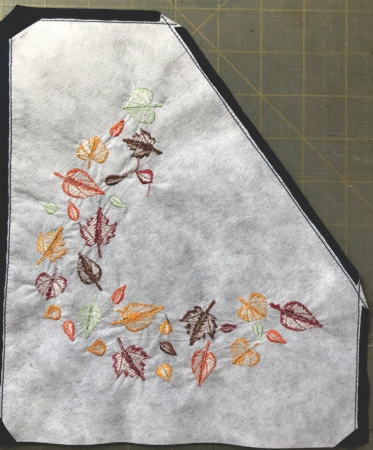
Position the pocket face and the lining face to face, aligning all edges.
Sew along all sides, except the lower edge, leave it open. Backstitch in the beginning and end. Seam allowance is 1/4".
Trim the stabilizer from the seam allowance. Trim the corners.
|
|
Turn the pocket right side out. Tuck the open edges inside along the pressed line.
Press again.
Topstitch along the slanted edge, seam allowance 1/4".
|
|
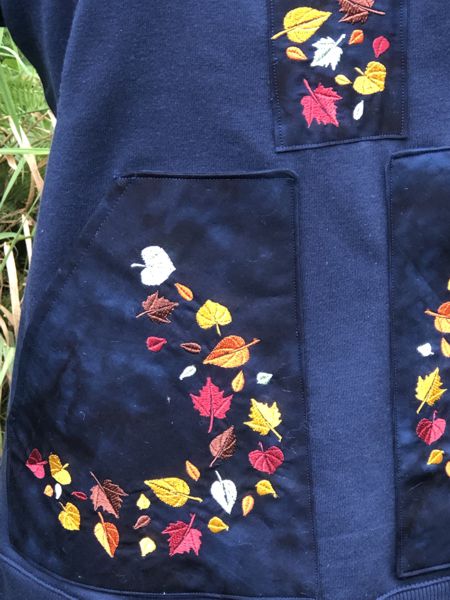
Pin the pockets to the sweatshirt, leaving about 1" distance between them.
|

|
Top-stitch along all edges except the slanted one. Seam allowance 1/8". Backstitch in the beginning and in the end.
|
|
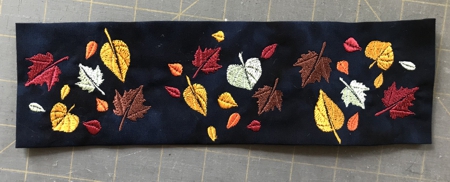
We also made a placket to decorate the chest of the sweatshirt. For this we used files #8 and #9 from the Leaf Flurry Set.
|
Embroider the files in one line. Trim the stitch-out leaving margins of about 3/8"-1/2". Fold the raw edges 3/8" back and press.
|
|
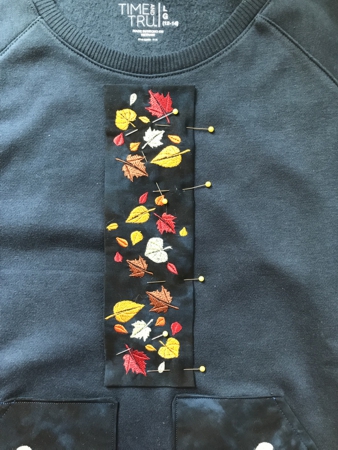
| Pin the stitch-out onto the sweat-shirt along the central line. |
|
Topstitch in place along all edges.
|
|
Have fun!
|
|
|
|
Back to Leaf Flurry Set
|
Back to Projects Page
|


