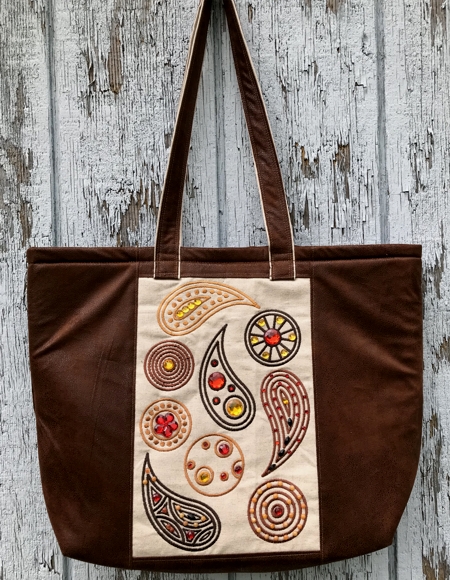
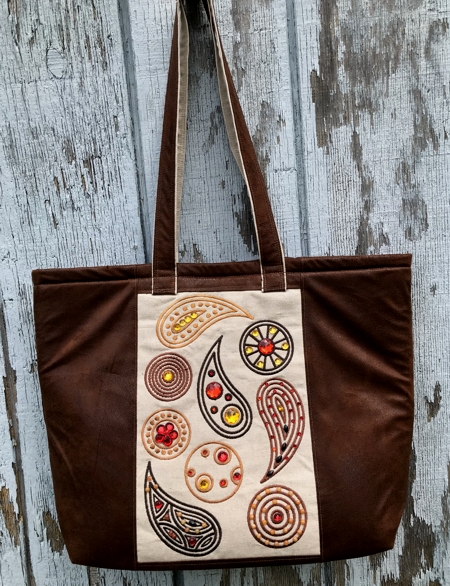
the designs from the Paisley (Cashmere) Pattern Set.
All designs are for a small, 4" x 4", hoop.
The finsihed size of the bag is about 18" wide x 14" high x 4 1/2" deep.
|
|
You will need :
- embroidery threads either polyester or rayon, the choice of colors is yours,
- about 1/2 yard of linen or linen/cotton blend fabric, natural color) for the outer bag,
- about 1/2 yard of faux leather polyester fabric for the outer bag,
- about 1/2 yard of Osnaburg for the lining,
- light-weight iron-on embroidery stabilizer for embroidery,
- 1 yard of Pellon Flex-Foam (Sew-in Soft Foam Stabilizer),
- iron, quilter's ruler, rotary cutter, chalk pencil, sewing pins,
- light-weight iron-on sewing interfacing,
- sewing heavy duty thread of matching color,
- sewing machine needle #12 and #14,
- a piece of Velcro tape,
- temporary fabric adhesive,
- sewing needle for handstitching and sewing thread,
- rhinestones (optional, but recommended) of different shapes and sizes, the choice of colors is yours and glue to adhere the rhinestones.
|
Embroidery
|
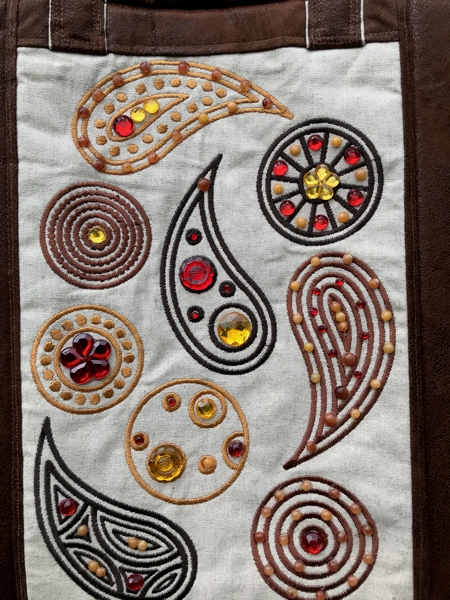
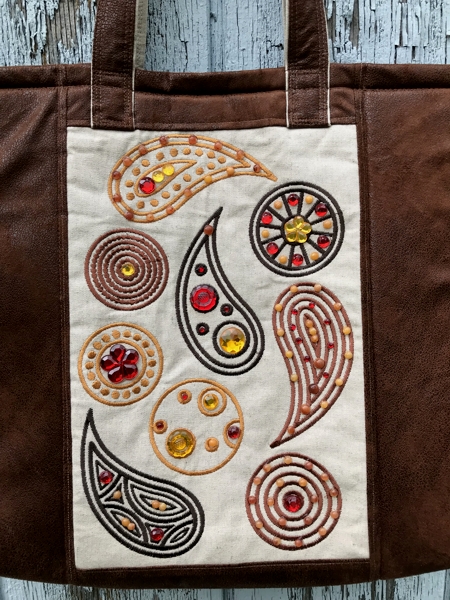
On the linen, draw a rectangle measuring 8" x 12". Do not cut it out! Stabilize the piece with light-weight iron-on embroidery stabilizer and embroider the designs from the Paisley (Cashmere) Pattern Set one by one.
If your machine has an embroidery field of 8" x 12", you can use your 8" x 12" hoop, lay out the designs on the screen of your machine within these bounderies and embroider them in one hoop.
|
After the embroidery is done, do not remove the stabilizer, trim the stitch-out to 8 1/2" x 12 1/2" rectangle.
Repeat for the back panel. (Make similar rectangle for the back panel of the bag)
|
Cutting and Assembly
|
The Handles
|
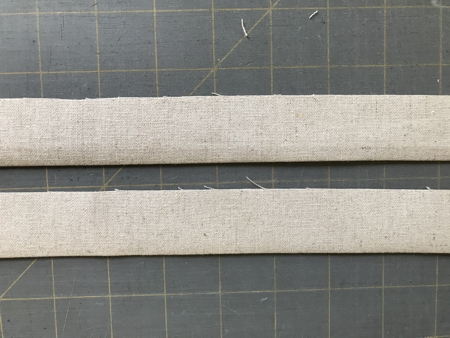
Step One: Out of linen, cut 2 strips measuring 2 1/4" x 31". Fold the strips lengthwise in half, wrong side inside. Lightly press.
|
|
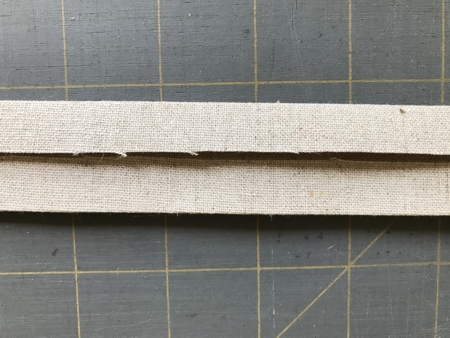
Step Two: Unfold. Fold the long sides inside towards the creased line. Press firmly.
|
|
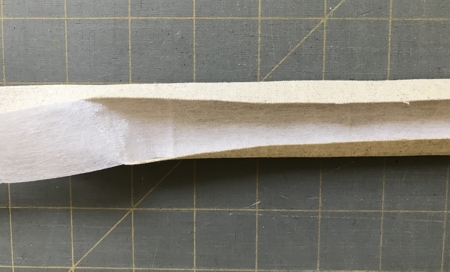
Step Three: Out of iron-on sewing interfacing, cut 2 strips measuring 1" x 31". Open the linen strips, set the interfacing inside and press again to adhere.
|
|
Step Four: Out of faux leather, cut 2 strips measuring 2" x 31". Then repeat Steps 1-3 for the the leather strips.
|
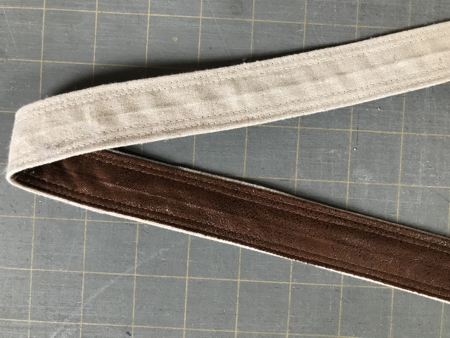
Step Five: Position the linen and leather strips wrong side to wrong side. Pin together. Topstitch over the leather edges, 1/8" and 1/4" from each edge.
|
|
Front Panel
|
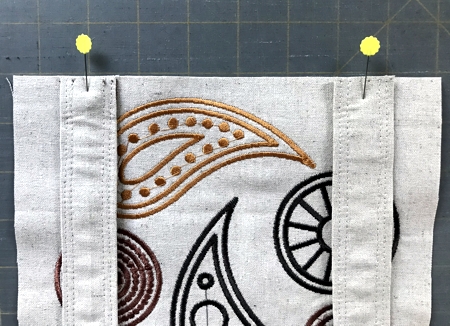
Step One: Pin each end of the handle to the top edge of the stitch-out, 4" between the ends, leather side towards the stitch-out.
|
|
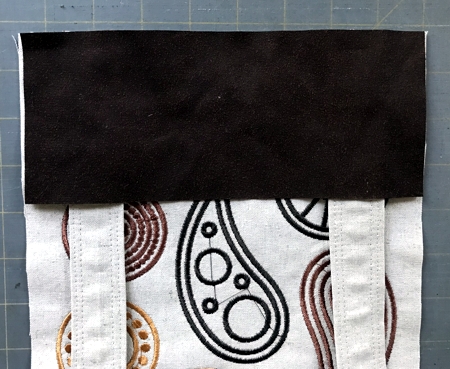
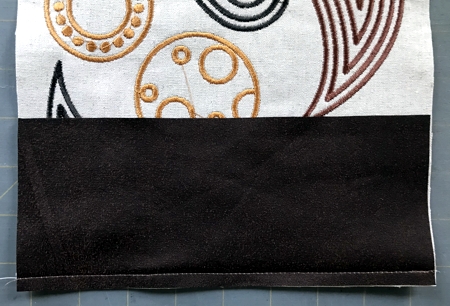
Step Two: Out of faux leather cut 2 pieces measuring 8 1/2" x 3 1/2". Position one of the pieces over the handle, face down. Align the edges. Stitch together, seam allowance 1/2".
|
|
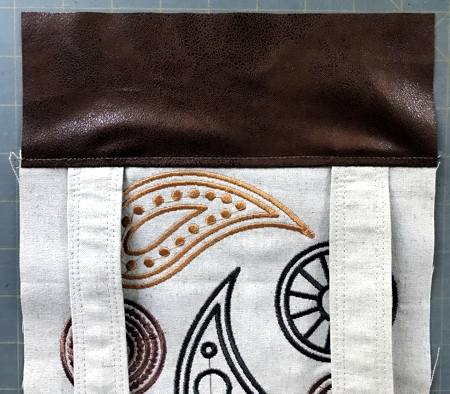
Step Three: Unfold. Topstitch 1/4" from the seam.
|
|
Step Four: Position the second piece over the lower edge of the stitch-out, face down. Align the edges. Stitch together, seam allowance 1/2".
|
|
Step Five: Unfold. Topstitch 1/4" from the seam.
|
|
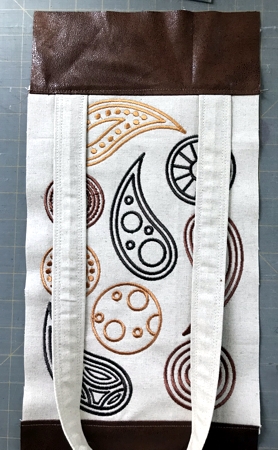
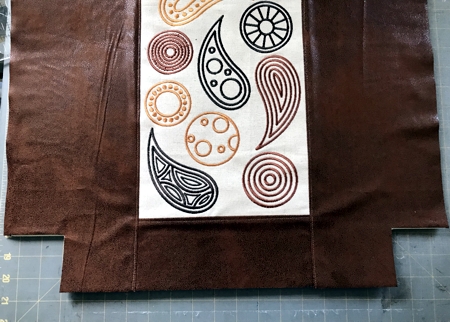
Step Six: Out of faux leather cut 2 pieces measuring 6 1/2" x 18 1/2" each. Sew them to the left and right edges of the working piece, seam allowance 1/2".
|
Step Seven: Unfold. Topstitch 1/4" from the seam.
|
|
Back Panel:
|
The back panel is worked is in the way as the front panel. Repeat Steps 1-7 to make the back panel.
|
Stabilizing:
|
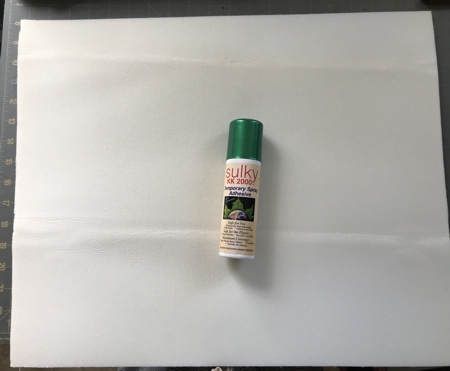
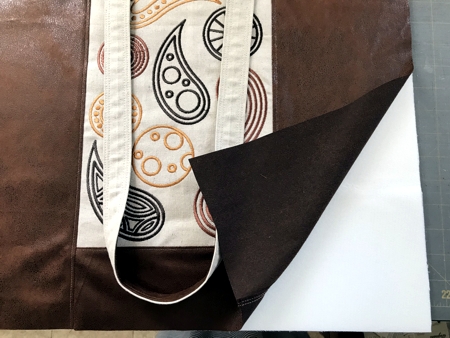
Out of Pellon Flex-Foam (Sew-in Soft Foam Stabilizer), cut 2 pieces measuring 20" x 16 1/2".
Spray with temporary fabric adhesive.
|
|
Spread the bag panel on the stabilizer (wrong side of the bag to adhering side of the stabilizer), aligning the lower and the side edges. Please note that each stabilizer piece is about 2" shorter than the bag panels and will not go up to the upper edge.
|
|
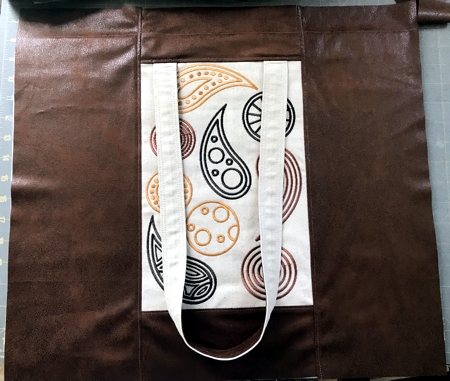
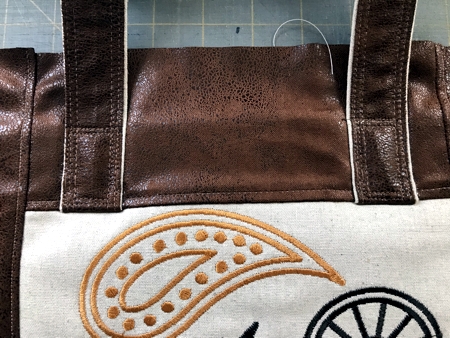
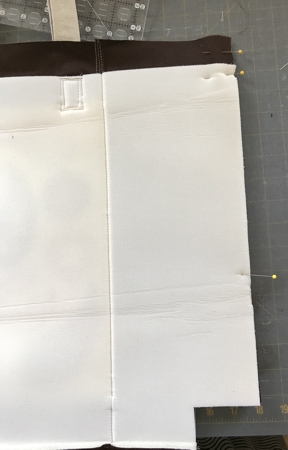
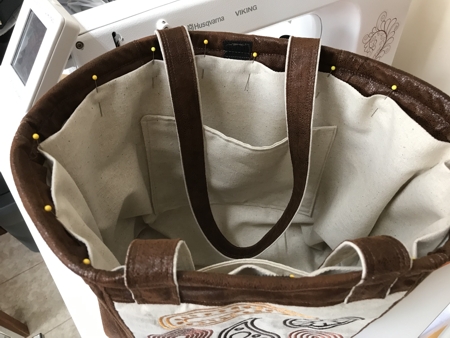
Fold the handles up, pin. Topstitch in place through the leather and the stabilizer part only. Do not stitch the handles to the leather part without stabilizer.
|
|
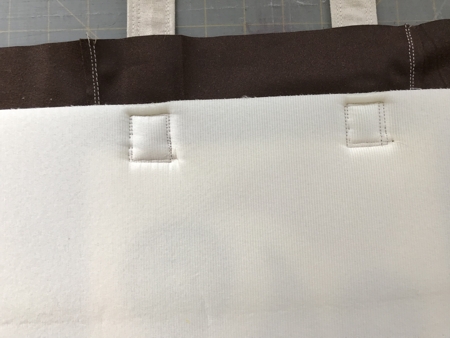
This is what the wrong side of each panel looks like after the handles attacched.
|
|
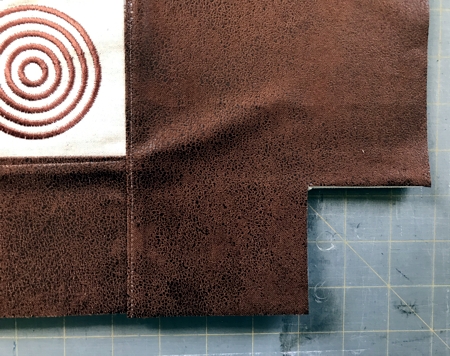
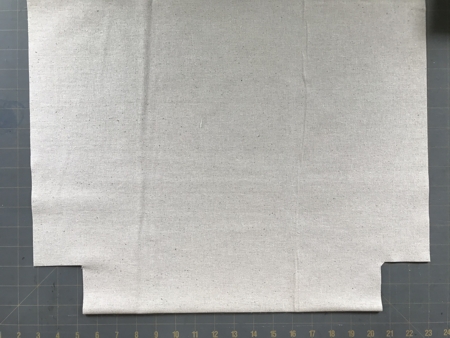
Cut 2 1/2" squares in each lower corners of both panels.
|
|
|
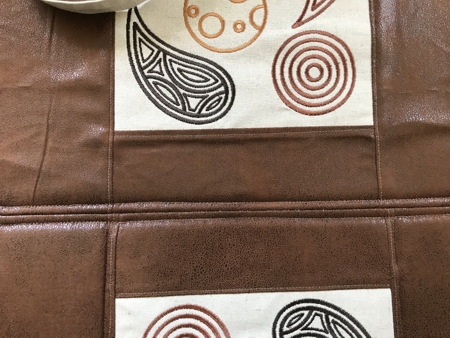
Place the panels face to face, aligning all edges. Pin. Stitch along the bottom line, seam allowance 5/8".
Unfold and topstitch 1/4" on both sides on the seam.
|
|
Fold again, face inside. Pin one of the sides, stitch, seam allowance 5/8". Unfold and topstitch 1/4" from the seam.
Repeat on the other side. It will be more difficult, but managable.
|
|
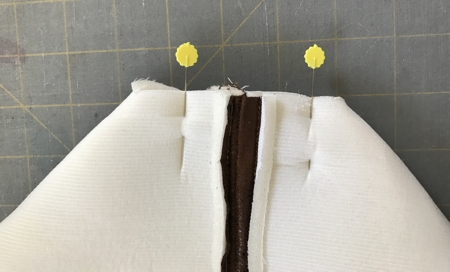
To finish the bottom, fold the bag and align the side and bottom seams. Pin. Stitch together, seam allowance 5/8".
|
|
Turn the bag right side out.
|
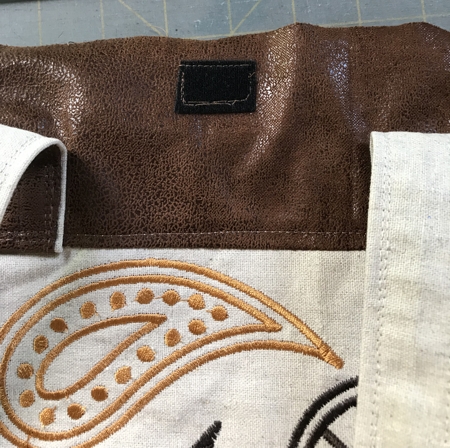
Cut a piece of Velcro tape about 1"- 1 1/2" long and sew each part of it (hook and loop parts) on the leather without stabilizer part between the handles, approximately 1/2" from the edge.
|
|
Lining:
|
For the lining, out of solid cotton fabric (we used Osnaburg) cut a piece 32" x 20", or 2 pieces measuring 16 1/2" x 20". If you have 2-piece lining, start with the bottom seam, sew the pieces together.
|
Fold in half widthwide, right side inside, align edges, lightly press the bottom.
Cut away 2 1/2" squares at the bottom corners.
|
|
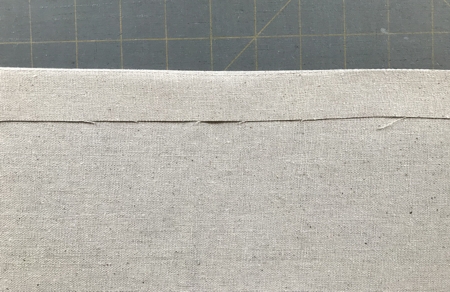
Fold the upper edges1" back and press. To make this step easier and precisier, you can draw a line 1" from the upper edge, then stitch along the line. It will help you to fold the upper edge neatly.
|
|
Pocket/s
|
You can make one or two pockets on each side of the lining.
Out of the lining fabric, cut a piece measuring 10" x 14". Fold widthwise, right side inside, seam allowance 1/4", along 2 long edges. Turn the right side out through the opening. Press.
Tuck the raw edge about 1/2" inside, press.
Topstitch along one of the long edges, this will be the upper edge of the pocket.
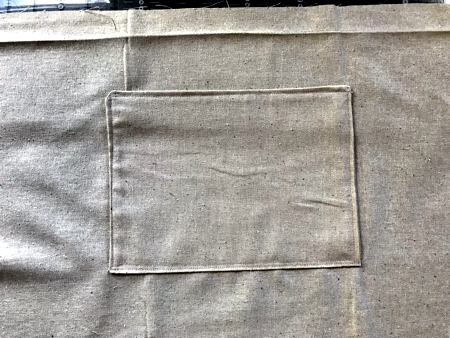
Position the pocket over the lining .... Pin.
Topstitch in place along 3 edges. Backstitch in the beginning and in the end of the stitching.
|
|
Unfold the pressed upper edges. Align the sides, stitch them together, seam allowance 1/2". Open and press the seam allowance flat.
Fold the upper edge back again and press on the seams.
Shape the bottom corners in the same way as described for the outer bag.
|
Fold the upper edge of the bag 2" inside, by the edge of the stabilizer. Pin. Topstitch 1/2" from the edge. Topstitch through the handles too.
|
Insert the lining into the bag. The upper edge of the lining should cover the folded edge of the bag about 1/2". Pin in place. Handstitch the upper edge of the lining to the bag.
|
|
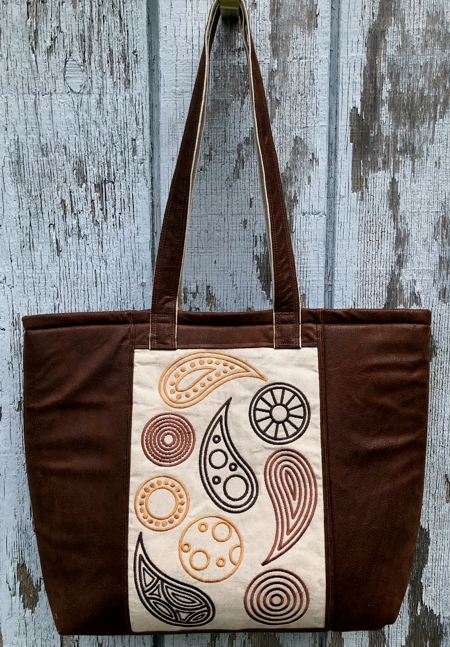
The bag is basically done.
|
|
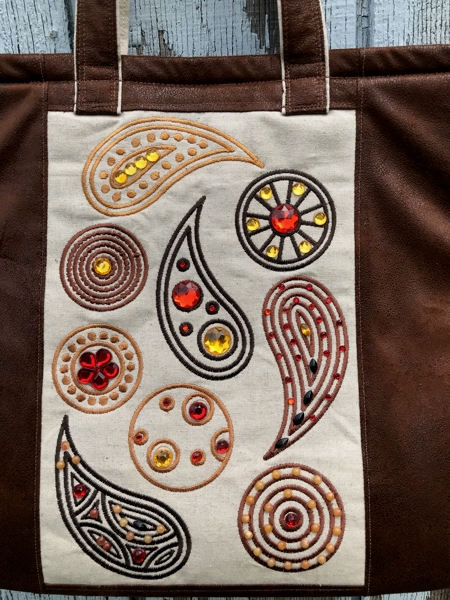
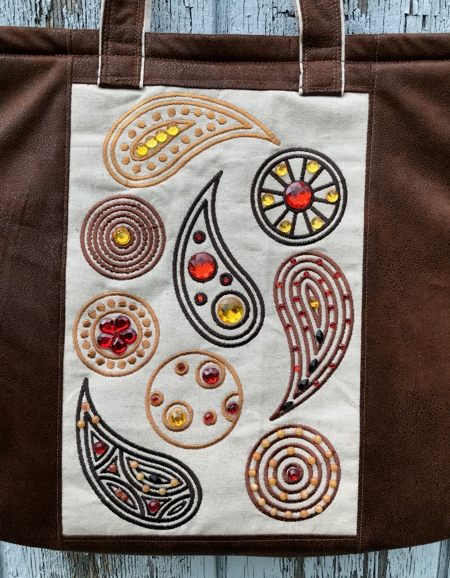
Add some pizzaz to the bag with the rhinestones.
|
|
|
|
|
|
|
Back to Paisley (Cashmere) Pattern Set
|
Back to Projects Page
|


