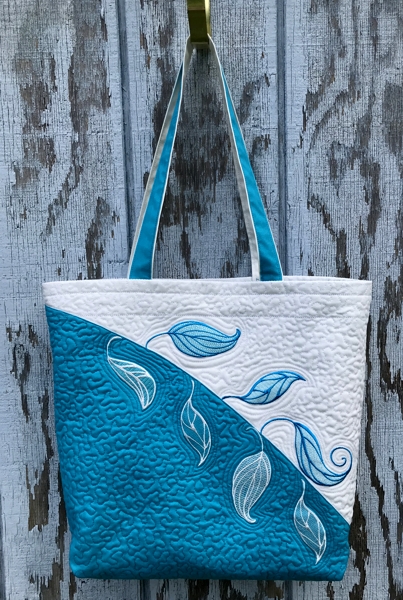
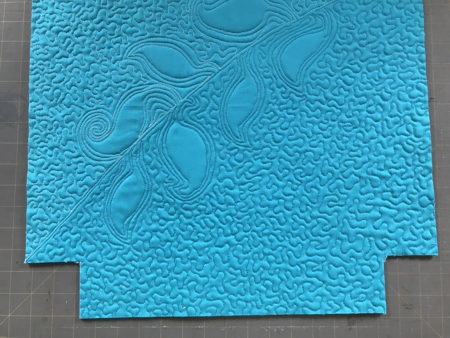
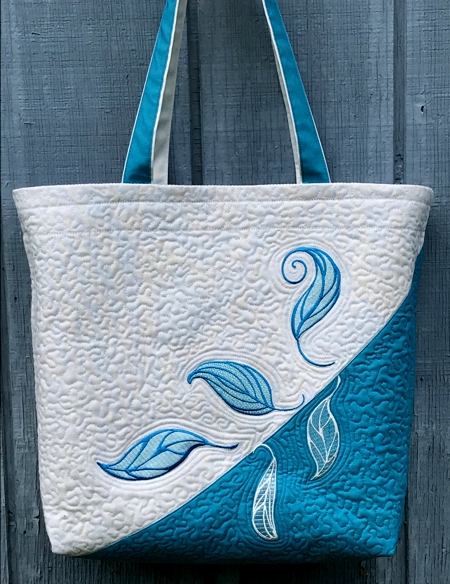
This summer-themed tote bag features a bold two-tone look that is very eye-catching.
We used the designs from the Leaf Embellishment Set for the small hoop (4" x 4").
The finished size of the bag is about 16" wide x 13" high x 4" deep.
|
|
You will need:
- embroidery threads, either polyester or rayon. The choice of colors is completely up to you; we used 2 shades of turquoise, white and off-white, to match our two fabrics,
- medium-weight iron-on cut-away stabilizer,
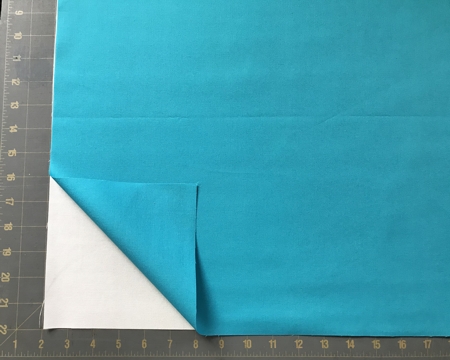
- 1 1/2 yard of turquoise cotton fabric for the outer bag and backing/lining,
- 1 yard of off-white cotton fabric for the outer bag and pocket,
- light-weight iron-on sewing interfacing (embroidery stabilizer will also work),
- 18" long zipper,
- polyester batting (low or medium loft),
- iron,
- quilter's ruler,
- rotary cutter,
- chalk pencil,
- quilting threads of matching colors - white and turquoise,
- sewing threads of matching colors - white and turquoise,
- 2 bobbins for the sewing machine - one with white and one with turquoise thread ,
- universal sewing needles #12 and #14".
|
| Making the Front and Back Panels |
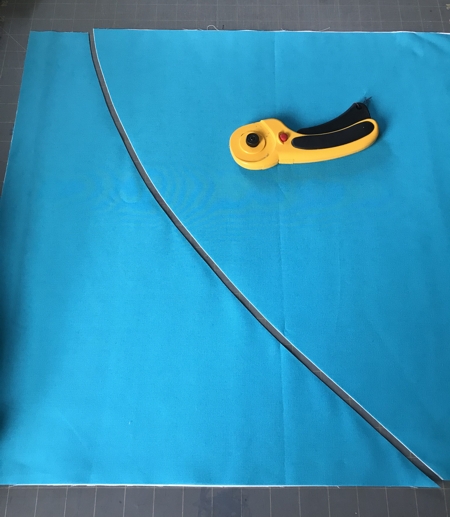
| Out of turquoise and white fabric, each, cut a square measuring 20" x 20". |
| Stack the squares, right side up, aligning the edges. |
|
With a rotary cutter, cut a free-hand curve.
If you're not quite that spontaneous, you can first draw the line with a chalk pencil. |
|
| Sew the right turquoise part to the left white part, and the right white part to the left turquoise part. Seam allowance 1/4". Length of stitch 1mm - 0.5mm. Press the seam to the darker fabric. |
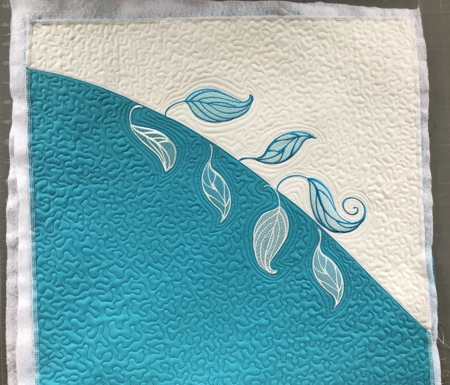
| Embroidery: |
With the ruler and chalk pencil mark 2 3/4" wide margins along all edges of both panels. Make the embroidery inside these margins!
|
| Tightly hoop the stabilized fabric. Upload the files into the machine. We embroidered turquoise leaves over the white part and white leaves over the turquoise part. |
| Quilting: |
Out of turquoise fabric cut 2 squares measuring 20" x 20".
Out of batting, cut 2 pieces measuring 20" x 20".
Lay down the turquoise squares, right side down, cover with batting, then cover with the embroidered pieces.
Quilt both panels in a free motion style. |
|
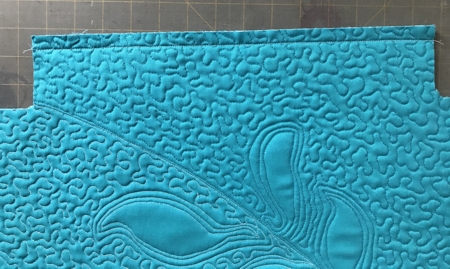
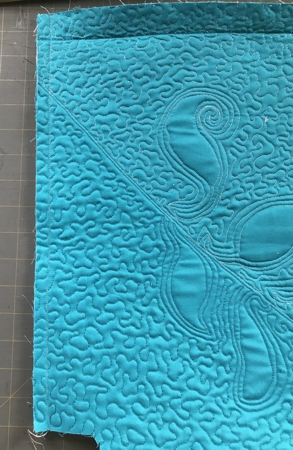
After the quilting is done, press both panels with steam and trim to 19" wide and 18" high.
Cut 2 1/2" squares in the corners of the bottom edge on both panels.
|
|
| Assembly of the Bag: |
| Note: Please note that for best results you should match the color of the bobbin thread to the fabric. Sometimes this will mean using turquoise bobbin thread, and sometimes white bobbin thread. |
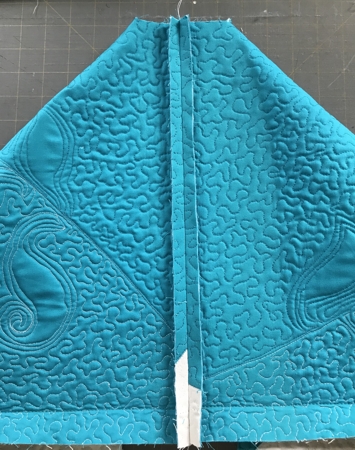
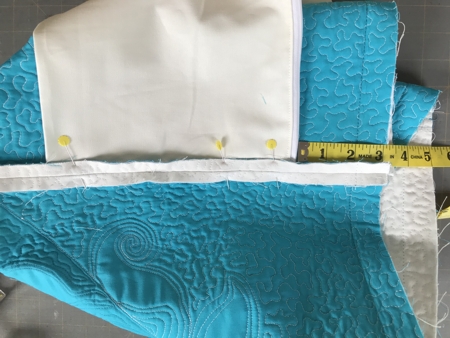
With the chalk pencil and ruler, draw a straight line 1" from the upper edge of each panel. Topstitch along this line, length of stitch 3mm.
Fold the upper edge of each panel along the stitched line 1" back and press with heavy steam. Unfold. |
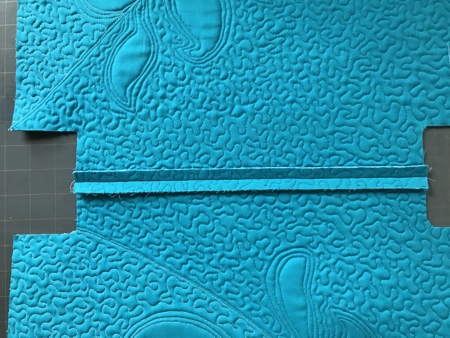
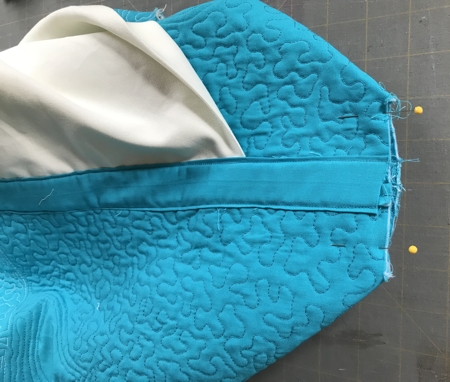
| Place both panels face to face, aligning the edges. Stitch the bottom line. Seam allowance 1/2", length of stitch 2mm. |
|
Open the seam and press with steam.
|
|
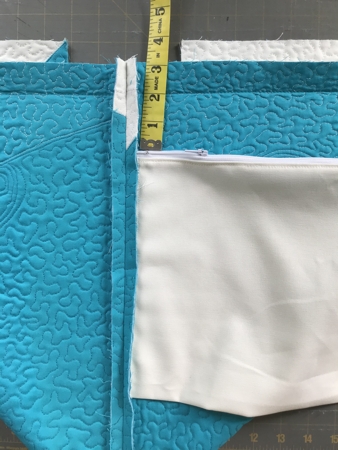
| Topstitch 1/4" to each side of the seam. |
|
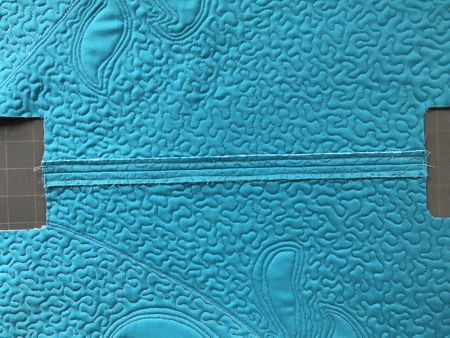
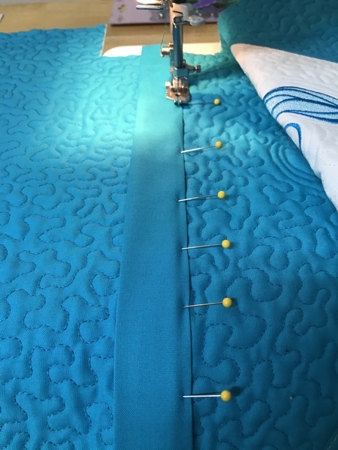
| Out of turquoise fabric, cut a strip measuring 2" x 14 1/2". Fold the long edges 1/4" and press. Pin the strip over the bottom seam to close it.Topstitch in place. Trim the ends of the strip. |
|
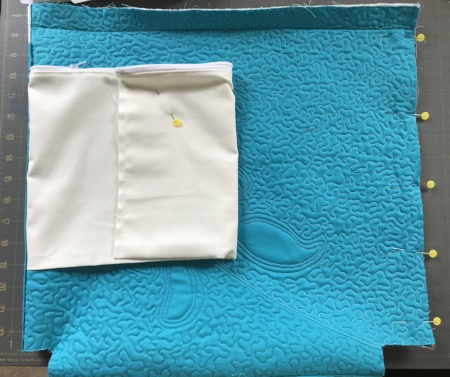
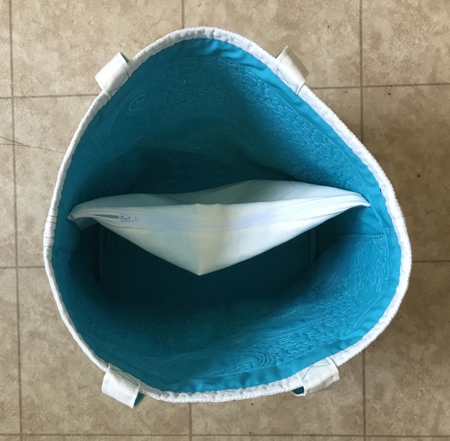
| Pocket: |
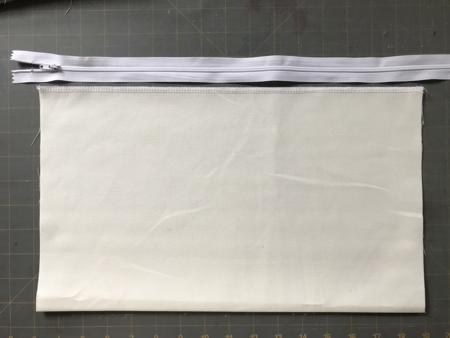
Out of white or turquoise fabric (we chose white), cut a piece 15" wide and 20" high. Fold in half, wrong side inwards, and press.
Finish the upper raw edges with zig-zag or a serger. |
|
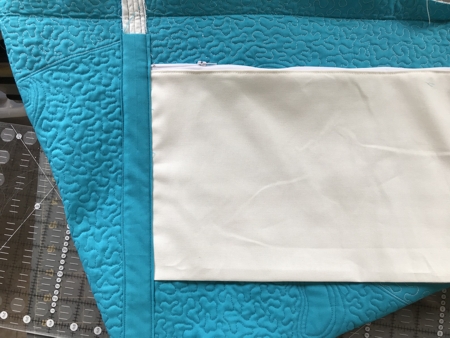
| Sew a zipper between the finished edges. |
|
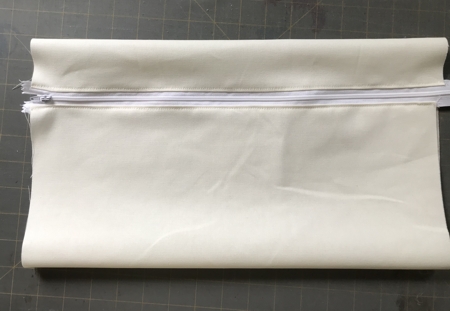
Cut the protruding end of the zipper, but don't forget to make several stitches over the teeth to make a stop.
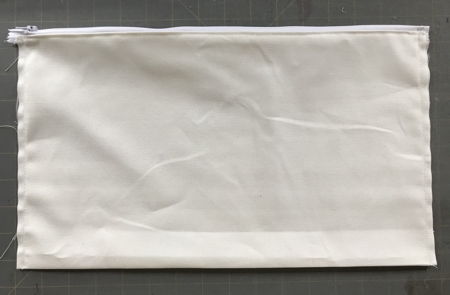
Stitch the sides, seam allowance 1/4". |
|
| Fold the bag, face inside, align the side edges. |
|
Work with one side at a time. Pin.
Stitch one side, seam allowance 1/2". |
|
| Press the seam open. |
|
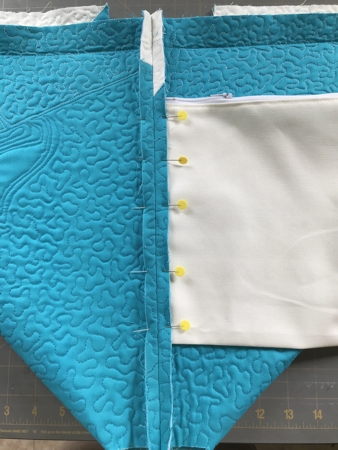
Tuck one side of the pocket under the seam, 3" from the upper edge.
|
|
Pin. Topstitch 1/4" on each side of the seam to secure both the pocket and the seam allowance.
|
|
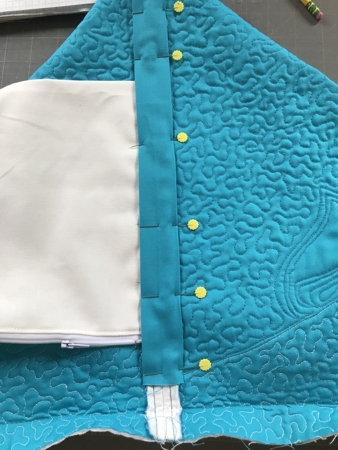
Out of turquoise fabric, cut a strip 2" wide and 13 1/2" long. Fold the long edges 1/4" back and press. Position the strip over the side seam to close it, pin.
|
|
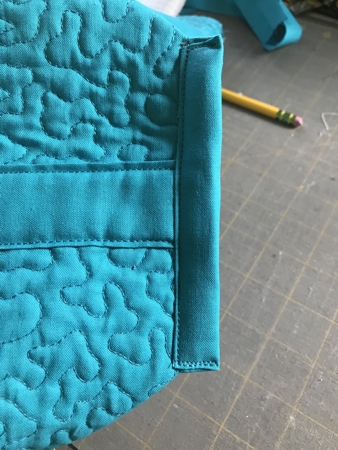
| Topstitch in place. Please note that the strip starts at the bottom of the bag and ends about 1 1/2" before reaching the upper edge of the bag. |
|
| Repeat for the other side. Finishing the raw edges of the second side is a little bit tricky, but doable. |
Pin the pocket out of way. Pin and sew the side. Press the seam open.
|
|
Tuck the other side of the pocket under the seam allowance, 3" from the upper edge. Topstitch 1/4" from the seam.
Finish the seam with a turquoise strip. |
|
To finish the bottom, fold the bag and align the side and bottom seams. Pin. Stitch together, seam allowance 1/2".
|
|
| Finish the raw edges with turquoise binding. |
|

|
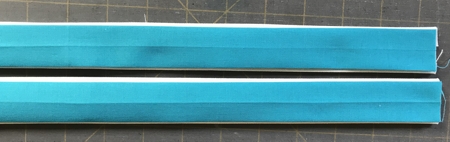
| Handles: |
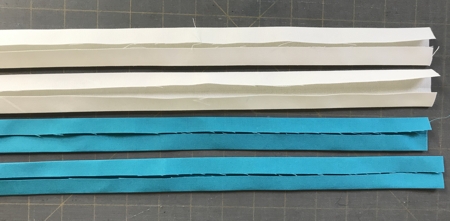
Out of white fabric, cut 2 strips measuring 2 1/4" x 27".
Out of turquoise fabric, cut 2 strips measuring 2" x 27". |
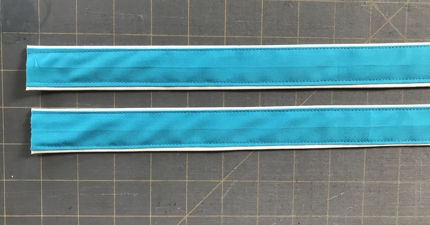
| Fold the strips in half lengthwise, wrong side inwards. Press. |
Fold the long edges to the creased line and press.
Out of sewing interfacing, cut 2 strips measuring 1" x 27". Insert the interfacing strips into the white fabric strips and press. |
|
| Position the turquoise strips over the white strips. |
|
| Topstitch along the edges of the turquoise strips. |
|
Turn the bag right side out. Pin the handles to the upper edge of both panels, 5" from the side seams.
|

|
Stitch the handles in place.
|

|
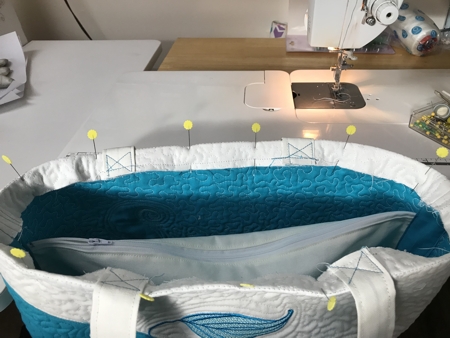
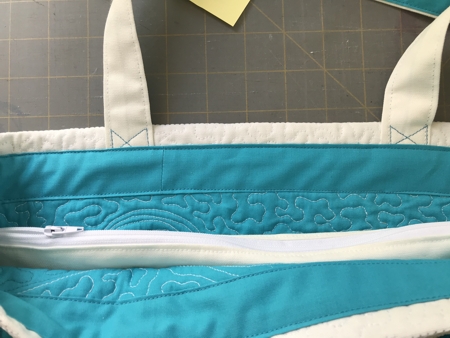
Fold the upper edge of the bag 1" back along the crease line. Pin.
|
|
Measure the length of the upper edge of the bag.
Out of turquoise fabric, cut a strip 2" wide and the length of the upper edge + 2" for ease. Fold the long edges 1/4" back and press.
Cover the raw edge of the bag with the strip. Pin. Topstitch the strip in place along both sides. |
|
|
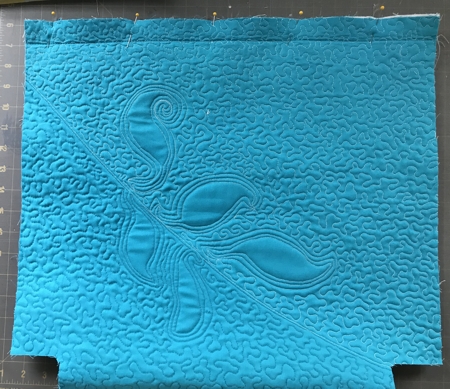
The back panel of the bag.
|
|
Have fun!
|
|
Back to Leaf Embellishment Set.
|
Back to Projects Page
|


