Here are some ideas on how to use the designs from the Quilted-in-the-Hoop Flower Panel Set.
All panels fit a Large hoop (5"x 7").
|
|
You will need :
- embroidery polyester threads, choice of color is yours,
- 1/2 yard of medium weight faux leather,
- polyester craft felt,
- a fat quarter of cotton fabric for the lining (optional),
- VELCRO for Fabrics, a peel and stick velcro product
- #90/14 embroidery needle,
- rotary cutter and/or scissors,
- light-weight iron-on sewing interfacing if the faux leather is too thin,
- 2 D-rings (3/4"-1"),
- 12" long all purpose zipper,
- 2 swivels,
- permanent fabric adhesive or fusible web, such as Steam-a-Seam2,
- #14 sewing needle and all-purpose sewing threads of matching colors.
|
Note: DO NOT use polyester batting instead of polyester felt! It produces a lot of lint. The lining fabric is optional, as the felt makes the back of the panels soft and neat. But you can use it if you like.
|
Embroidery:
|
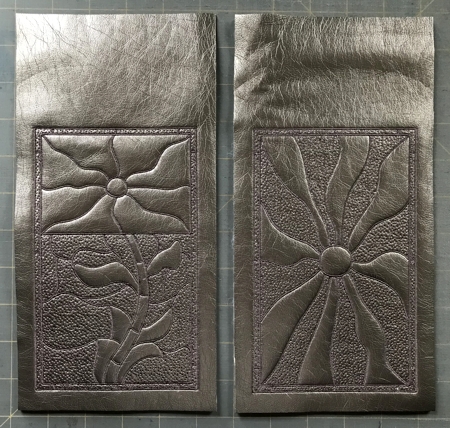
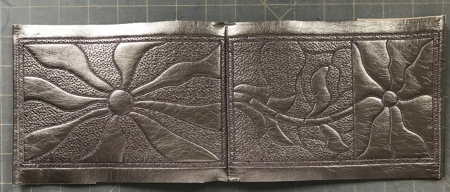
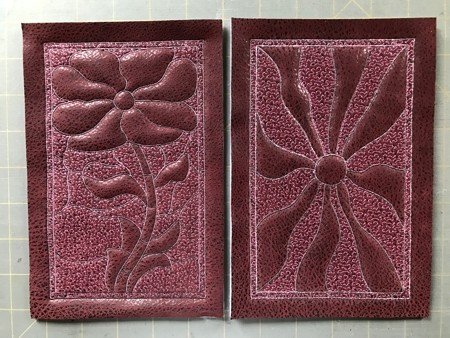
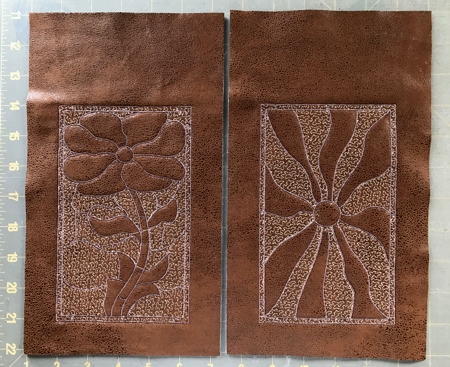
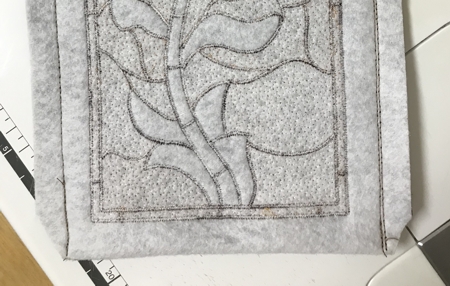
All files from the Floral Panels Set are embroidered in the same way. Pick a design for the front panel and for the back panel. Upload them into your machine.
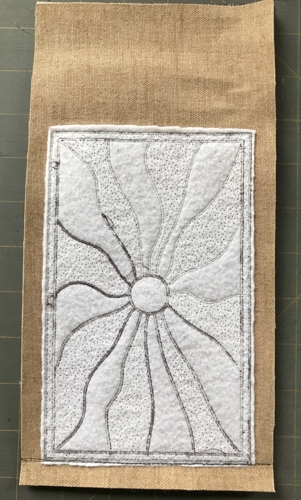
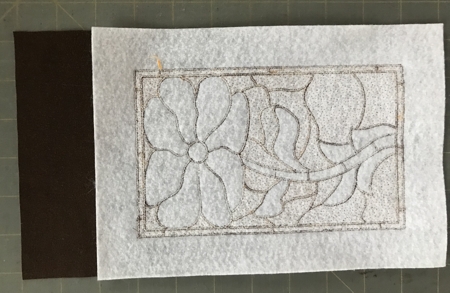
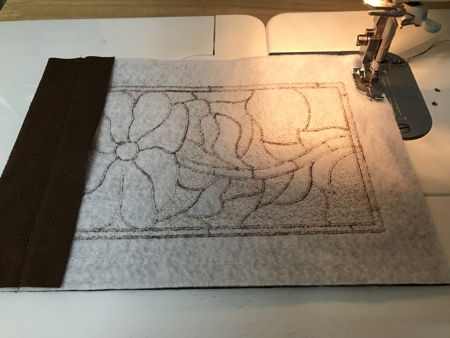
Stabilize a piece of faux leather with polyester craft felt. Hoop tightly. Embroider 2 files, one for the back and one for the front. |
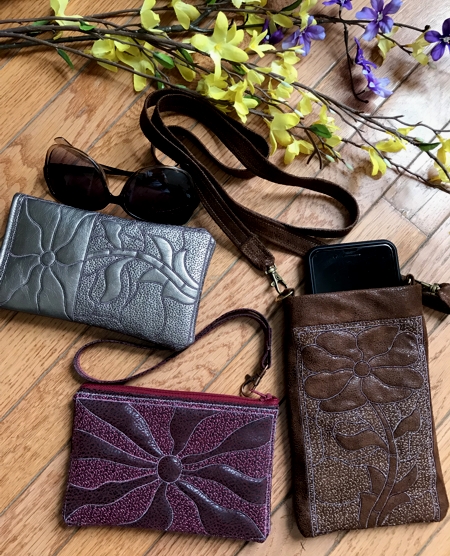
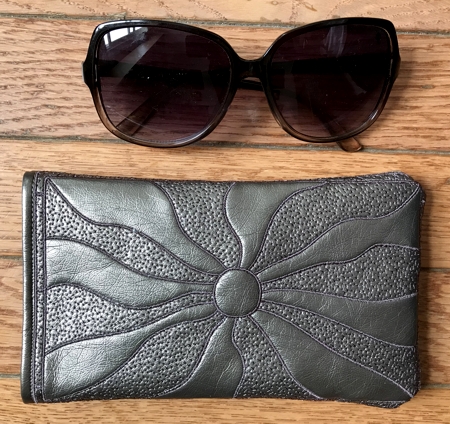
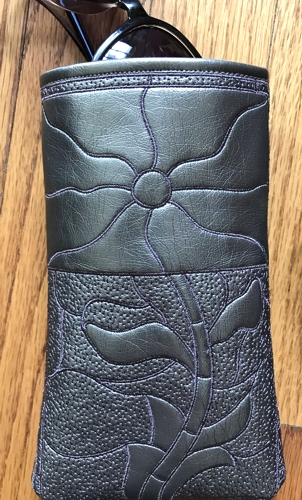
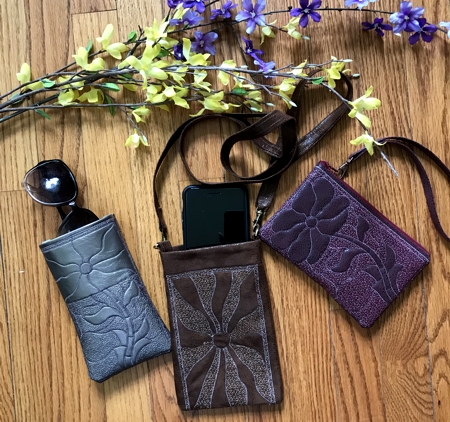
Smart Phone Case / Glasses Case
|
|
| For this case, we used silver-tone faux leather, polyester craft felt, permanent adhesive and VELCRO for Fabrics. |
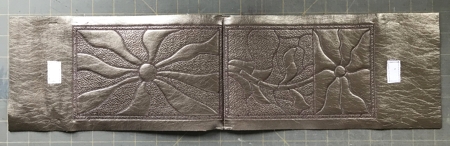
| Embroider 2 files and trim them leaving 1/2" wide margins on the bottom, left and right edges and about 2"-3" on the upper edge. |
|
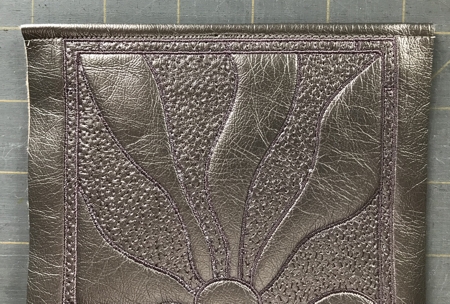
Cut away the excess felt close to the stitches.
Place the panels face to face, align all edges. Stitch the bottom edges together.
|
|
| Open the seam and topstitch 1/8" on each side of the seam. |
|
| If you cannot find VELCRO for Fabrics, which is peel and stick, you can use regular sew-on Velcro, and you need to attach it now. Sew the 2 halves of the velcro to the top edges of each panel, 1/2" from the embroidery. |
|
Fold the upper edges back and topstitch along the edge.
|
|
| Using adhesive or fusible web, adhere the folded part to the back of the panels. |
Fold the panels, face inwards. Pin and topstitch the sides.
Turn the working piece right side out. If you are using the sticky Velcro, you are now going to attach it at the opening, from the inside. That's it! |
|
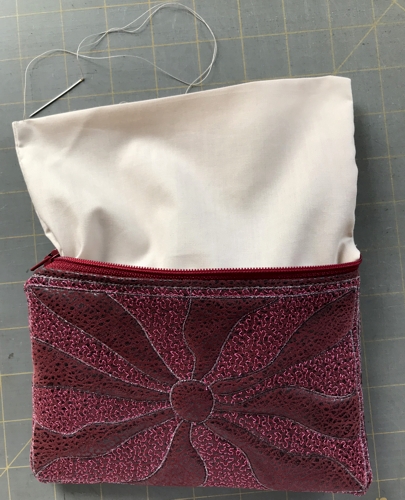
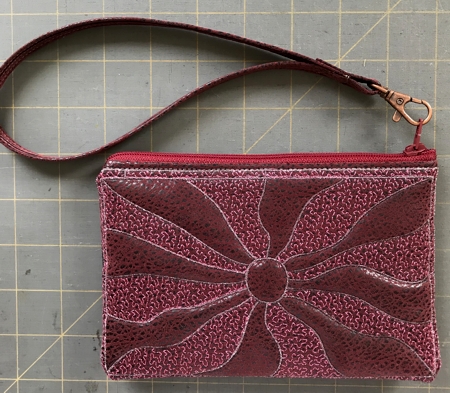
Small Purse / Smart Phone Case with Zipper and Wrist Handle
|
For this case we used faux leather, polyester craft felt, 12" long zipper, cotton lining abnd a small swivel.
|
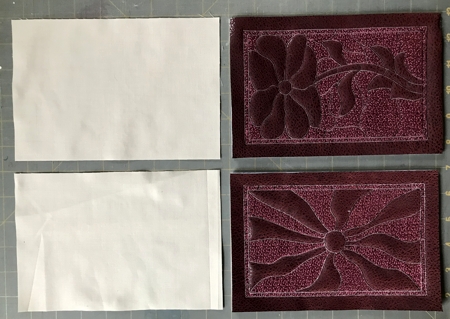
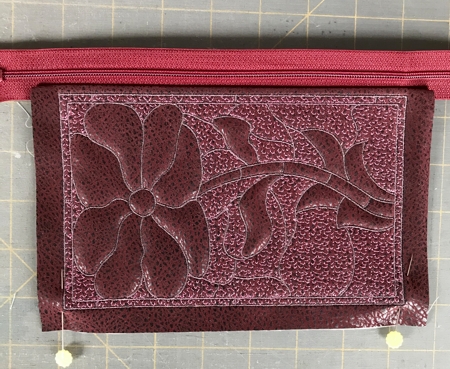
Hoop faux leather stabilized with craft felt and embroider 2 panels.
Trim the stitch-outs leaving 1/2" margins on all sides.
Cut away excess felt to the stitches.
|
|
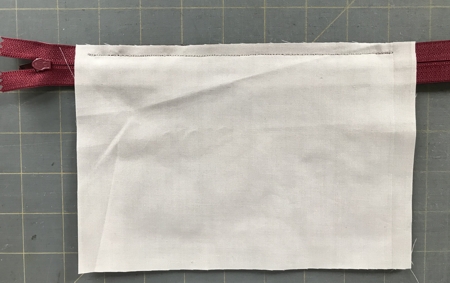
| Measure your panels and, out of cotton, cut 2 pieces of the same size for the lining. |
|
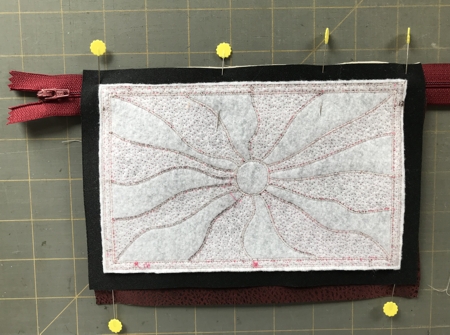
| To attach the zipper, place one of the panels, face up. Align the zipper, face down, along the upper edge. |
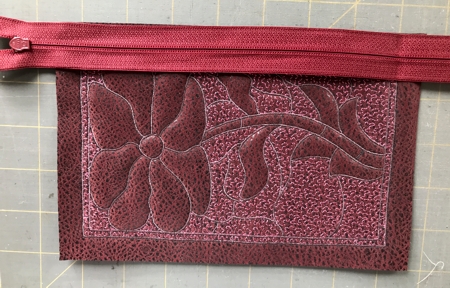
|
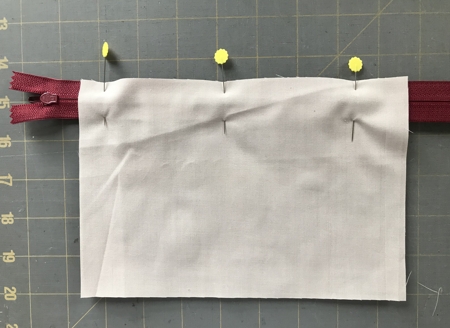
| Cover with the lining, face down, aligning the upper edge. Pin. |
|
Topstitch 1/4" from the edge, starting and finishing 1/2" from the side edges. Secure thread in the begining and at the end of the stitch.
|
|
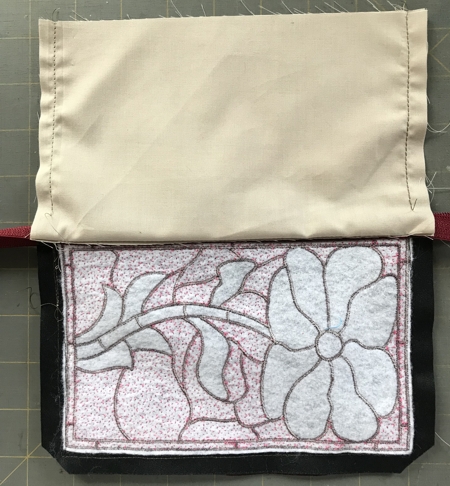
| Open, align the upper panel and the lining and pin them together, so they are not in the way while you attach the second panel. |
|
| Sandwich the other side of the zipper between the second panel and the lining. Pin. Stitch, starting and ending 1/2" from the side edges, seam allowance 1/4". |
|
| Open both panels. Topstitch 1/8" from both upper edges of the panels, starting and finishing 1/2" from the side edges. |

|
| Open the zipper (important!) Fold the panels, face inside, align and pin the edges. Fold the lining up so it's not in the way. Stitch all sides together, seam allowance about 1/2". |
| Trim the corners of the panels. Align and pin the side edges of the lining. Stitch them together. |
|
Through the bottom opening in the lining, turn the working piece out.
Tuck the zipper ends between the lining and the outer purse.
Tuck the raw edges of the lining 1/2" inside and slip-stitch the opening closed. |
|
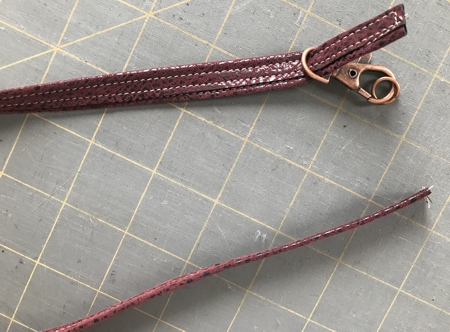
For the handle, cut a strip 1 1/4" wide and about 20"-22" long (the length depends on how long a handle you need).
Fold the strip 3 times lengthwise and topstitch several times.
Put a swivel on one of the ends. |
|
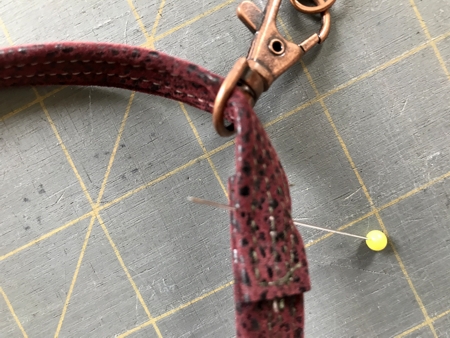
| Overlap the ends of the strip by 1" and topstitch them together. |
|
| Topstitch both sides of the strip about 1/2" from the swivel. |
|
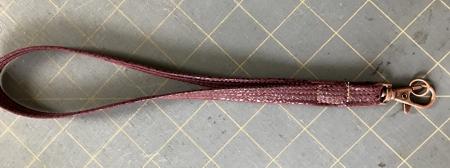
| Attach the wrist strap to the zipper pull. |
|
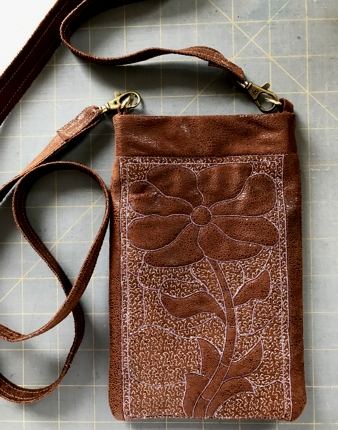
| Clutch Purse / Smart Phone Case with Shoulder Strap |
| This case is for a larger smart phone or phablet. For this case, we used faux leather, polyester craft felt, permanent fabric adhesive, VELCRO for Fabrics, 2 small swivels and 2 D-rings. |
| Embroider 2 panels as described above. Trim the panels leaving 1" wide margins on the long sides, 3/4" margin on the bottom and 3" - 4" margin on the upper edge. |
|
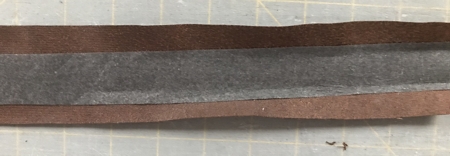
| As the faux leather we used for this case/purse is thinner than for the previous ones, we did not trim all the excess felt on the back. We cut the felt leaving a 1" margin on the upper edge on both panels. If you use a heavier weight faux leather, you can cut away all excess felt. |
|
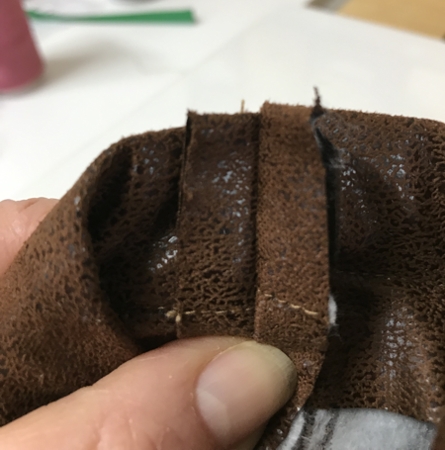
Fold the upper edges back along the felt border and topstitch in place.
Adhere the folded back leather to the felt. |

|
| Place both panels face to face, align all edges. Stitch the bottom together, seam allowance 1/2". |
|
Open the panels, open the seam allowance and topstitch on both sides of the seam, 1/4" from the seam.
Fold the panels again, face to face, aligning the edges. Topstitch the sides twice. Seam allowance 1/2".
Trim the bottom corners. Turn the purse right side out. Set aside for the time being. |
|
Out of faux leather, cut
- a strip measuring 1 1/4" x 6" and
- a strip measuring 1 1/4" x 54".
If the piece of faux leather is not wide enough, cut several strips 1 1/4" wide and sew them into the strip 54" wide. Seam allowance 1/4", open the seams and topstitch them on both sides of the connecting seam.
Out of sewing interfacing cut
- a strip 1/2" x 6" and
- a strip measuring 1 1/4" x 54" (or several strips totalling 54" long).
Iron the intefacing to the back of the leather strips. |
|
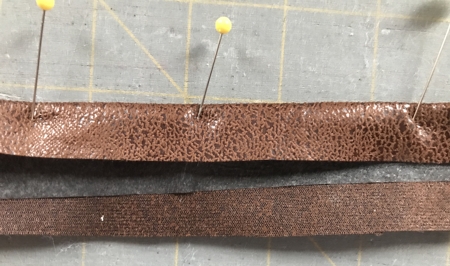
| Fold the long sides of the strips inwards, pin. Topstitch them along the long edges 1/8" from the edge. |

|
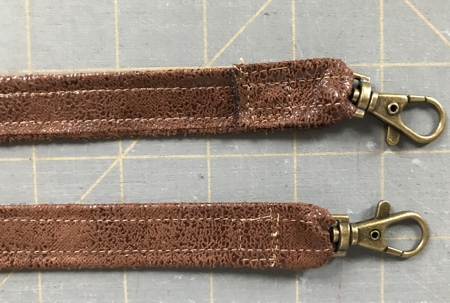
| Insert the ends of the long strap into swivels, turn the ends 1" back and topstitch in place. |
|
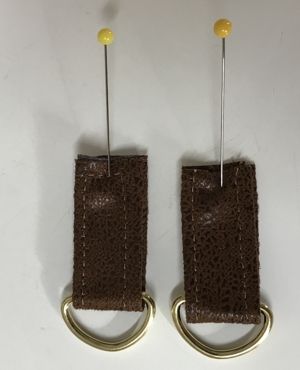
| Insert the short straps into D-rings, make the short ends meet and topstitch the short ends together. |
|
| Open the side seam of the purse. |
|
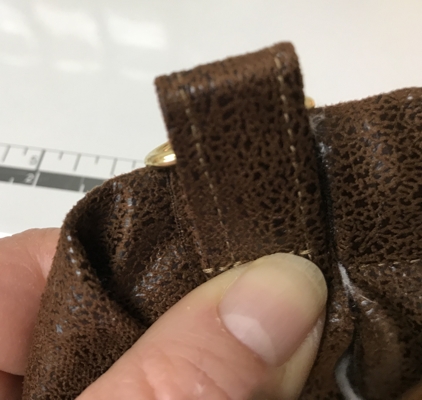
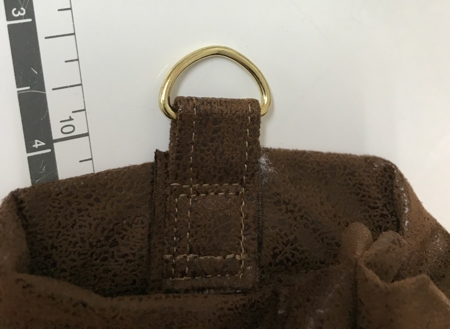
| Pin the strip with a D-ring over the open side seam 1" deep. |
|
| Stitch the strip in place. Repeat with another strip. |
|
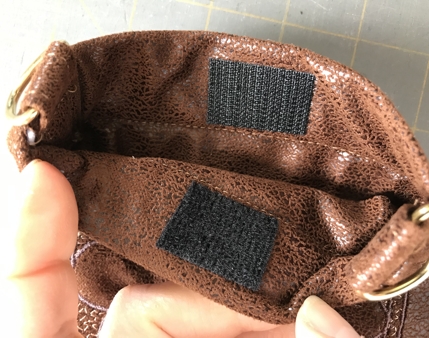
| Cut 2 pieces of VELCRO for Fabrics and adhere them to the inside of the purse opening 1/4" - 1/2" from the upper edge. |
|
| Fasten the swivels to the D-rings. |
|
| That's it! Have fun! |
|
|
Back to Quilted-in-the-Hoop Flower Panel Set
|
Back to Projects Page
|


