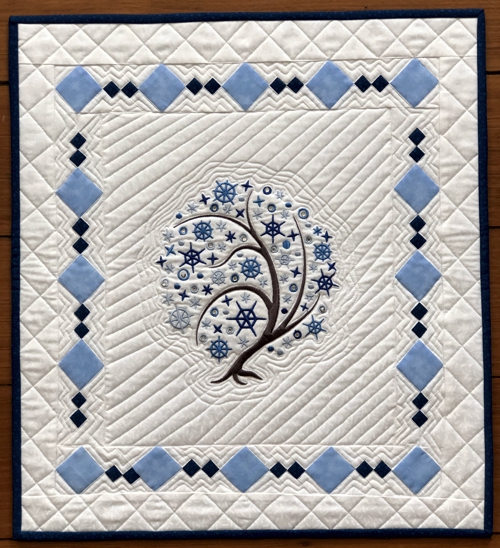
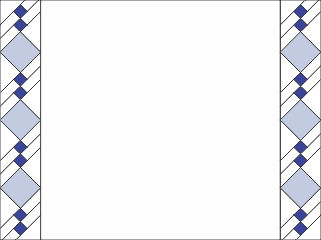
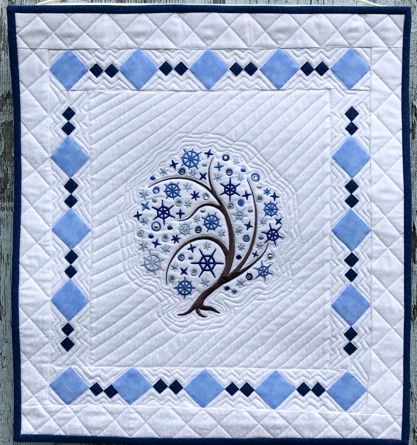
This small, eye-catching wall quilt features the design Winter Tree for the commercial size hoop (8" x 12").
The finished size of the quilt is about 21" x 20".
|
|
You will need :
- embroidery threads, either polyester or rayon,
- cut-away embroidery stabilizer,
- about 1/2 yard of white fabric,
- strips of ice blue and dark blue fabrics,
- batting,
- fabric for the backing,
- quilter's ruler,
- rotary cutter,
- iron,
- (optional) additional embellishments, such as hot-fix crystals or rhinestones.
|
Cutting
|
Out of white fabric, cut
- a square measuring 13" x 13",
- 4-5 strips 2 1/2" wide and the length the fabric permits,
- 8 strips measuring 2" x 6 1/2",
- 2 strips measuring 2 1/2" x 17" and
- 2 strips measuring 2 1/2" x 21".
|
Out of ice blue fabric, cut 2 strips 2" wide and the length the fabric permits.
Out of dark blue fabric, cut 1 strip 1" wide and the length the fabric permits.
|
Borders:
|
Note: Seam allowance is 1/4", press every seam immediately after you make it.
|
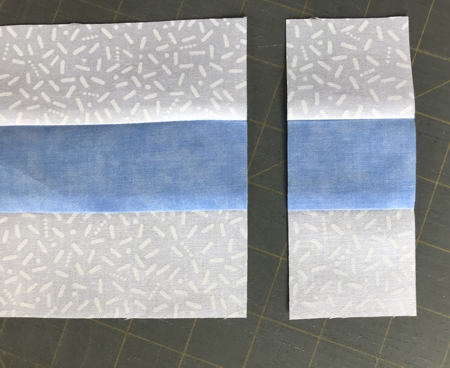
Sew the 2 1/2" wide white strips and ice blue strip so that the blue strip is in the middle.
|
Cut the new strip into 2" wide pieces. You will need 16 such strips.
|

|
|
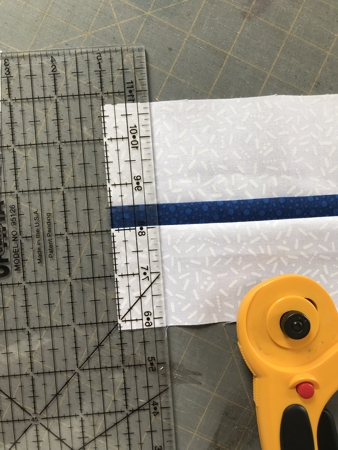
Sew the 2 1/2" white strips and dark blue strip so that the blue strip is in the middle.
Cut the new strip into 1" wide strips. You will need 32 such strips.
|
|
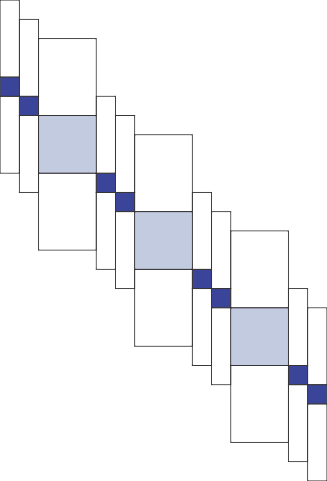
Stitch the strips with the dark blue center in pairs, offsetting the centers and matching the seams as shown on the diagram below. You'll have 16 pairs.
|

|
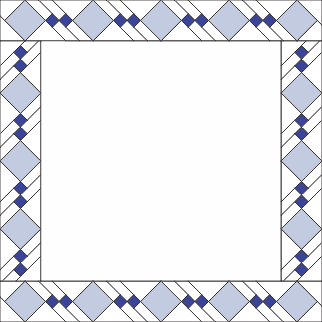
Left and Right Borders:
|
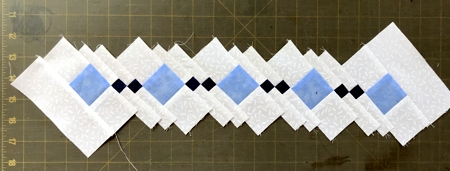
For the left and right borders each, take 3 strips with an ice blue center and 4 strip pairs with the dark blue center. Sew them together, offsetting as shown.
|
|
Sew the white 2" x 6 1/2" strips to each end of the working pieces.
|

|
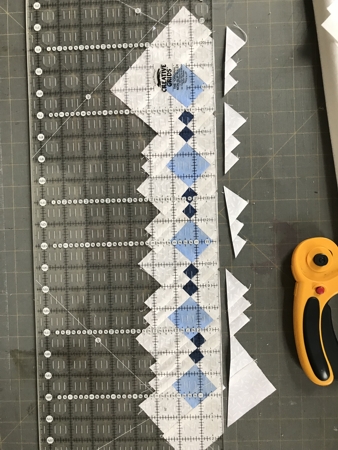
Trim the long edges leaving 1/4" seam allowance.
|
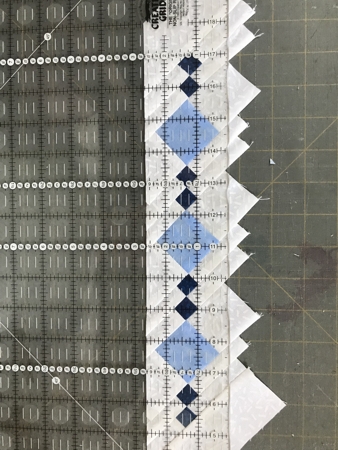
|
Trim the short edges, leaving 1/4" seam allowance.
Sew the borders for the left and right edges of the white square.
|
|
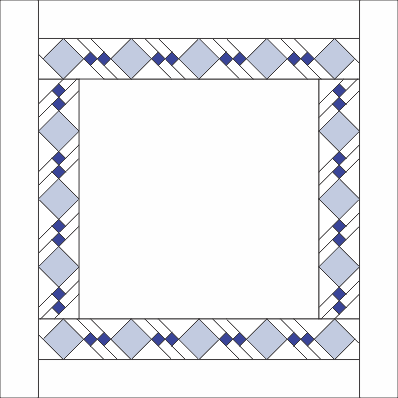
Upper and Lower Borders:
|
For each of these borders, use 5 strips with an ice blue center and 4 pairs of strips with dark blue centers.
Sew them together offseting and matching seams as shown above, this time starting and finishing with the ice blue strips.
|
Add white strips on each short end.
|
|
Trim leaving 1/4" seam allowance.
|
|
Sew to the upper and lower edges of the white center.
|
|
Sew the white 2 1/2" x 17" borders to the upper and lower edges, then the 2 1/2" x 21" borders to the left and right edges of the quilt.
|
|
Embroidery
|
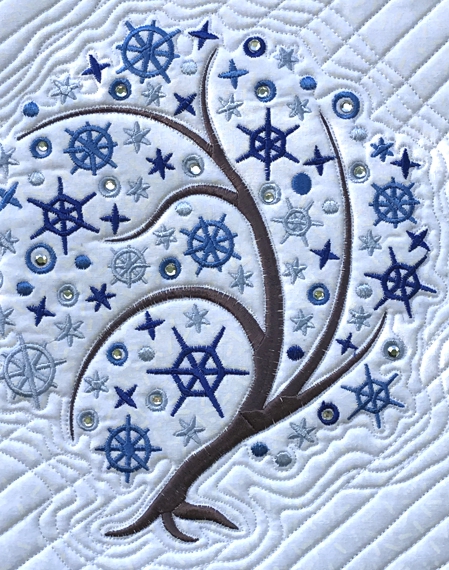
Stabilize the center with the cut-away stabilizer, upload the file of the Winter Tree into the machine and embroider it.
|

|
|
Quilting and Finishing:
|
Now place the backing on a flat surface (table) face down. Cover with batting. Spread your working piece over it.
Pin all layers together.
We quilted in a free-motion style around the embroidery, then with straight lines all over the quilt.
Press with heavy steam. Square the quilt. Finish the raw edges with the binding.
|
|
Add some sparkle with hot fix crystals, rhinestones and/or decorative buttons.
|
|

|
Have Fun!
|
|
Back to Winter Tree
|
Back to Projects Page
|


