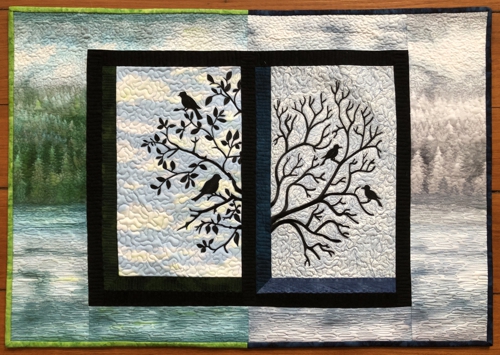
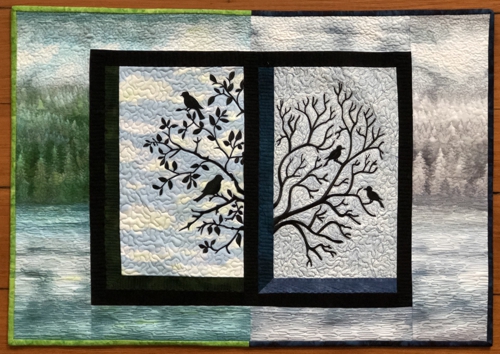
For this charming wall quilt, we used the design from the Birds in a Winter Tree Set and Birds in a Summer Tree Set for the commercial size hoop. These designs are available in smaller sizes as well, and you can use those for the project as well. Scale the quilt accordingly .
The finished size of the quilt is about 21 1/2" x 30".
We used landscape fabric for the background, but you can also use any floral patterned fabric for the summer half and snowflake-patterned fabric for the winter half.
|
Click to enlarge
|
You will need :
- embroidery threads, either polyester or rayon. The designs are one-color, so we recommend black, navy or very dark brown;
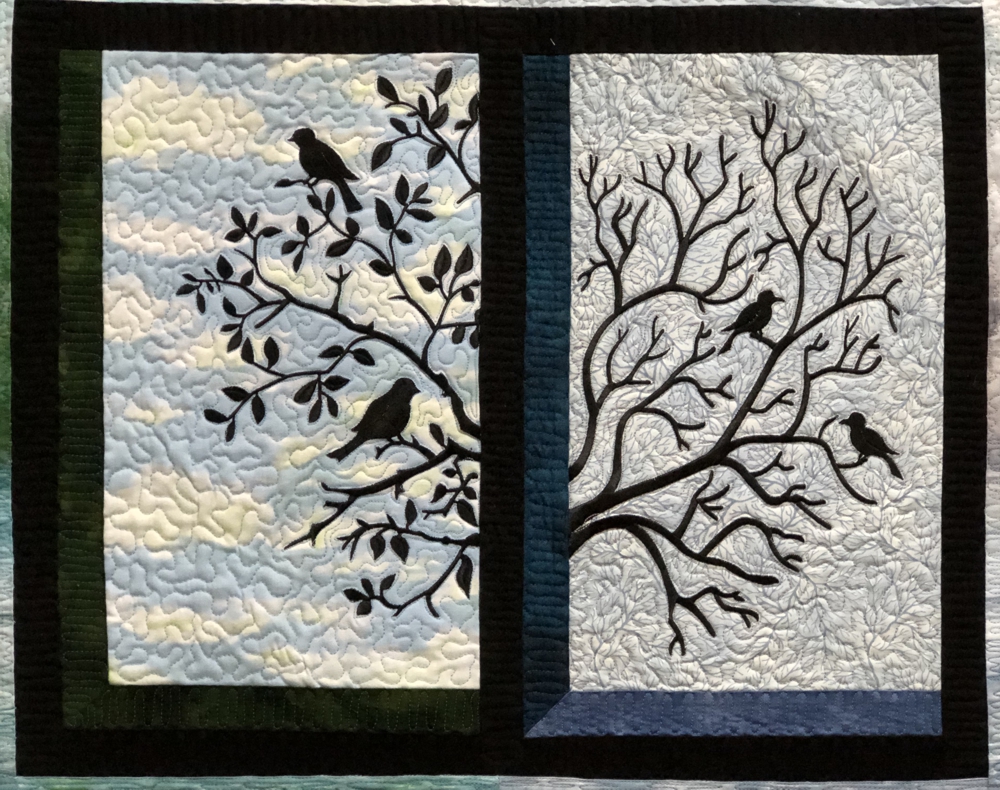
- a fat quarter for each of the embroidery backgrounds: gray for winter, sky pattern for summer;
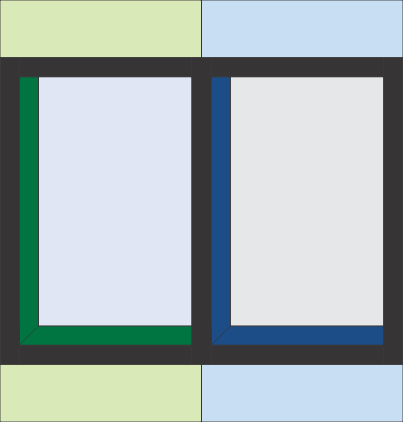
- small amount of fabric for the window frame: 2 shades of dark green for summer, 2 shades of dark blue for winter, and black;
- 1/2 yard each of fabric with summer and winter landscapes;
- medium-weight embroidery stabilizer;
- batting,
- backing,
- binding;
- quilter's ruler and rotary cutter;
- iron,
- quilting threads of matching colors.
|
Embroidery
|
Upload the files from the Birds in a WInter Tree Set and Birds in a Summer Tree Set. Choose the files without frames.
Stabilize the fabric with the medium-weight cut-away embroidery stabilizer, hoop and tighten the hoop.
Embroider each file on the corresponding fabric.
|
Trim each stitch-out to 8 1/2" x 13 1/2".
|
Cutting:
|
Out of one shade of dark green and dark blue fabrics each, cut 1 strip measuring 1 1/2" x 11" .
Out of the other shade of dark green and dark blue fabrics each, cut 1 strip measuring 1 1/2" x 16".
Out of black fabric, cut
- 4 strips measuring 1 1/2" x 9 1/2" and
- 3 strips measuring 1 1/2" x 16 1/2".
Out of the landscape fabrics each, cut
- 2 strips measuring 3 1/2" x 11" and
- 2 strips measuring 5 1/2" x 22"
|
Assembly:
|
Note: seam allowance is 1/4", press each seam immediately after you make it.
|
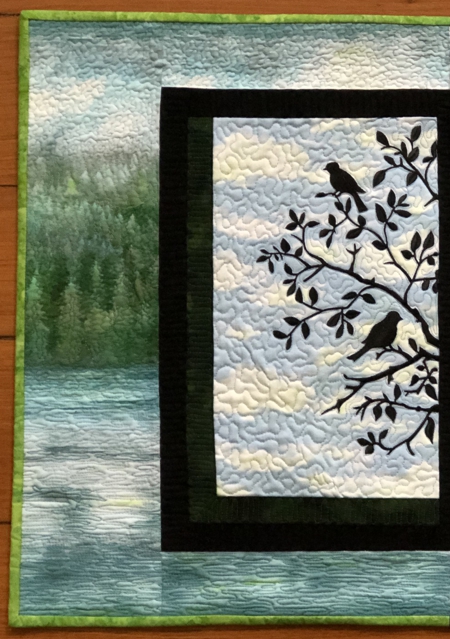
The summer tree faces left. Position the green 1 1/2" x 11" strip along the bottom edge, face to face, align the short edge of the strip with the right edge of the rectangle. The left end of the strip will protrude beyond the left edge of the rectangle.
Sew the strip to the rectangle, stopping stitching 1/4" from the left edge of the rectangle.
|

|
Position the green 1 1/2" x 16" strip, face to face, along the left edge of the rectangle. Align the end of the strip with the upper edge of the rectangle. The strip will extend past the bottom edge of the rectangle
Sew the strip to the rectangle stopping stitching 1/4" from the lower edge of the rectangle.
|

|
To make mittered corners, fold one of the strips over the other to form a miter and align the corners.
When the miter looks right to you, press the line.
Neatly unfold the strip and pin the strips together. Please note that the edges of both strips should be aligned.
Top-stitch along the creased line.
|
Unfold and check that you like the results.
Fold again and trim the seam. Seam allowance at the corner is 3/8"!
Unfold and press the seam first from the back. Then from the front.
Repeat using the winter tree stitch-out and dark blue strips.
|
Now sew the black 1 1/2" x 9 1/2" strips to the upper and lower edges of both rectangles.
|

|
Sew the black 1 1/2" x 16 1/2" strips to the left and right edges of the summer rectangle.
|

|
Sew the winter rectangle to the right edge of the summer piece. Sew the remaining black strip to the right edge of the winter rectangle.
|

|
Sew the 3 1/2" x 11" summer- and winter-themed strips together in 2 pairs: the summer strips should be on the left, and winter on the right.
|

|
|
Sew these strips to the upper and lower edges of the window. Align the seam of each strip with the central strip of the frame. Pin. Sew.
|
|
Sew the the 5 1/2" x 22 1/2" strips to the right and left edges of the window frame.
|
|
|
Quilting and Finishing:
|
Now place the backing on a flat surface (table) face down. Cover with batting. Spread your working piece over it.
Pin all layers together.
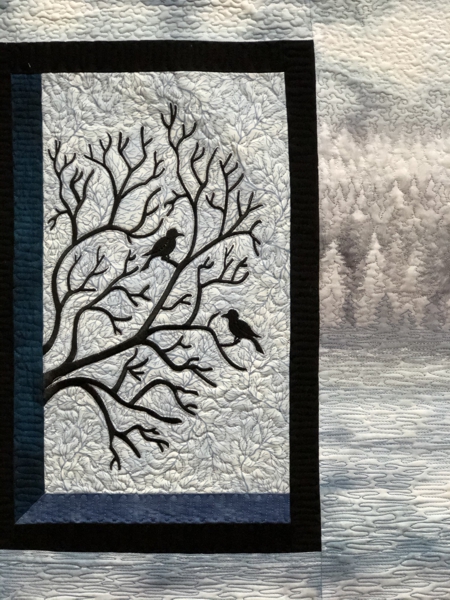
We quilted in a free-motion style all over the quilt, changing thread colors as fabric demanded. |
| Press with heavy steam. Square the quilt. Finish the raw edges with the binding. |
|
|
|
|
Back to Birds in a WInter Tree Set and Birds in a Summer Tree Set
|
Back to Projects Page
|


