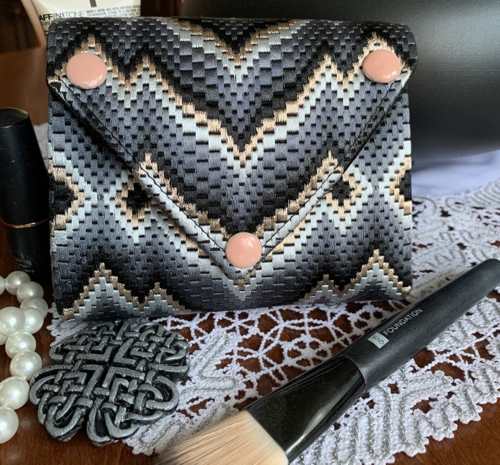
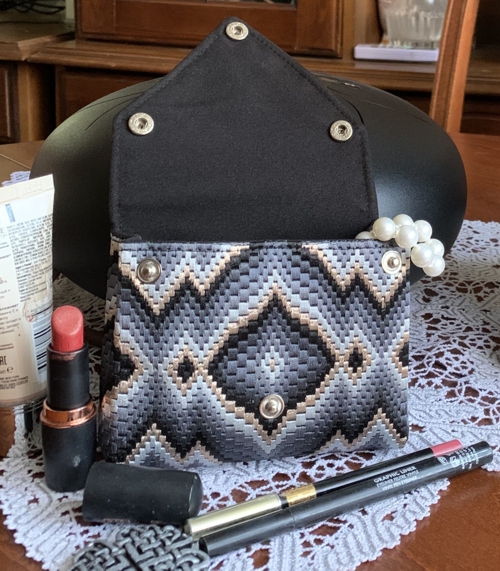
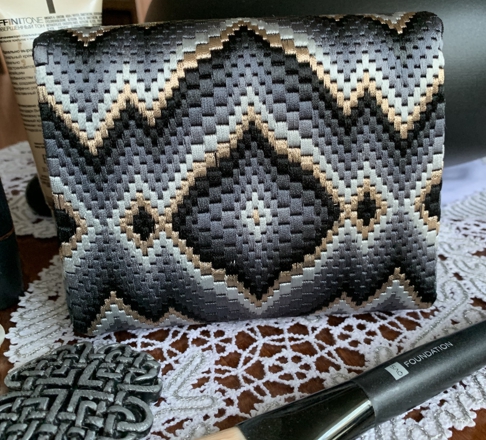
These are instructions on how to assemble the stitch-outs of the designs Bargello Small Purse II. The bag can be used for cosmetics, jewelry, as a coin purse or glasscase. It makes a great gift for the upcoming holiday season. Unlike Bargello Small Purse I, this purse does not rely on a frame. It features a snap closure.
The finished size is about 4.5" H (with the flap closed) x 5" W x 2" D.
|
|
|
You will need :
- embroidery threads, either polyester or rayon; you can follow our color card or chose your own colors
- fabric for the outside of the bag
- fabric for the lining,
- medium-weight cut-away stabilizer or polyester craft felt,
- applique scissors,
- 3 metal snaps and tools to install them.
|
Embroidery:
|
There are 2 files in the set:
|

|
Stitches: 25607 Stitches: 39533
Size: 129 x 174 mm Size: 174 x 267 mm
Colors: 6/6 Colors: 6/6
|
Upload the files into the machine. Select threads.
Stabilize your fabric either with medium-weight cut-away stabilizer or polyester craft felt.
Embroider the designs one by one.
|
Assembly:
|
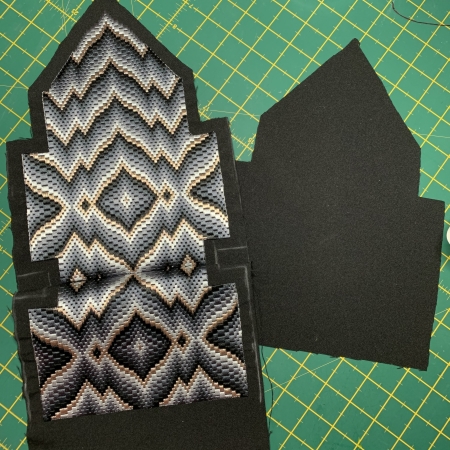
Cut the stitch-outs out leaving about 3/8"-1/2" margins for seam allowance.
Using the stitch-outs as templates, place them on the lining fabric and trace the outline. Cut out.
|
|
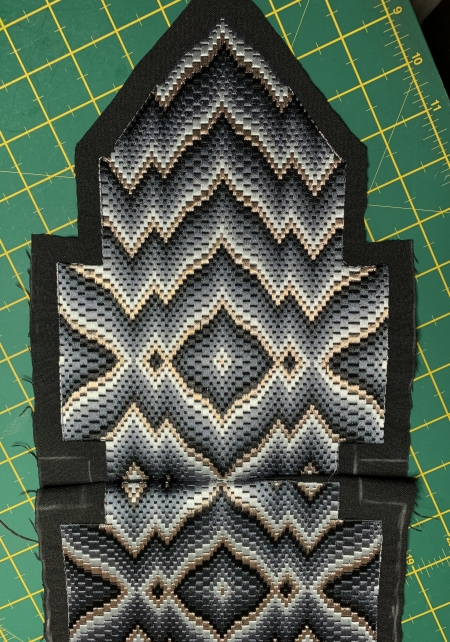
Place the stitch-outs face to face, align the short bottom edges and sew the parts together along the bottom very close to the embroidery stitches. Press the seam open.
|
|
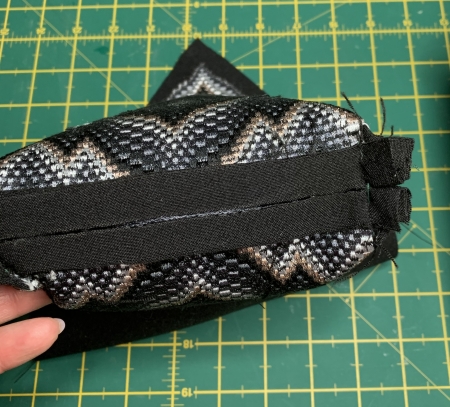
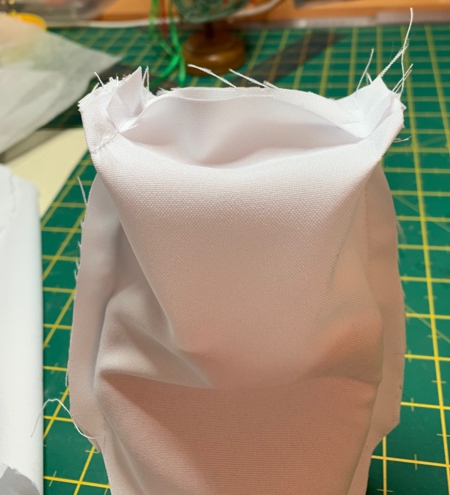
Fold, face inwards, align the sides. Pin. Sew the sides together very close to the embroidery stitches.
Then stitch the box corners on the bottom. Do not turn the purse right side out yet.
|
|
On the lining pieces, fold the bottom 3/8"-12" back and press. Place the lining pieces face to face, align all edges and sew the sides, with seam allowance a little less than 3/8". Press the seams open.
|

|
Stitch box corners, but DO NOT stitch the bottom yet! Turn the lining right side out.
|
|
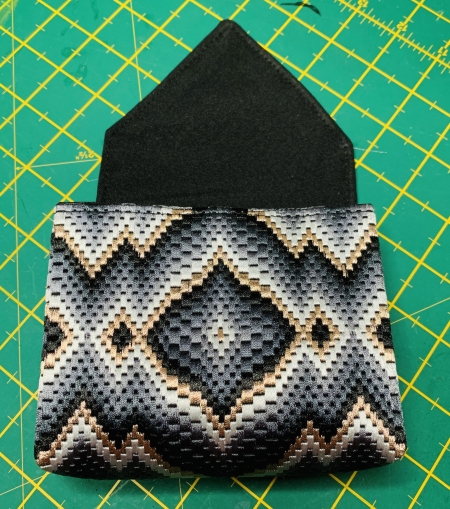
Insert the lining into the purse, face to face. Align all edges and seams, straighten the corners. Pin. Sew the purse and the lining together along the upper edges.
Through the bottom opening in the lining carefully turn the purse right side out.
Press the edges. Then topstitch along the upper edges of the purse and the flap.
|
|
Pull the lining out and slip-stitch the bottom openning. Tuck the lining back in place. Straighten all seams and corners.
|
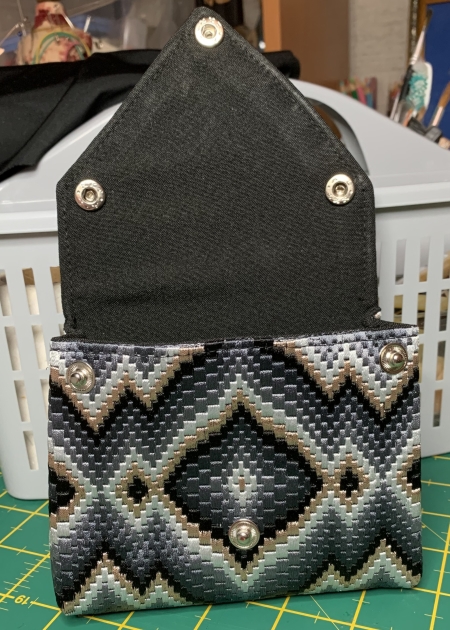
Following the manufacture's instructions, install the snaps.
|
|
And you're done!
|
|
Have fun!
|
|
|
Back to Bargello Small Purse
|
|


